Peugeot 206 P Dag (2010.5). Instruction - part 6
77
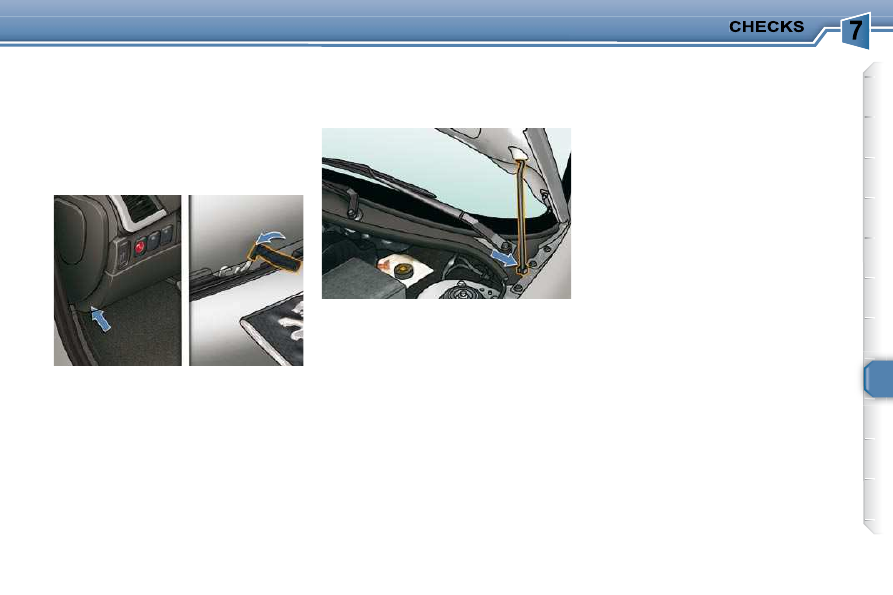
BONNET
Component which protects and provides
access to the components of the engine
for checking of the various levels.
-
At the front, lift the safety catch and
raise the bonnet.
-
Secure the stay to hold the bonnet
open.
Closing
-
Put the stay back in its housing.
-
Lower the bonnet and release it at
the end of its travel.
-
Check that the bonnet is locked.
RUNNING OUT OF FUEL
(DIESEL)
If you should run out of fuel, it is neces-
sary to prime the fuel system:
- fi ll the fuel tank with at least fi ve litres
of diesel,
-
squeeze and release the manual
priming pump, located under the bon-
net under the protective cover, until
fuel appears in the transparent pipe,
-
operate the starter until the engine
starts.
Opening
-
Pull the release lever located on the
left, below the dashboard.
When the engine is hot, handle the
safety catch and the bonnet stay with
care (risk of burns).