Opel Astra GTC (2018 year). Manual - part 8
118
Lighting
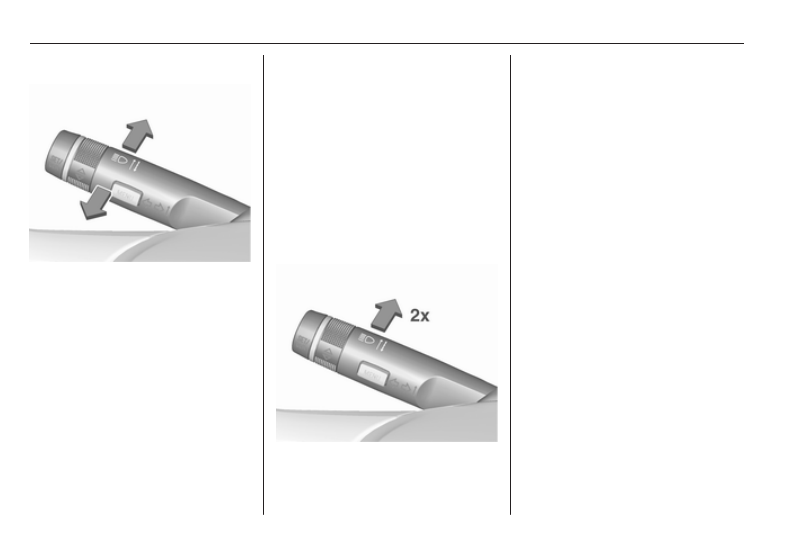
High beam
To switch from low to high beam,
push lever.
To switch to low beam, push lever
again or pull.
High beam assist
Description for version with halogen
headlights. High beam assist with
adaptive forward lighting 3 120.
This feature allows high beam to
function as the main driving light at
night and when vehicle speed is
faster than 40 km/h.
It switches to low beam when:
● A sensor detects the lights of
oncoming or preceding vehicles.
● The vehicle speed is slower than
20 km/h.
● It is foggy or snowy.
● Driving in urban areas.
If there are no restrictions detected,
the system switches back to high
beam.
Activation
The high beam assist is activated by
pushing the indicator lever twice with
a speed above 40 km/h.
The green control indicator l
illuminates continuously when the
assist is activated, the blue one 7
illuminates when high beam is on.
Control indicator l 3 92.
Deactivation
Push indicator lever once. It is also
deactivated when front fog lights are
switched on.
If a headlight flash is activated when
the high beam is on, the high beam
assist will be deactivated.
If a headlight flash is activated when
the high beam is off, the high beam
assist will stay activated.
The latest setting of the high beam
assist will remain after the ignition is
switched on again.
Headlight flash
To activate the headlight flash, pull
lever.