Opel Astra GTC (2018 year). Manual - part 4
54
Seats, restraints
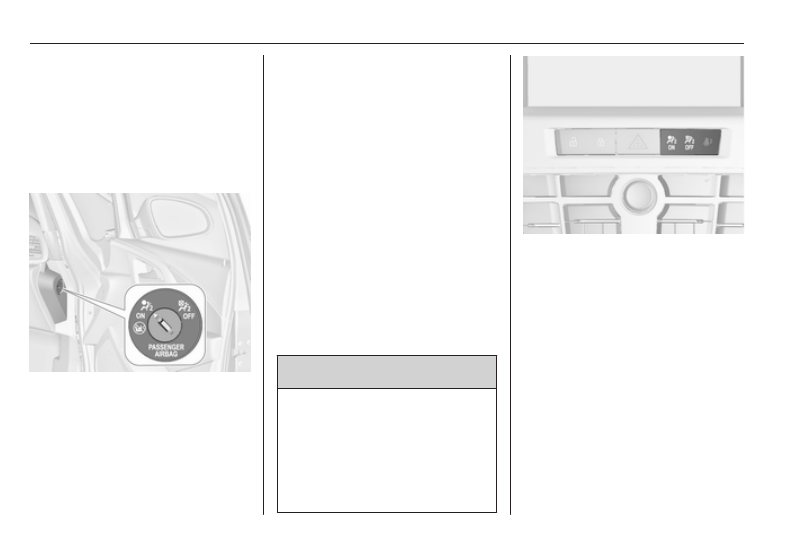
Airbag deactivation
The front passenger airbag system
must be deactivated if a child restraint
system is to be fitted on this seat. The
side airbag and curtain airbag
systems, the belt pretensioners and
all driver airbag systems will remain
active.
The front passenger airbag system
can be deactivated via a key-
operated switch on the passenger
side of the instrument panel.
Use the ignition key to choose the
position:
*OFF : front passenger airbag is
deactivated and will not
inflate in the event of a
collision. Control indicator
*OFF illuminates
continuously in the centre
console. A child restraint
system can be installed in
accordance with the chart
Child restraint installation
locations 3 57. No adult
person is allowed to occupy
the front passenger seat
V
ON : front passenger airbag is
active. A child restraint
system must not be
installed
9 Danger
Risk of fatal injury for a child using
a child restraint system on a seat
with activated front passenger
airbag.
Risk of fatal injury for an adult
person on a seat with deactivated
front passenger airbag.
If the control indicator V illuminates
for approx. 60 seconds after the
ignition is switched on, the front
passenger airbag system will inflate
in the event of a collision.
If both control indicators are
illuminated at the same time, there is
a system failure. The status of the
system is not discernible, therefore
no person is allowed to occupy the
front passenger seat. Contact a
workshop immediately.
Change status only when the vehicle
is stopped with the ignition off.
Status remains until the next change.