Opel Cascada (2017 year). Manual - part 5
70
Storage
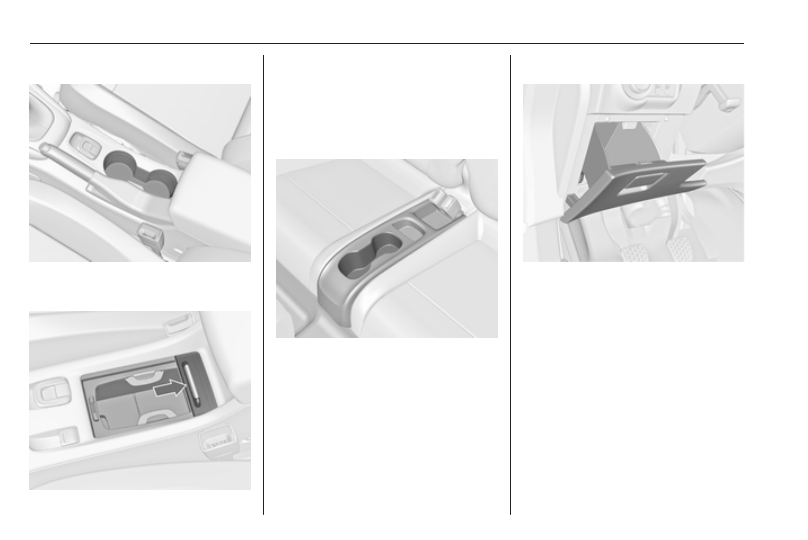
Cupholders
Cupholders are located in the centre
console.
Depending on the version,
cupholders are located under a cover
in the centre console.
Slide cover backwards. Bottles can
be stowed after folding up the
intermediate shelf 3 71.
Additional cupholders are located
between the rear seats.
Front storage
A storage compartment is located
next to the steering wheel.