Nissan Quest (2017 year). Instruction - part 29
8-22
Do-it-yourself
SDI2716
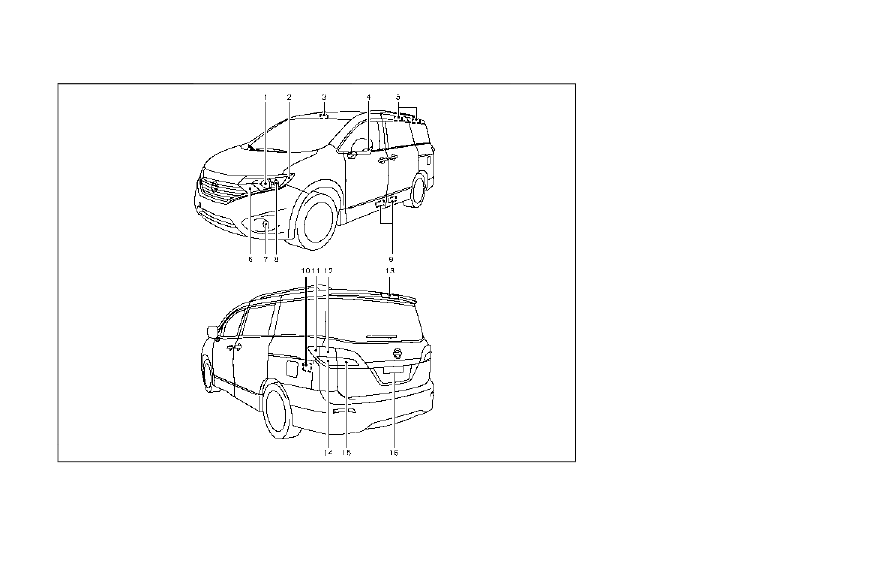
1.
Headlight (high beam)
2.
Front side marker light
3.
Map light
4.
Side turn signal light (if so equipped)
5.
Rear personal light
6.
Front turn signal/parking light
7.
Front fog light (if so equipped)
8.
Headlight (low beam)
9.
Step light
10.
Cargo light
11.
Rear side marker light
12.
Stop/tail light
13.
High-mounted stop light
14.
Rear turn signal light
15.
Back up light
16.
License plate lights
HEADLIGHTS
Fog may temporarily form inside the lens of the
exterior lights in the rain or in a car wash. A
temperature difference between the inside and
the outside of the lens causes the fog. This is
not a malfunction. If large drops of water collect
inside the lens, it is recommended you visit a
NISSAN dealer for servicing.
LIGHTS