Nissan Pathfinder (2018 year). Instruction - part 16
∙ The colors of objects on the Intelligent
Around View Monitor may differ some-
what from the actual color of objects.
∙ Objects on the Intelligent Around View
Monitor may not be clear and the color
of the object may differ in a dark envi-
ronment.
∙ There may be differences in sharpness
between each camera view of the
bird’s-eye view.
∙ Do not use wax on the camera lens.
Wipe off any wax with a clean cloth that
has been dampened with a diluted mild
cleaning agent, then wipe with a dry
cloth.
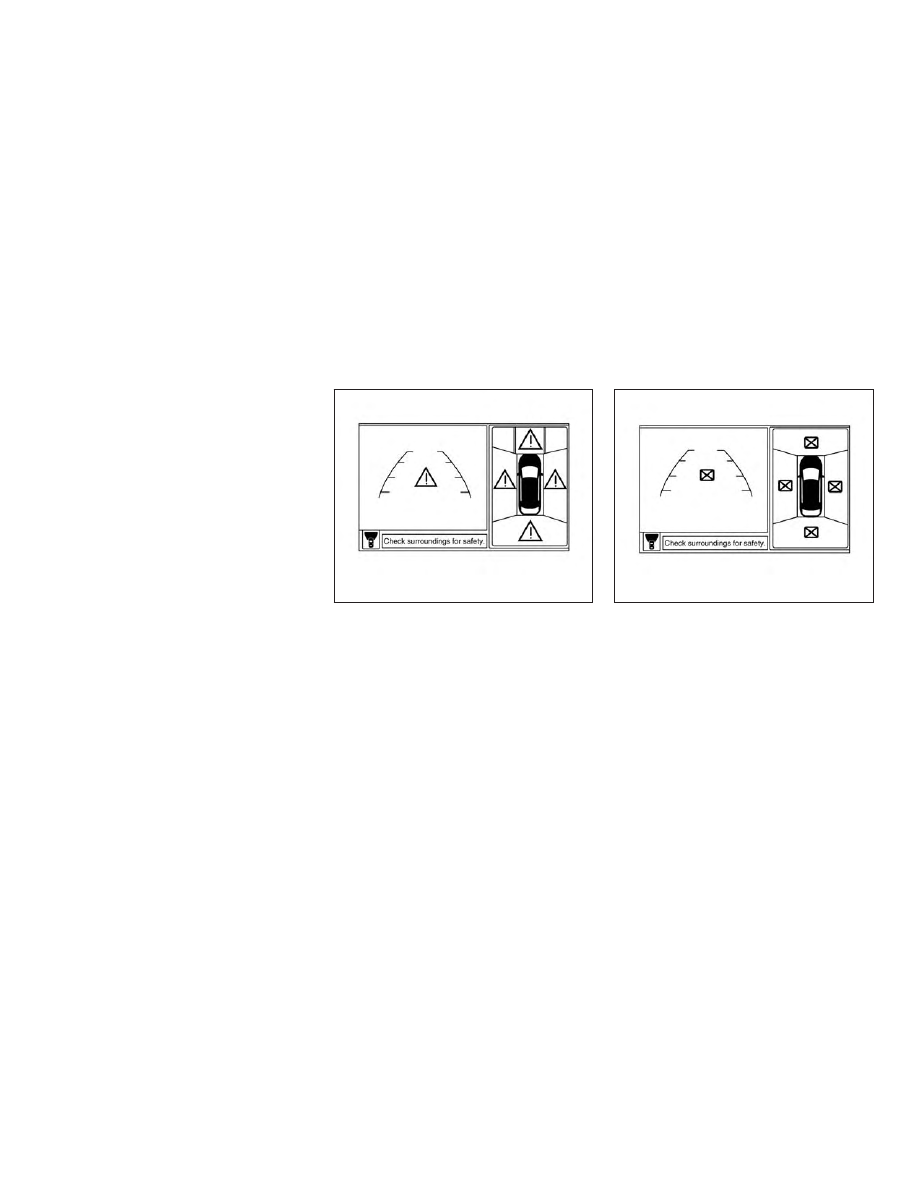
System temporarily unavailable
When the “!” icon is displayed on the screen,
there are abnormal conditions in the Intel-
ligent Around View Monitor. This will not
hinder normal driving operation but the
system should be inspected. It is recom-
mended that you visit a NISSAN dealer for
this service.
When the “[X]” icon is displayed on the
screen, the camera image may be receiv-
ing temporary electronic disturbances
from surrounding devices. This will not hin-
der normal driving operation but the sys-
tem should be inspected if it occurs fre-
quently. It is recommended that you visit a
NISSAN dealer for this service.
LHA3591
LHA3592
Monitor, climate, audio, phone and voice recognition systems
4-21