Nissan Armada (2019 year). Instruction - part 3
JVR0183X
WARNING
Do not allow children to play with the
seat belts. Most seating positions are
equipped with Automatic Locking
Retractor (ALR) mode seat belts. If
the seat belt becomes wrapped
around a child’s neck with the ALR
mode activated, the child can be
seriously injured or killed if the seat
belt retracts and becomes tight. This
can occur even if the vehicle is
parked. Unbuckle the seat belt to
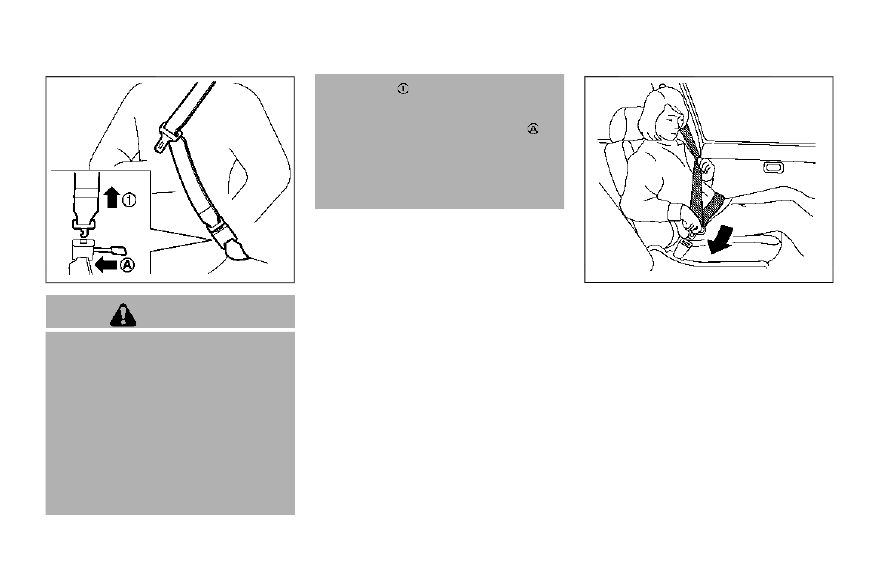
release the child. For the center of
the 3rd row bench seat, the connec-
tor tongue
may also be released.
Release the connector tongue by
inserting a suitable tool (such as a
key) into the connector buckle
. If
the seat belt cannot be unbuckled or
is already unbuckled, release the
child by cutting the seat belt with a
suitable tool (such as a knife or
scissors) to release the seat belt.
SSS0292
Fastening the seat belts
1.
Adjust the seat. (See “Seats” (P.1-3).)
2.
Slowly pull the seat belt out of the
retractor and insert the tongue into
the buckle until you hear and feel the
latch engage.
.
The retractor is designed to lock
during a sudden stop or on im-
pact. A slow pulling motion per-
mits the belt to move, and allows
you some freedom of movement
in the seat.
.
If the seat belt cannot be pulled
from its fully retracted position,
firmly pull the belt and release it.
Then smoothly pull the belt out of
Safety — seats, seat belts and supplemental restraint system
1-23