Nissan Sentra. Manual - part 504
FRONT COIL SPRING AND STRUT
FSU-19
< UNIT DISASSEMBLY AND ASSEMBLY >
C
D
F
G
H
I
J
K
L
M
A
B
FSU
N
O
P
UNIT DISASSEMBLY AND ASSEMBLY
FRONT COIL SPRING AND STRUT
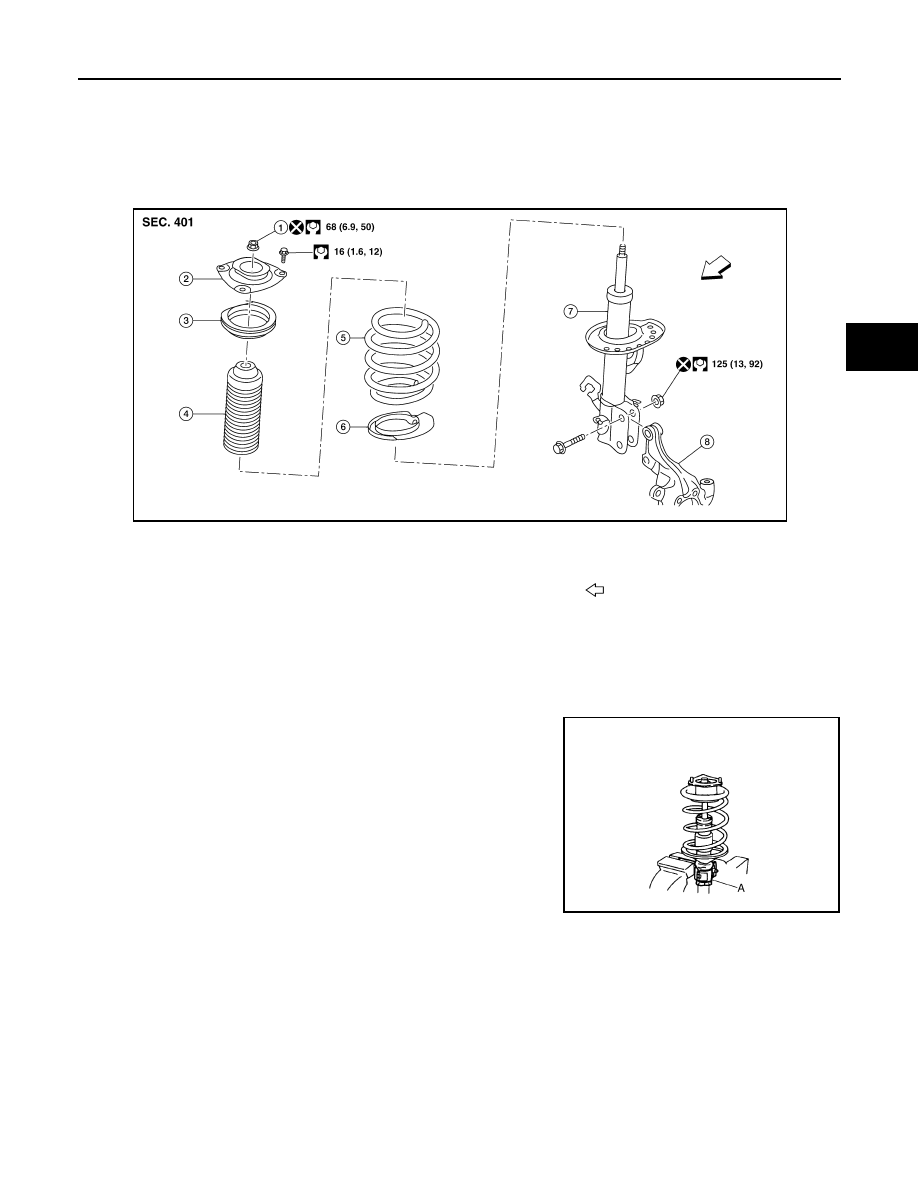
Exploded View
INFOID:0000000009758767
Disassembly and Assembly
INFOID:0000000009758768
DISASSEMBLY
CAUTION:
Do not damage the piston rod when removing components from the front coil spring and strut.
1. Install Tool (A) to the front coil spring and strut.
CAUTION:
When installing Tool (A), wrap a shop cloth around the front
coil spring and strut to protect the parts from damage.
2. Secure Tool (A) in a vise.
3. Slightly loosen the piston rod lock nut.
WARNING:
Do not remove the piston rod lock nut completely. If the piston rod lock nut is removed com-
pletely, the coil spring can jump out and may cause serious damage or injury.
1.
Piston rod lock nut
2.
Strut mount insulator
3.
Strut mount bearing
4.
Bound bumper
5.
Coil spring
6.
Lower rubber seat
7.
Strut
8.
Steering knuckle
Front
AWEIA0289ZZ
Tool number
: ST35652000 ( — )
JPEIA0006ZZ