Content .. 1265 1266 1267 1268 ..
Nissan Leaf. Manual - part 1267
VTL-18
< REMOVAL AND INSTALLATION >
DUCTS AND GRILLES
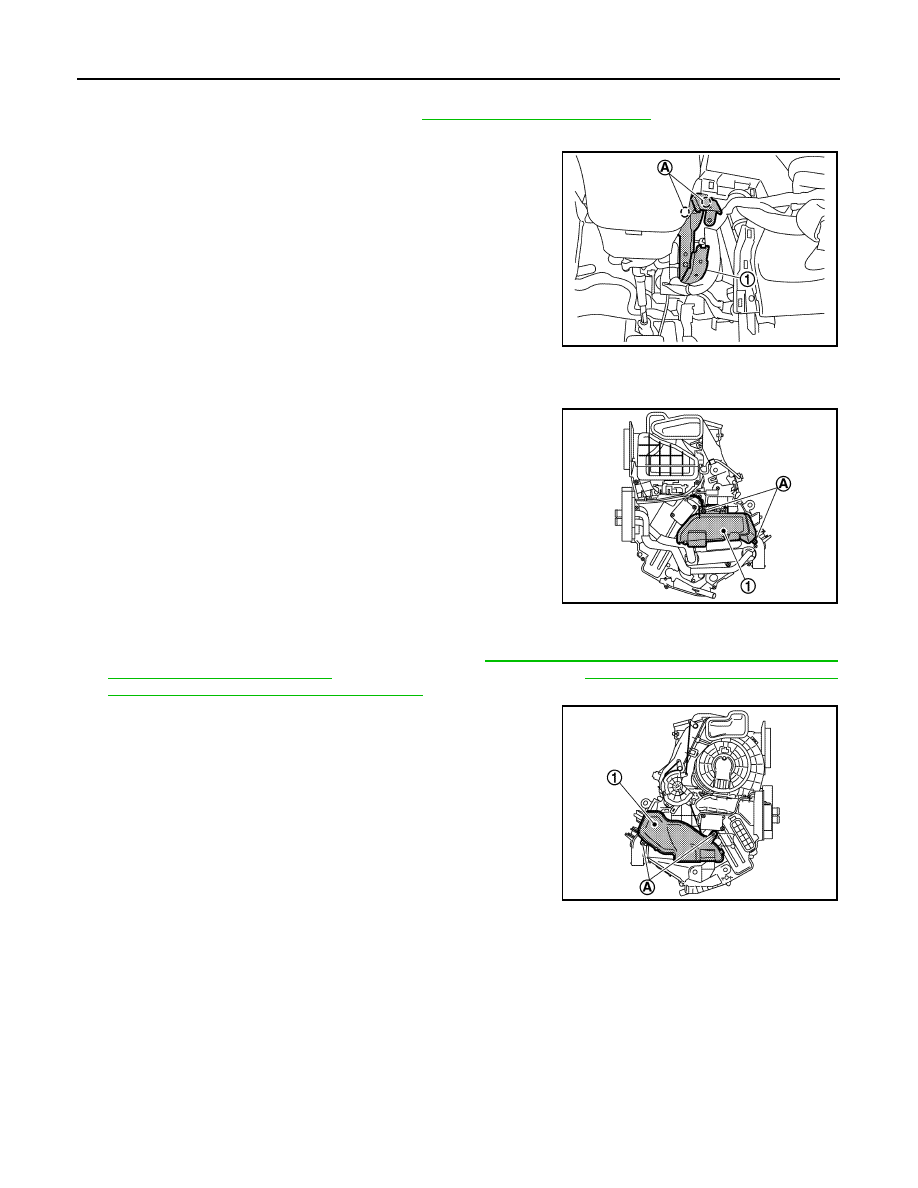
Driver side
1. Remove instrument lower panel LH. Refer to
IP-17, "Removal and Installation"
.
2. Remove knee protector.
3. Remove nuts (A), and then remove knee protector bracket (1).
4. Disconnect harness connector.
5. Remove harness connector clamp.
6. Remove screws (A), and then remove foot duct (1).
Passenger side
1. Remove heating and cooling unit assembly. Refer to
HA-57, "HEATING AND COOLING UNIT ASSEM-
BLY : Removal and Installation"
, (WITH HEAT PUMP SYSTEM) or
UNIT ASSEMBLY : Removal and Installation"
2. Remove screws (A), and then remove foot duct (1).
INSTALLATION
Install in the reverse order of removal.
REAR FOOT DUCT 1
JPIIA1891ZZ
JPIIA1841ZZ
JPIIA1842ZZ