Nissan Pathfinder (2011 year). Manual - part 374
ENGINE ASSEMBLY
EM-103
< UNIT REMOVAL AND INSTALLATION >
[VQ40DE]
C
D
E
F
G
H
I
J
K
L
M
A
EM
N
P
O
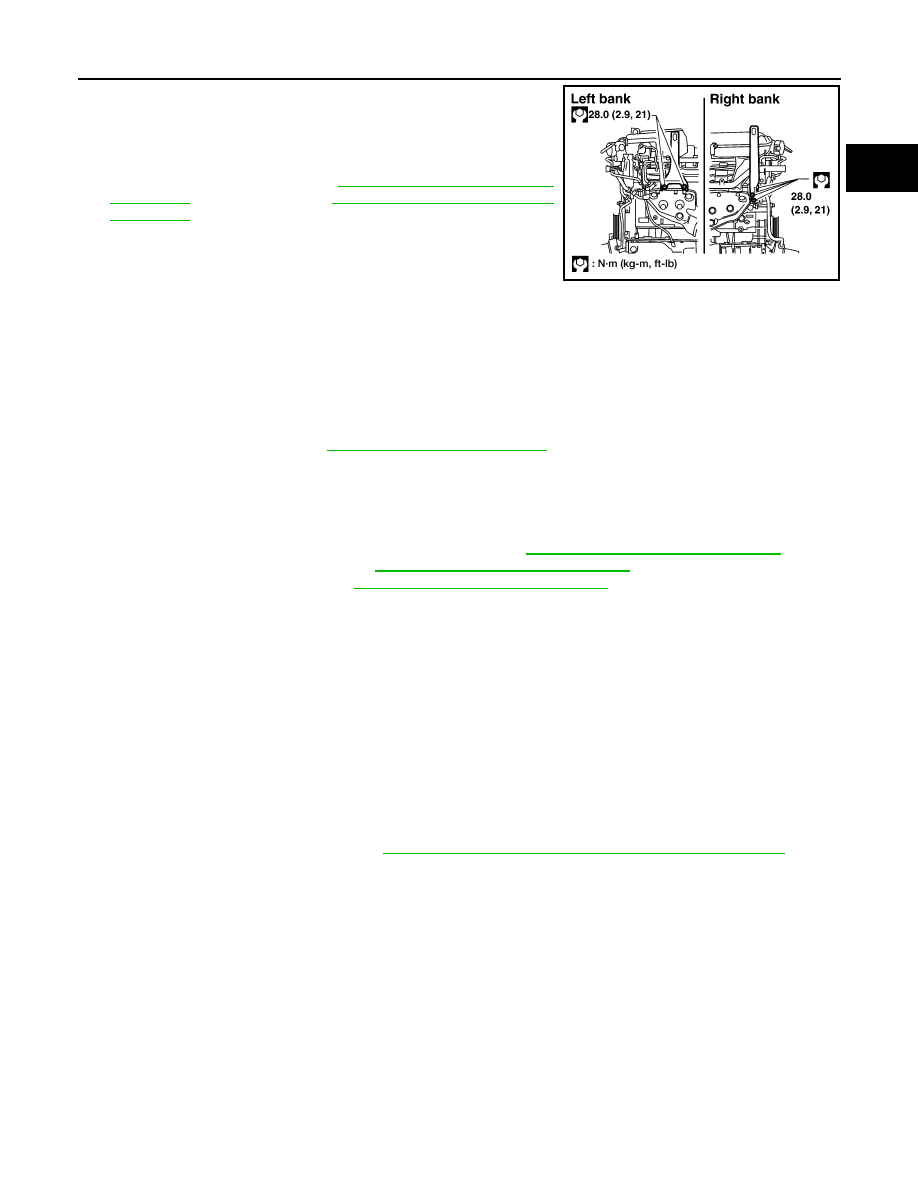
26. Install engine slingers into left bank and right bank.
27. Remove front frame crossmember.
28. Remove transmission. Refer to
(2WD models) or
(4WD models).
29. Remove engine mounting insulator bracket (upper) with power
tool.
30. Lift with hoist and secure the engine in position.
31. Remove engine mount bracket bolts.
32. Remove engine assembly from vehicle, avoiding interference with vehicle body.
CAUTION:
• Before and during this lifting, always check if any harnesses are left connected.
33. Remove the parts that may restrict installation of engine to engine stand.
NOTE:
The procedure is described assuming that you use a engine holding the surface, to which transmission is
installed.
• Remove drive plate. Refer to
CAUTION:
Use an engine stand that has a load capacity [approximately 240kg (529 lb) or more] large enough
for supporting the engine weight.
• If the load capacity of the stand is not adequate, remove the following parts beforehand to
reduce the potential risk of overturning the stand.
- Remove fuel tube and fuel injector assembly. Refer to
EM-47, "Removal and Installation"
- Remove intake manifold. Refer to
EM-30, "Removal and Installation"
- Remove rocker cover. Refer to
EM-43, "Removal and Installation"
.
- Other removable brackets.
CAUTION:
Before removing the hanging chains, make sure the engine stand is stable and there is no risk of
overturning.
INSTALLATION
Installation is in the reverse order of removal.
CAUTION:
• When replacing an engine or transmission you must make sure the dowels are installed correctly
during reassembly.
• Improper alignment caused by missing dowels may cause vibration, oil leaks or breakage of driv-
etrain components.
INSPECTION AFTER INSTALLATION
• Before starting engine, check oil/fluid levels including engine coolant and engine oil. If less than required
quantity, fill to the specified level. Refer to
MA-18, "FOR USA AND CANADA : Fluids and Lubricants"
(United
States and Canada) and (Mexico).
• Use procedure below to check for fuel leakage.
• Turn ignition switch ON (with engine stopped). With fuel pressure applied to fuel piping, check for fuel leak-
age at connection points.
• Start engine. With engine speed increased, check again for fuel leakage at connection points.
• Run engine to check for unusual noise and vibration.
NOTE:
If hydraulic pressure inside timing chain tensioner drops after removal and installation, slack in the guide
may generate a pounding noise during and just after engine start. However, this is normal. Noise will stop
after hydraulic pressure rises.
• Warm up engine thoroughly to make sure there is no leakage of fuel, exhaust gas, or any oils/fluids including
engine oil and engine coolant.
• Bleed air from passages in lines and hoses, such as in cooling system.
• After cooling down engine, again check oil/fluid levels including engine oil and engine coolant. Refill to spec-
ified level, if necessary.
• Summary of the inspection items:
Engine slinger torque:
28.0 N·m (2.9 kg-m, 21 ft-lb)
WBIA0624E
2011 Pathfinder