Nissan Pathfinder (2010 year). Manual - part 545
REAR DRIVE SHAFT
RAX-9
< REMOVAL AND INSTALLATION >
C
E
F
G
H
I
J
K
L
M
A
B
RAX
N
O
P
• Move the joint up and down, left and right, and in the axial direc-
tion. Check for any rough movement or significant looseness.
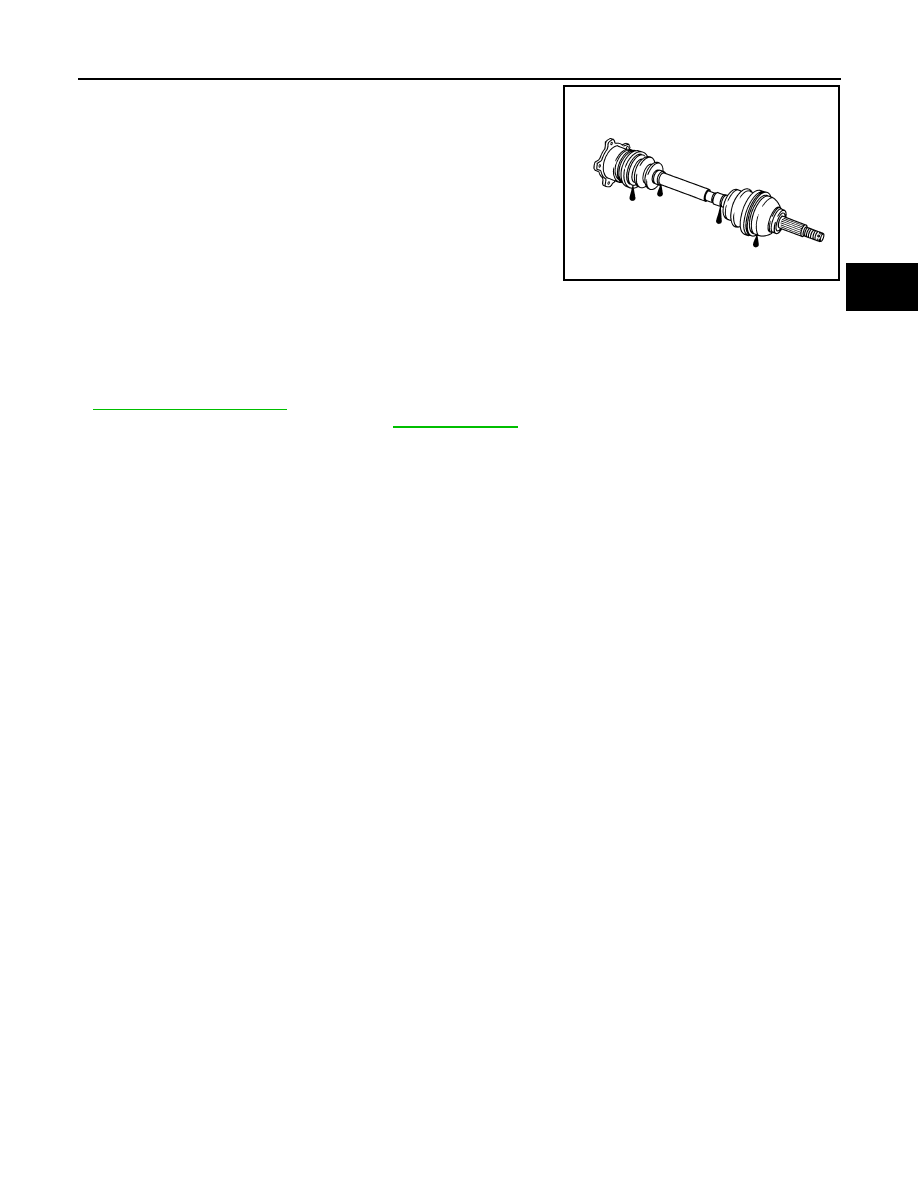
• Check the boot for cracks or other damage, and for any grease
leakage.
• If necessary, disassemble the drive shaft, and repair as necessary.
INSTALLATION
Installation is in the reverse order of removal.
• Do not reuse the drive shaft inside flange bolts and washers, discard after removal and use new bolts and
washers for installation.
• Do not reuse the cotter pin, discard after removal and use a new cotter pin for installation.
• Apply Genuine NISSAN grease or equivalent to contact surface between wheel hub and drive shaft. Refer to
.
• Tighten wheel nut to specification. Refer to
RAA0030D
2010 Pathfinder