Nissan Pathfinder (2008 year). Manual - part 308
P0037, P0038, P0057, P0058 HO2S2 HEATER
EC-581
< COMPONENT DIAGNOSIS >
[VK56DE]
C
D
E
F
G
H
I
J
K
L
M
A
EC
N
P
O
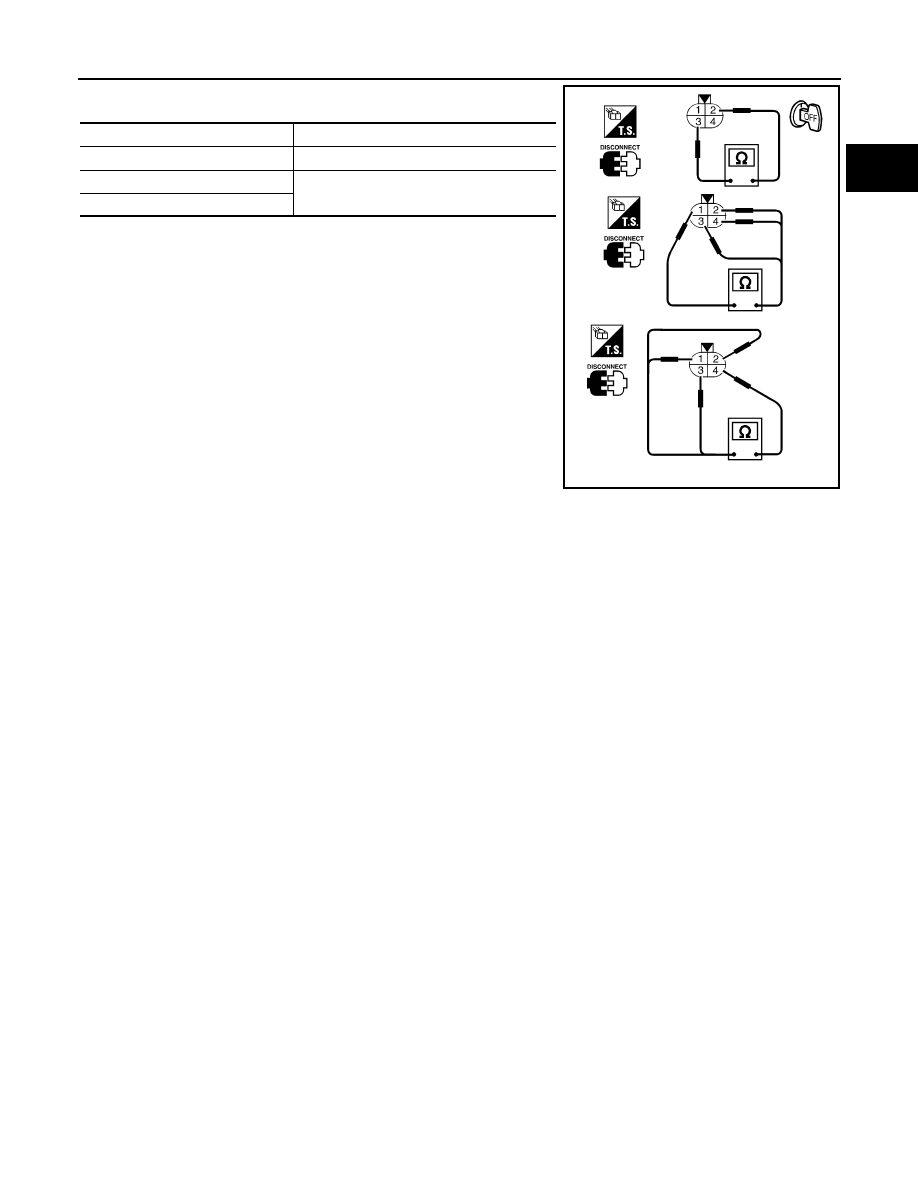
1.
Check resistance between HO2S2 terminals as follows.
2.
If NG, replace heated oxygen sensor 2.
CAUTION:
• Discard any heated oxygen sensor which has been dropped
from a height of more than 0.5 m (19.7 in) onto a hard surface
such as a concrete floor; use a new one.
• Before installing new oxygen sensor, clean exhaust system
threads using Oxygen Sensor Thread Cleaner tool J-43897-18
or J-43897-12 and approved anti-seize lubricant.
Terminal No.
Resistance
2 and 3
8 - 10
Ω
at 25
°
C (77
°
F)
1 and 2, 3, 4
∞
Ω
(Continuity should not exist)
4 and 1, 2, 3
SEF249Y