Nissan Teana J32. Manual - part 488
EM-76
< DISASSEMBLY AND ASSEMBLY >
ENGINE STAND SETTING
DISASSEMBLY AND ASSEMBLY
ENGINE STAND SETTING
Setting
INFOID:0000000003802278
NOTE:
Explained here is how to disassemble with engine stand supporting transaxle surface. When using different
type of engine stand, note with difference in steps and etc.
1.
Remove the engine assembly from the vehicle. Refer to
2.
Remove the parts that may restrict installation of engine to widely use engine stand.
NOTE:
The procedure is described assuming that you use a widely use engine stand holding the surface, to
which transmission is installed.
• Remove drive plate. Fix crankshaft pulley with the pulley holder (commercial service tool), and remove
mounting bolts.
• Loosen mounting bolts in diagonal order.
• Check for deformation or damage drive plate.
CAUTION:
• Never disassemble drive plate.
• Never place drive plate with signal plate facing down.
• When handling signal plate, take care not to damage or scratch it.
• Handle signal plate in a manner that prevents it from becoming magnetized.
3.
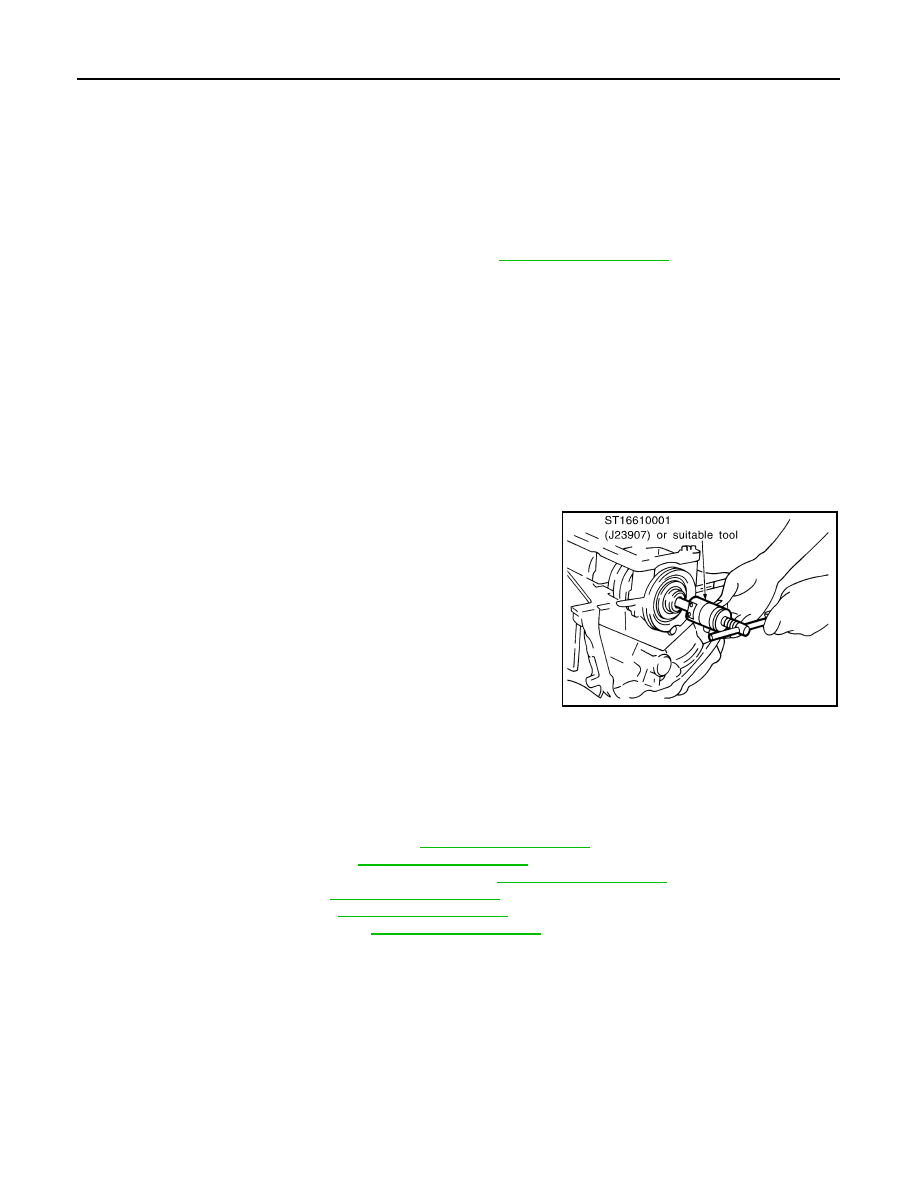
Remove pilot converter using the pilot bushing puller (SST) as
necessary.
4.
Lift the engine with hoist to install it onto the widely use engine stand.
CAUTION:
Use an engine stand that has a load capacity [220 kg (485 lb) or more] large enough for supporting
the engine weight.
• If the load capacity of the stand is not adequate, remove the following parts beforehand to reduce the
potential risk of overturning the stand.
- Remove intake manifold collector. Refer to
- Remove intake manifold. Refer to
- Remove fuel injector and fuel tube assembly. Refer to
.
- Remove ignition coil. Refer to
- Remove rocker cover. Refer to
- Remove exhaust manifold. Refer to
- Other removable brackets.
NOTE:
SEM005G