Nissan Murano Z51 (2008 year). Manual - part 47
AV
VIDEO DISTRIBUTOR
AV-525
< ON-VEHICLE REPAIR >
[BOSE AUDIO WITHOUT NAVIGATION]
C
D
E
F
G
H
I
J
K
L
M
B
A
O
P
VIDEO DISTRIBUTOR
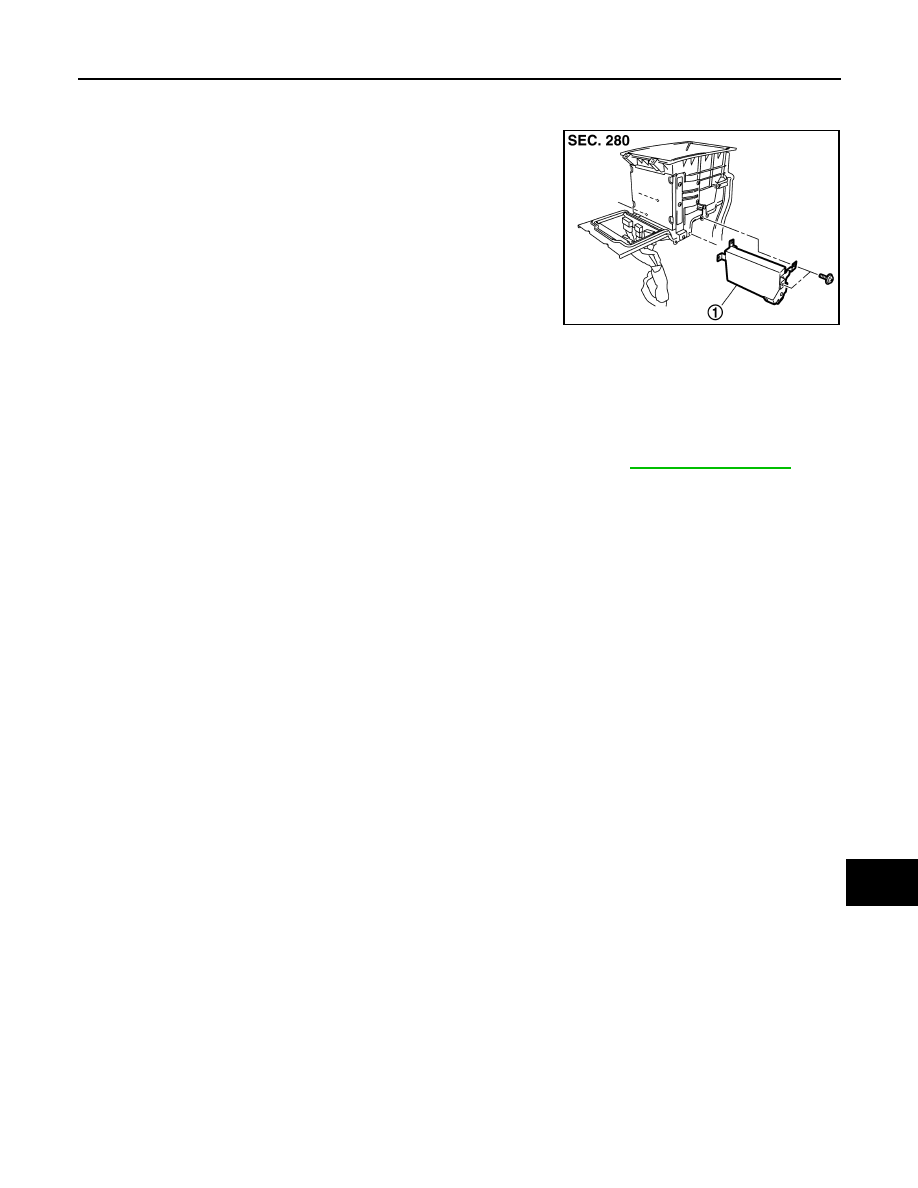
Exploded View
INFOID:0000000003508020
Removal and Installation
INFOID:0000000003508021
REMOVAL
1.
Remove lower console finisher LH and lower console finisher RH. Refer to
.
2.
Disconnect video distributor connector, remove video distributor screws and remove the video distributor.
INSTALLATION
Install in the reverse order of removal.
JPNIA0793ZZ
1.
Video distributor
Revision: 2008 October
2009 Murano