Nissan Murano. Manual - part 1149


  Главная      Nissan     Nissan Murano (2014 year) - Service Manual


поиск по сайту            


содержание   ..  1147  1148  1149  1150   ..


Nissan Murano. Manual - part 1149


RAX-4

< PRECAUTION >

[2WD]

PRECAUTIONS

PRECAUTION

PRECAUTIONS

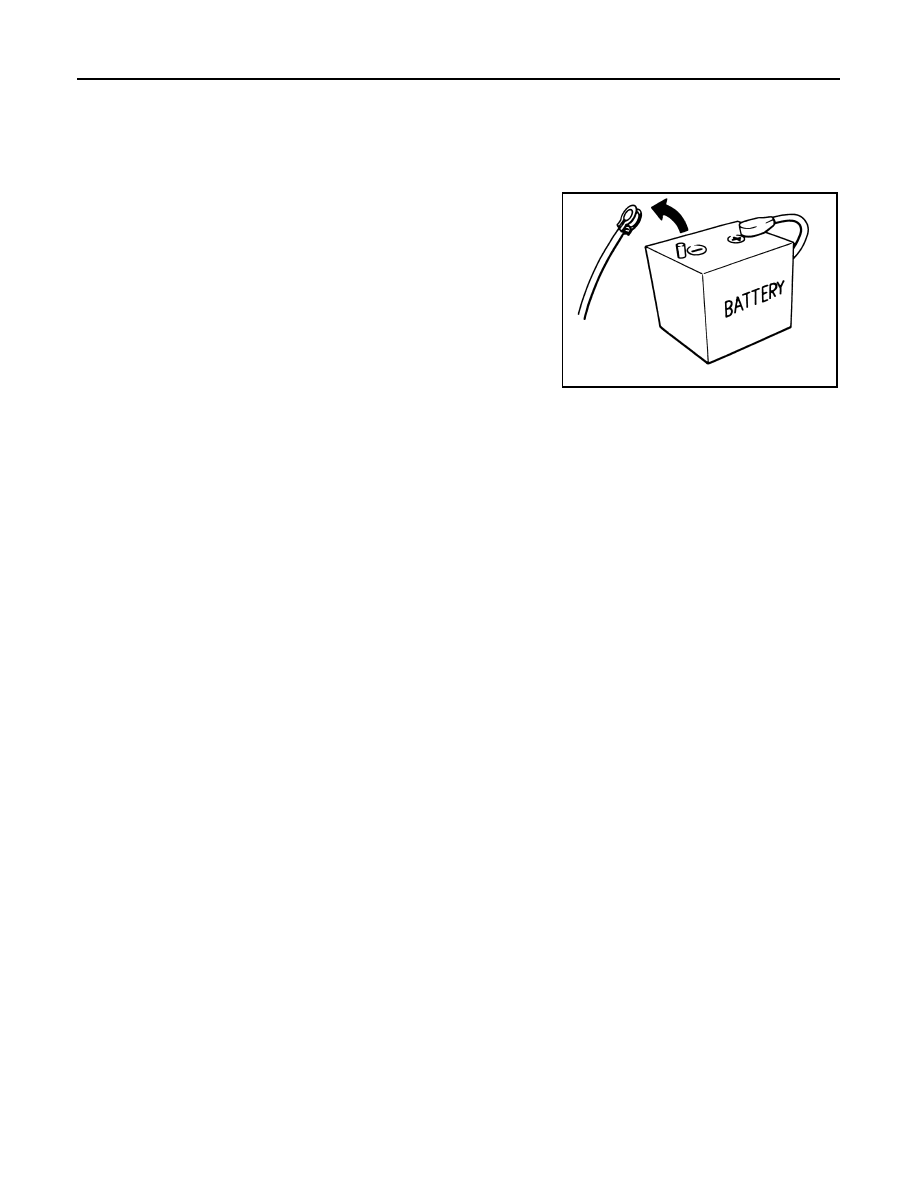
Precautions for Removing of Battery Terminal

INFOID:0000000010062755

•  When removing the 12V battery terminal, turn OFF the ignition

switch and wait at least 30 seconds.
NOTE:
ECU may be active for several tens of seconds after the ignition
switch is turned OFF. If the battery terminal is removed before ECU
stops, then a DTC detection error or ECU data corruption may
occur.

•  For vehicles with the 2-batteries, be sure to connect the main bat-

tery and the sub battery before turning ON the ignition switch.
NOTE:
If the ignition switch is turned ON with any one of the terminals of
main battery and sub battery disconnected, then DTC may be
detected.

•  After installing the 12V battery, always check "Self Diagnosis Result" of all ECUs and erase DTC.

NOTE:
The removal of 12V battery may cause a DTC detection error.

SEF289H

PREPARATION

RAX-5

< PREPARATION >

[2WD]

C

E

F

G

H

I

J

K

L

M

A

B

RAX

N

O

P

PREPARATION

PREPARATION

Commercial Service Tool

INFOID:0000000009720598

Tool name

Description

Power tool

Loosening bolts and nuts

PBIC0190E

RAX-6

< PERIODIC MAINTENANCE >

[2WD]

REAR WHEEL HUB AND HOUSING

PERIODIC MAINTENANCE

REAR WHEEL HUB AND HOUSING

Inspection

INFOID:0000000009720599

MOUNTING INSPECTION

Make sure the mounting conditions (looseness, back lash) of each component and component conditions
(wear, damage) are normal.

WHEEL BEARING INSPECTION

• Move wheel hub and bearing assembly in the axial direction by hand. Make sure there is no looseness of

wheel bearing. 

• Rotate wheel hub and bearing assembly and make sure there is no unusual noise or other irregular condi-

tions. If there is any of irregular conditions, replace wheel hub and bearing assembly.

Standard

Axial end play

: Refer to 

RAX-9, "Wheel Bearing"

.

REAR WHEEL HUB AND HOUSING

RAX-7

< REMOVAL AND INSTALLATION >

[2WD]

C

E

F

G

H

I

J

K

L

M

A

B

RAX

N

O

P

REMOVAL AND INSTALLATION

REAR WHEEL HUB AND HOUSING

Exploded View

INFOID:0000000009720600

Removal and Installation

INFOID:0000000009720601

REMOVAL

1.

Remove tire with power tool.

2.

Remove wheel sensor and sensor harness. Refer to 

BRC-124, "REAR WHEEL SENSOR : Exploded

View"

.

3.

Remove caliper assembly. Hang caliper assembly in a place where it will not interfere with work. Refer to

BR-48, "BRAKE CALIPER ASSEMBLY : Exploded View"

.

CAUTION:

Never depress brake pedal while caliper assembly is removed. 

4.

Remove disc rotor. Refer to 

BR-49, "BRAKE CALIPER ASSEMBLY : Removal and Installation"

.

5.

Remove cotter pin, then loosen suspension arm mounting nut of axle housing. Refer to 

RSU-16,

"Exploded View"

.

6.

Remove wheel hub and bearing assembly.

7.

Remove parking brake shoe and parking brake cable from back plate. Refer to 

PB-8, "Exploded View"

and 

PB-6, "Exploded View"

.

8.

Remove anchor block mounting nuts, and then remove anchor block and back plate from axle housing.

9.

Remove stabilizer connecting rod (upper side) with power tool. Refer to 

RSU-15, "Exploded View"

.

10. Remove radius rod (axle housing side). Refer to 

RSU-12, "Exploded View"

.

11. Remove coil spring. Refer to 

RSU-8, "Exploded View"

.

12. Set suitable jack under axle housing.
13. Remove front lower link (shock absorber side) with power tool. Refer to 

RSU-10, "Exploded View"

.

14. Remove front lower link (axle housing side). Refer to 

RSU-14, "Exploded View"

.

15. Separate suspension arm from axle housing so as not to damage ball joint boot using ball joint remover,

and then remove axle housing from the vehicle.

1.

Ball seat

2.

Bushing

3.

Cotter pin

4.

Axle housing

5.

Hub cap

6.

Back plate

7.

Anchor block

8.

Wheel hub and bearing assembly

Refer to 

GI-4, "Components"

 for symbols in the figure.

JSDIA2891GB


содержание   ..  1147  1148  1149  1150   ..