Content .. 2089 2090 2091 2092 ..
Nissan Qashqai J11. Manual - part 2091
AV
AUDIO UNIT
AV-53
< REMOVAL AND INSTALLATION >
[AUDIO SYSTEM]
C
D
E
F
G
H
I
J
K
L
M
B
A
O
P
REMOVAL AND INSTALLATION
AUDIO UNIT
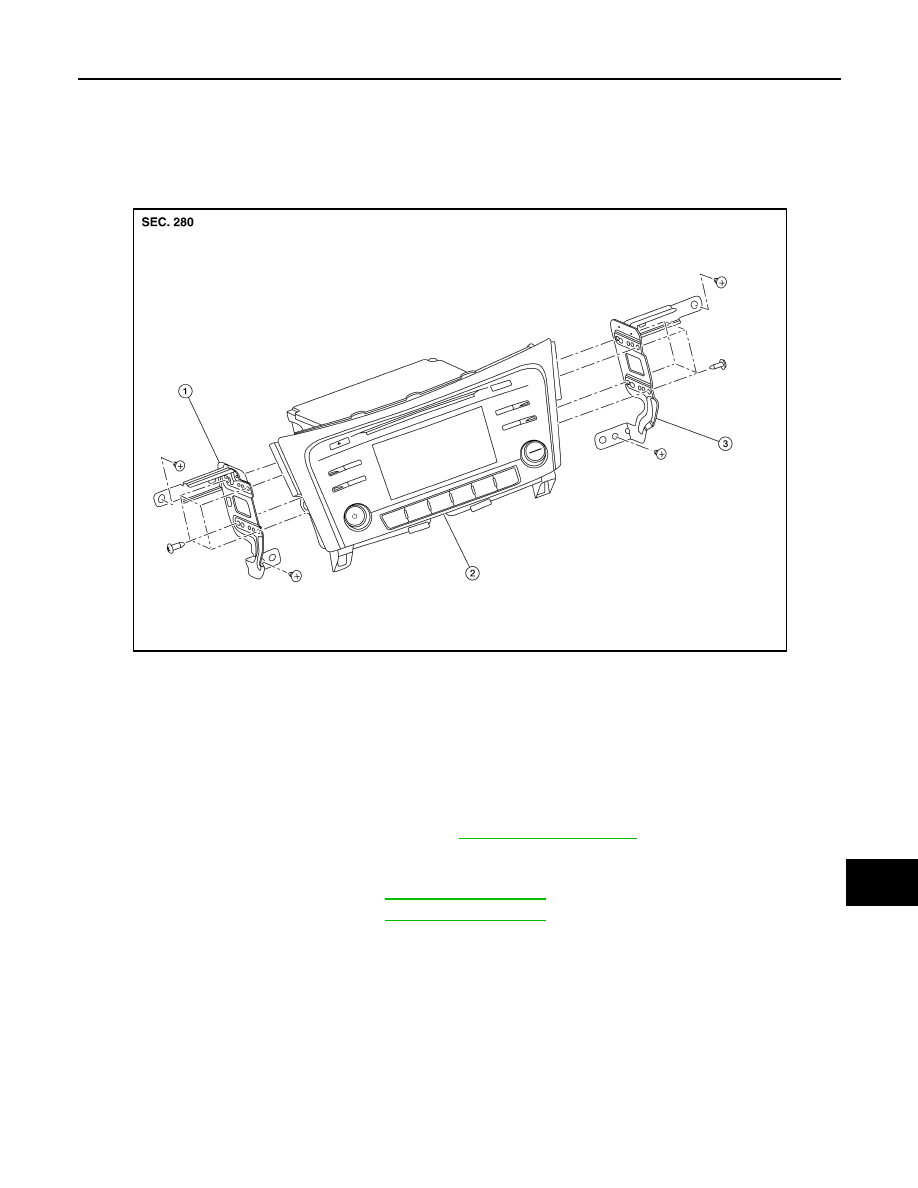
Exploded View
INFOID:0000000010502045
NOTE:
The following figures show the image of the inspection procedure. (Existing parts are not the same shape as
the parts in the figure.)
Removal and Installation
INFOID:0000000010502046
REMOVAL
1.
Disconnect the negative battery terminal. Refer to
2.
Remove A/C switch (AUTOMATIC AIR CONDITIONING) or front air control (MANUAL AIR CONDITION-
ING).
3.
Remove instrument finisher B. Refer to
4.
Remove instrument finisher E. Refer to
5.
Remove the audio unit screws, then pull out the audio unit.
6.
Disconnect the harness connectors from the audio unit and remove.
7.
Remove the audio unit bracket (LH/RH) screws and the audio unit brackets (LH/RH) (if necessary).
INSTALLATION
Installation is in the reverse order of removal.
1.
Audio unit bracket (LH)
2.
Audio unit
3.
Audio unit bracket (RH)
AWNIA3340ZZ