Nissan Juke F15. Manual - part 281
PRECAUTIONS
DLN-129
< PRECAUTION >
[REAR FINAL DRIVE: RTVS]
C
E
F
G
H
I
J
K
L
M
A
B
DLN
N
O
P
PRECAUTION
PRECAUTIONS
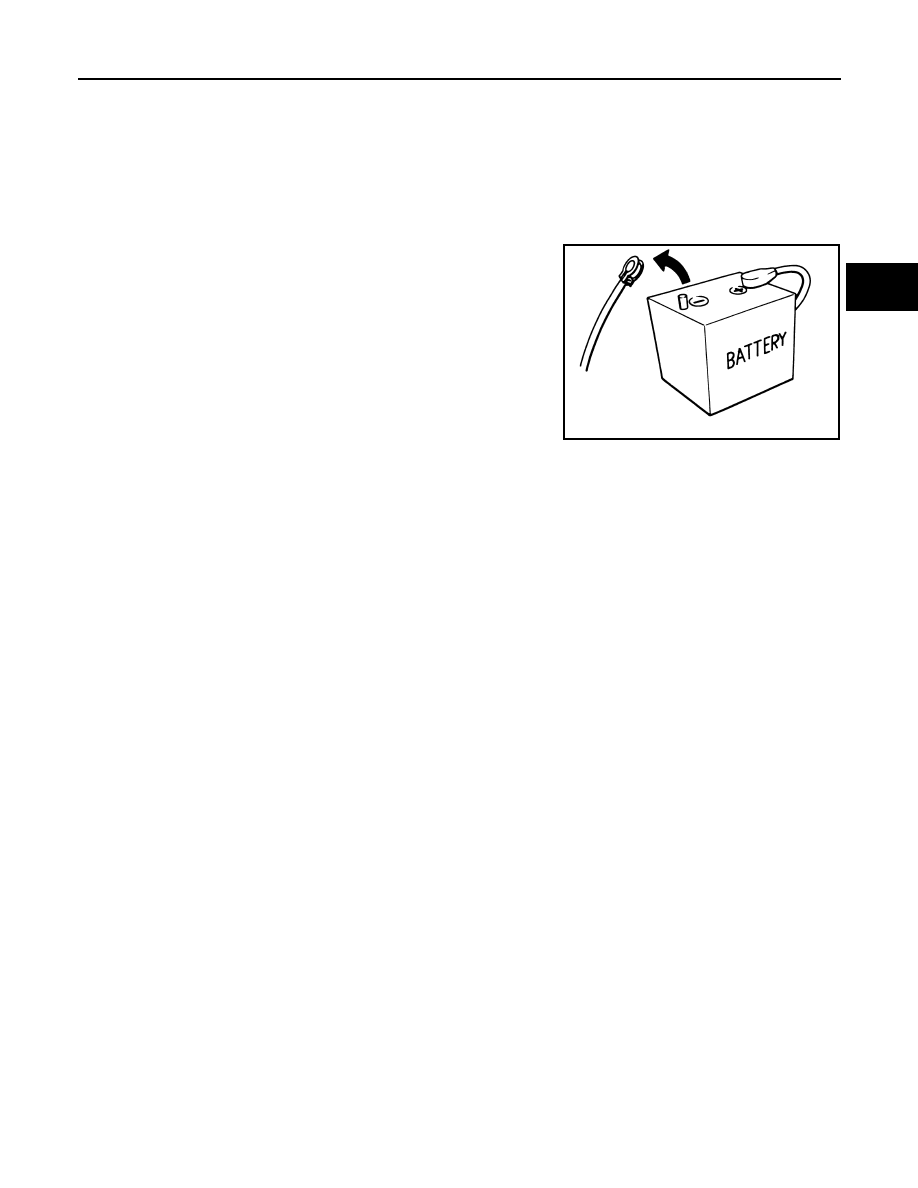
Precautions for Removing Battery Terminal
INFOID:0000000012833561
When disconnecting the battery terminal, pay attention to the following.
• Always use a 12V battery as power source.
• Never disconnect battery terminal while engine is running.
• When removing the 12V battery terminal, turn OFF the ignition
switch and wait at least 30 seconds.
• For vehicles with the engine listed below, remove the battery termi-
nal after a lapse of the specified time:
NOTE:
ECU may be active for several tens of seconds after the ignition switch is turned OFF. If the battery terminal
is removed before ECU stops, then a DTC detection error or ECU data corruption may occur.
• After high-load driving, if the vehicle is equipped with the V9X engine, turn the ignition switch OFF and wait
for at least 15 minutes to remove the battery terminal.
NOTE:
• Turbocharger cooling pump may operate in a few minutes after the ignition switch is turned OFF.
• Example of high-load driving
- Driving for 30 minutes or more at 140 km/h (86 MPH) or more.
- Driving for 30 minutes or more on a steep slope.
• For vehicles with the 2-batteries, be sure to connect the main battery and the sub battery before turning ON
the ignition switch.
NOTE:
If the ignition switch is turned ON with any one of the terminals of main battery and sub battery discon-
nected, then DTC may be detected.
• After installing the 12V battery, always check "Self Diagnosis Result" of all ECUs and erase DTC.
NOTE:
The removal of 12V battery may cause a DTC detection error.
Service Notice or Precautions for Rear Final Drive
INFOID:0000000012199494
• Check for the correct installation status prior to removal or disassembly. If matching marks are required, be
certain they do not interfere with the function of the parts when applied.
• Overhaul should be done in a clean work area, it is preferable to work in dustproof area.
• Before disassembly, using steam or white gasoline, completely remove sand and mud from the exterior of
the unit, preventing them from entering into the unit during disassembly or assembly.
• Check appearance of the disassembled parts for damage, deformation, and unusual wear. Replace them
with a new one if necessary.
• Gaskets and seals should be replaced any time when the unit is disassembled.
• In principle, tighten bolts or nuts gradually in several steps working diagonally from inside to outside. If tight-
ening sequence is specified, observe it.
• Clean and flush the parts sufficiently and blow-dry them.
• Never damage sliding surfaces and mating surfaces.
• When applying sealant, remove the old sealant from the mounting surface; then remove any moisture, oil,
and foreign materials from the application and mounting surfaces.
• Always use shop paper for cleaning the inside of components.
• Avoid using cotton gloves or shop rags to prevent entering of lint.
• During assembly, observe the specified tightening torque, and apply new gear oil, petroleum jelly, or multi-
purpose grease as specified for each vehicle, if necessary.
D4D engine
: 20 minutes
YS23DDT
: 4 minutes
HRA2DDT
: 12 minutes
YS23DDTT
: 4 minutes
K9K engine
: 4 minutes
ZD30DDTi
: 60 seconds
M9R engine
: 4 minutes
ZD30DDTT
: 60 seconds
R9M engine
: 4 minutes
V9X engine
: 4 minutes
YD25DDTi
: 2 minutes
SEF289H