Mitsubishi Lancer Evolution IX. Manual - part 487
 

  Index      Mitsubishi     Mitsubishi Lancer Evolution IX - service repair manual


Search            


Content   ..  485  486  487  488   ..


Mitsubishi Lancer Evolution IX. Manual - part 487


SERVICE SPECIFICATIONS

SERVICE BRAKES

35A-3

SPECIFICATIONS

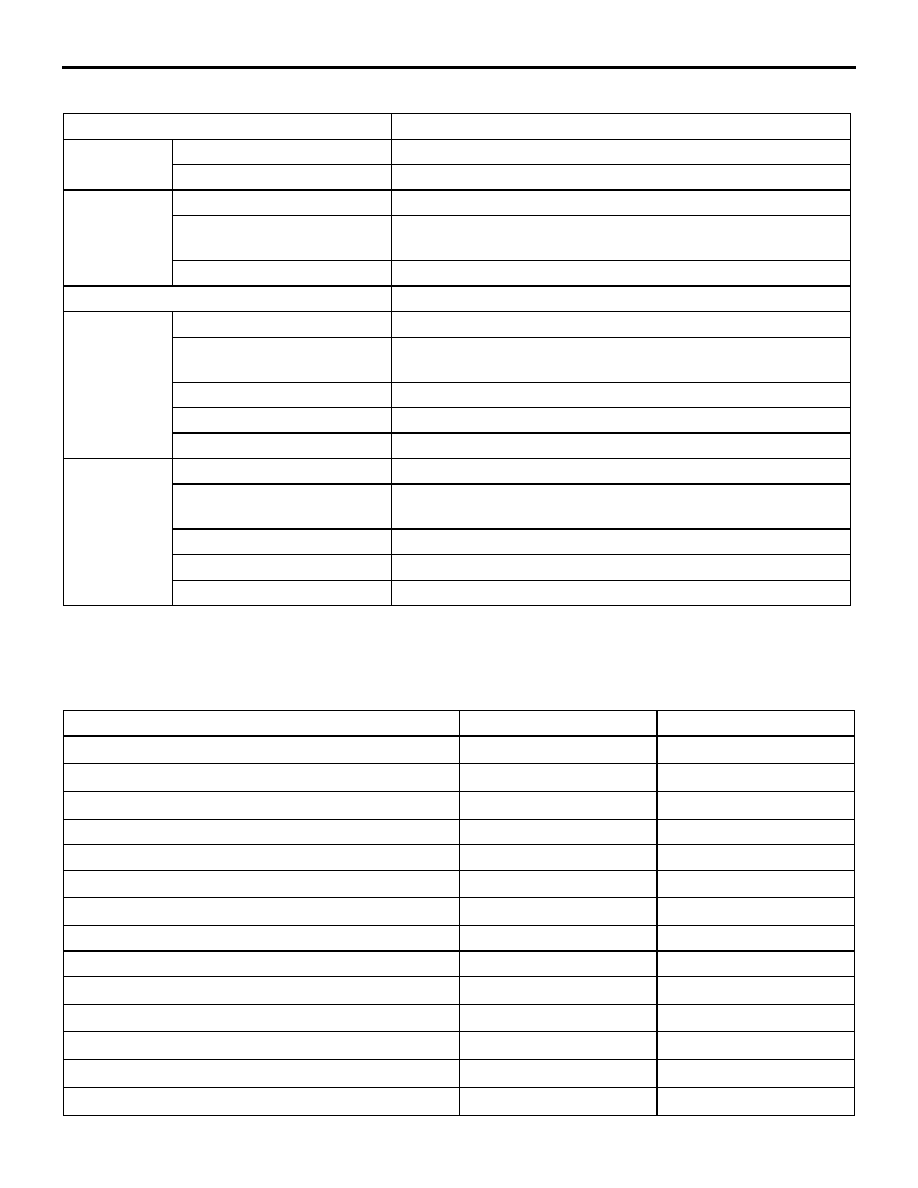
Item

Specification

Master 
cylinder

Type

Tandem type

I.D. mm

26.9

Brake 
booster

Type

Vacuum type, tandem

Effective dia. of power 
cylinder mm

205 + 230

Boosting ratio

4.5 (Brake pedal depressing force: 230 N)

Rear wheel hydraulic control method

Electronic brake-force distribution (EBD) 

Front brakes Type

4-opposed piston, ventilated disc

Disc effective dia. 

× 

thickness mm

263 

× 32

Wheel cylinder I.D. mm

40.0 

× 2, 46.0 × 2

Pad thickness mm

10.0

Clearance adjustment

Automatic

Rear brakes

Type

2-opposed piston, ventilated disc

Disc effective dia. 

× 

thickness mm

252 

× 22

Wheel cylinder I.D. mm

40.0 

× 2

Pad thickness mm

9.0

Clearance adjustment

Automatic

SERVICE SPECIFICATIONS

M1351000300574

Item

Standard value

Limit

Brake pedal height mm

169.1 

− 172.1

Brake pedal free play mm

− 8

Brake pedal to floorboard clearance mm

90 or more

Front disc brake pad thickness mm

10.0

Minimum 2.0

Front disc brake disc thickness mm

32.0

Minimum 29.8

Front disc brake disc run-out mm

0.03

Front disc brake drag force N

69 or less

Rear disc brake pad thickness mm

9.0

Minimum 2.0

Rear disc brake disc thickness mm

22.0

Minimum 20.4

Rear disc brake disc run-out mm

0.03

Rear disc brake drag force N

69 or less

Front wheel bearing axial play mm

0.05

Rear wheel bearing axial play mm

0.05

Brake booster push rod protruding amount mm

8.98 

− 9.23

LUBRICANTS

SERVICE BRAKES

35A-4

LUBRICANTS

M1351000400504

Item

Specified lubricant

Brake fluid

DOT3 or DOT4

Pad assembly

Repair kit grease

SEALANT

M1351000500415

Item

Specified sealant

Remark

Fitting

3M ATD Part No.8661 or equivalent

Semi-drying sealant

SPECIAL TOOLS

M1351000600434

Tool

Number

Name

Use

MB991568

Push rod adjusting 
socket

Adjustment of the brake booster 
push rod protrusion amount

MB990964

A

B

MB990964
A: MB990520
B: MB990619

Brake tool set
A: Disc brake 
piston expander
B: Installer

• Pushing-in of the disc brake 

piston

• Installation of the drum brake 

wheel cylinder piston cup

MB990998

MB990998

Front hub remover 
and installer

Provisional holding of the wheel 
bearing

ON-VEHICLE SERVICE

SERVICE BRAKES

35A-5

ON-VEHICLE SERVICE

BRAKE PEDAL CHECK AND 
ADJUSTMENT

M1351000900510

BRAKE PEDAL HEIGHT

1. Turn up the carpet, etc. under the brake pedal.

AC006215AB

A

2. Measure the brake pedal height as illustrated.

Standard value (A): 169.1 

 172.1 mm [From 

the surface of melting sheet (floorboard) to 
the face of pedal pad]

3. If the brake pedal height is not within the standard 

value, follow the procedure below.
(1) Disconnect the stop lamp switch connector.
(2) Loosen the stop lamp switch by turning it 

approximately 1/4 turn anticlockwise.

(3) Remove the brake booster (Refer to 

P.35A-16

).

NOTE: With the master cylinder and brake 
pipe connected, remove the brake booster 
only.

AC006217AB

Clevis

(4) Adjust the brake pedal height by turning the 

clevis.

NOTE: When the clevis is turned 180 degrees, 
the pedal height is changed approximately 2.4 
mm.

(5) Install the brake booster (Refer to 

P.35A-16

).

(6) Measure the brake pedal height, and ensure 

that the measured value is within the specified 
value. When it is out of the specified value, 
repeat Step (3) - (6).

AC309282AE 

0.5 - 1.0 mm

Stopper

Stopper

(7) Insert the stop lamp switch until its threaded 

part touches the stopper. Then lock the stop 
lamp switch by turning it approximately 1/4 
turn clockwise, and confirm that the clearance 
between the switch plunger and the stopper is 
as shown.

CAUTION

Check that the stop lamp does not illuminate 
when the brake pedal is not depressed.

(8) Connect the connector at the stop lamp 

switch.

4. Return the carpet, etc.

ON-VEHICLE SERVICE

SERVICE BRAKES

35A-6

BRAKE PEDAL FREE PLAY

AC006219AB

B

1. With the engine stopped, depress the brake pedal 

two or three times, After eliminating the vacuum in 
the power brake booster, press the pedal down by 
hand, and confirm that the amount of movement 
before resistance is met (the free play) is within 
the standard value.

Standard value (B): 3 

 8 mm

2. If the brake pedal play is not within the standard 

value, check the following, and adjust or replace if 
necessary:

• Excessive play between the brake pedal and the 

clevis pin, or between the clevis pin and the 
brake booster operating rod

• Brake pedal height

• Installation position of the stop lamp switch, etc.

CLEARANCE BETWEEN BRAKE PEDAL 
AND FLOORBOARD

1. Turn up the carpet, etc. under the brake pedal.

AC006220AB

C

2. Start the engine, depress the brake pedal with 

approximately 500 N of force, and measure the 
clearance between the brake pedal and the 
floorboard.

Standard value (C): 90 mm or more [From the 
surface of the floorboard to the face of pedal 
pad]

3. If the clearance is outside the standard value, 

check for air trapped in the brake line and 
thickness of the disc brake pad. And then bleed 
the air and replace the disc brake pad as required.

4. Return the carpet etc. to its original position.

BRAKE BOOSTER OPERATING TEST

M1351001000435

1. For simple checking of the brake booster 

operation, carry out the following tests:

AC000870

Good

No good

AB

(1) Run the engine for one or two minutes, and 

then stop it. If the pedal depresses fully the 
first time but gradually becomes higher when 
depressed succeeding times, the booster is 
operating properly. If the pedal height remains 
unchanged, the booster is defective. Go to 
step 2.

AC000871AB

When engine
is stopped

When engine
is started

(2) With the engine stopped, step on the brake 

pedal several times. Then step on the brake 
pedal and start the engine. If the pedal moves 
downward slightly, the booster is in good 
condition. If there is no change, the booster is 
defective. Go to step 3.


Content   ..  485  486  487  488   ..