Mitsubishi Lancer Evolution IX. Manual - part 87
 

  Index      Mitsubishi     Mitsubishi Lancer Evolution IX - service repair manual


Search            


Content   ..  85  86  87  88   ..


Mitsubishi Lancer Evolution IX. Manual - part 87


ROCKER ARMS AND CAMSHAFT

ENGINE OVERHAUL

11B-39

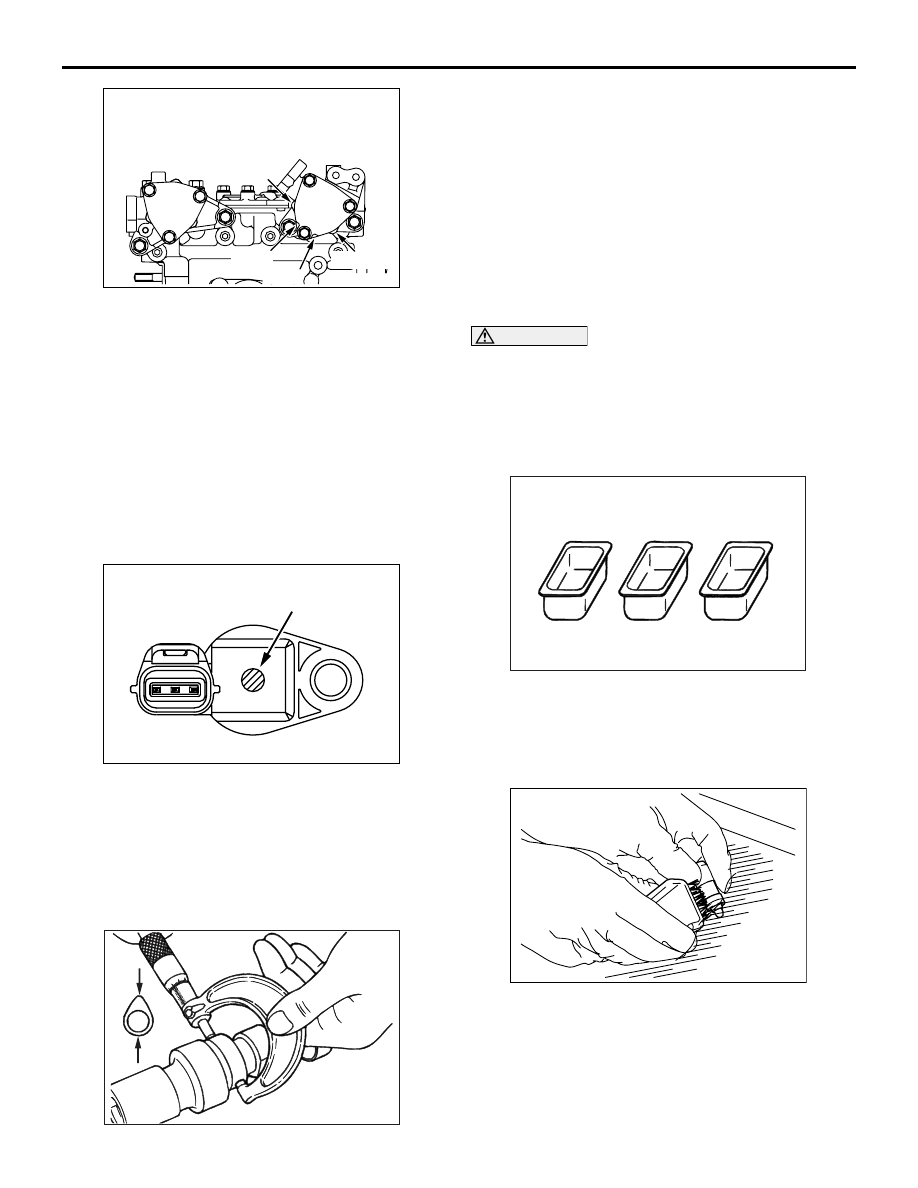
2. At the intake side, install the cover notch and the 

gasket projection in position indicated in the 
illustration, and then tighten them to the specified 
torque of 14 

± 1 N⋅m.

At the exhaust side, the cover and the gasket do 
not have the specified direction or angle of the 
installation.
NOTE: The cover and the gasket have no differ-
ence between the front and the reverse sides.

>>J<< CAMSHAFT POSITION SENSOR 
INSTALLATION

Install the camshaft position sensor with paying 
attention to the installation direction because an 
identification paint is not applied to the camshaft 
position sensor at the intake side.

INSPECTION

M1113005500979

CAMSHAFT

Measure the cam height (nose-to-heel diameter).
If any cam is worn beyond the limit, replace the cam-
shaft.

Standard value:

Intake: 35.96 mm
Exhaust: 35.49 mm

Limit:

Intake: 35.46 mm
Exhaust: 34.99 mm

LASH ADJUSTERS

CAUTION

• The lash adjuster is a precision-engineered 

component. Do not allow dust or other for-
eign matter to enter it.

• Do not disassemble lash adjusters.
• Use only non-contaminated diesel fuel to 

clean the lash adjuster.

1. Prepare three containers and approximately five 

litres of diesel fuel. Pour into each container the 
diesel fuel in an amount enough for a lash 
adjuster placed in the container in its upright 
position to completely submerge.

2. Place the lash adjuster in container A and wash 

its outside surface.
NOTE: Use a nylon brush if there are 
hard-to-remove deposits.

AK403948AC

Exhaust side

Intake side

Projection

Notch

Notch

Projection

AK501790

Paint

AB

AK202797AB

AK202836

A

B

C

For rough 
cleaning

For finish 
cleaning

For diesel 
fuel filling

AB

AK300587AB

Diesel fuel

ROCKER ARMS AND CAMSHAFT

ENGINE OVERHAUL

11B-40

CAUTION

The steel ball spring of the lash adjuster is 
extremely weak. The lash adjuster's functionality 
may be badly affected if the special tool is 
inserted too strongly.
3. While gently pushing the internal steel ball using 

the special tool Air bleed wire (MD998442), move 
the plunger in and out 5 

− 10 times to eliminate 

stiffness in the plunger and expel contaminated 
oil.
NOTE: The plunger must be free from jamming 
and any other abnormalities. If a defect is found in 
plunger operation, replace the lash adjuster.

CAUTION

The hole in the side of the lash adjuster must be 
directed toward the inside of container A. Never 
direct it against any person.
4. Take the lash adjuster out of the container, then 

move the plunger by pushing the steel ball gently 
to discharge the diesel fuel from the pressure 
chamber.

CAUTION

The steel ball spring of the lash adjuster is 
extremely weak. The lash adjuster's functionality 
may be badly affected if the special tool is 
inserted too strongly.
5. Soak the lash adjuster in the diesel fuel in 

container B. Move the plunger in and out 5 

− 10 

times by gently pushing the internal steel ball 
using the special tool Air bleed wire (MD998442) 
until the plunger moves smoothly to wash the lash 
adjuster’s pressure chamber.

CAUTION

The hole in the side of the lash adjuster must be 
directed toward the inside of container B. Never 
direct it against any person.
6. Take the lash adjuster out of the container, then 

move the plunger by pushing the steel ball gently 
to discharge the diesel fuel from the pressure 
chamber.

AK202839

MD998442

AB

Diesel fuel

AK202840

Diesel fuel

MD998442

AC

AK202839

MD998442

AB

Diesel fuel

AK202840

Diesel fuel

MD998442

AC

AK202841

Diesel fuel

MD998442

AB

ROCKER ARMS AND CAMSHAFT

ENGINE OVERHAUL

11B-41

CAUTION

Do not use container C for cleaning. If cleaning is 
performed in container C, foreign matter could 
enter the pressure chamber when the chamber is 
filled with diesel fuel.
7. Soak the lash adjuster in the diesel fuel in 

container C. Gently push the internal steel ball 
using the special tool Air bleed wire (MD998442).

8. Place the lash adjuster upright with the plunger at 

the top. Push the plunger firmly until it makes a 
full stroke, then return the plunger slowly and 
release the hold of the steel ball to allow the 
pressure chamber to be filled with diesel fuel.

9. Take the lash adjuster out of the container, place it 

upright with the plunger at the top, and push the 
plunger firmly. The plunger must not move at all.
NOTE: If the lash adjuster contracts, perform the 
operations 7 through 9 again. Replace the lash 
adjuster if it still contracts even after the pressure 
chamber has completely been filled with diesel 
fuel (air has been bled).

10.Keep the serviced lash adjusters in their upright 

positions to prevent diesel fuel from spilling out. 
Protect them from dust or other foreign matter. 
Install the lash adjusters onto the engine as soon 
as possible.

AK202842

Diesel fuel

MD998442

AB

AK202843

CYLINDER HEAD AND VALVES

ENGINE OVERHAUL

11B-42

CYLINDER HEAD AND VALVES

REMOVAL AND INSTALLATION

M1113006900583

AK203813

3

15

16

14

9

11

19

12

13

10

20

18

7

17

1

2

8

4

5

6

AC

Apply engine oil to
all moving parts
before installation.

78 ± 2 N·m   0 N·m


20 ± 2 N·m   +90˚   +90˚

Removal steps 

<<

A

>> >>

D

<< 1. Cylinder head bolt

2. Cylinder head assembly
3. Cylinder head gasket

<<

B

>> >>

C

<< 4. Retainer lock

5. Valve spring retainer

>>

B

<< 6. Valve spring

7. Intake valve

<<

B

>> >>

C

<< 8. Retainer lock

9. Valve spring retainer

>>

B

<< 10. Valve spring

<<

D

>>

11. Exhaust valve

<<

C

>> >>

A

<< 12. Valve stem seal

13. Valve spring seat

<<

C

>> >>

A

<< 14. Valve stem seal

15. Valve spring seat
16. Intake valve guide
17. Exhaust valve guide
18. Intake valve seat
19. Exhaust valve seat
20. Cylinder head

Removal steps (Continued)


Content   ..  85  86  87  88   ..