Lexus ES300 (1997 year). Manual - part 216
 

  Index      Lexus     Lexus ES300 - service repair manual 1997 year


Search            


Content   ..  214  215  216  217   ..


Lexus ES300 (1997 year). Manual - part 216


BO0A3–01

BE3367

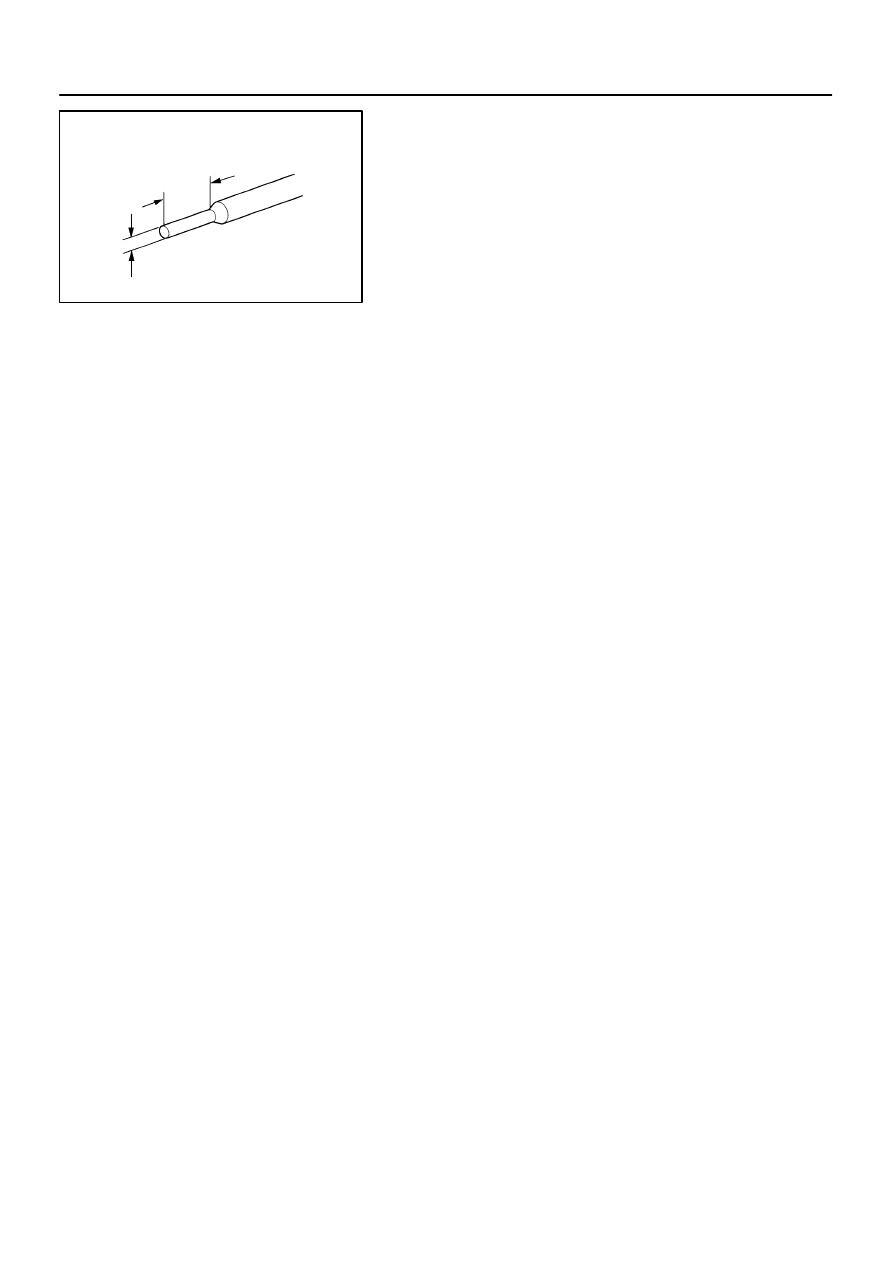
2 – 2.5 mm

(0.028 – 0.030 in.)

0.7 – 0.75 mm

(0.079 – 0.098 in.)

BO–46

BODY

FRONT WIPER AND WASHER

1224

1997 LEXUS ES300   (RM511U)

ADJUSTMENT

ADJUST WASHER NOZZLE
Using a tool like the one shown in the illustration, change the
direction of the nozzle hole to adjust the point where washer
fluid strikes the windshield.

BO0A4–01

N14274

A

A

BODY

FRONT WIPER AND WASHER

BO–47

1225

1997 LEXUS ES300   (RM511U)

INSTALLATION

1.

INSTALL WIPER MOTOR AND LINK ASSEMBLY

(a)

Install the wiper motor and link assembly.

(b)

Connect the connector.

(c)

Install and torque the 5 bolts.
Torque: 7.0 N·m (71 kgf·cm, 62 in.·lbf)

2.

INSTALL COWL TOP VENTILATOR LOUVER

3.

INSTALL WIPER ARM AND BLADE ASSEMBLY

(a)

Install the wiper arms and blades, and operate the wipers
once and turn the wiper switch OFF.

(b)

Adjust the wiper arms to the positions shown in the il-
lustration.
A: Approx. 25 mm (0.98 in.)

(c)

Torque the nuts.
Torque: 24 N·m (245 kgf·cm, 18 ft·lbf)

BO0A5–01

N02247

Front Fender Outside Moulding

Front Door Outside Moulding

Rear Door Outside
Moulding

Quarter Outside
Moulding

BO–48

BODY

BODY OUTSIDE MOULDING

1226

1997 LEXUS ES300   (RM511U)

BODY OUTSIDE MOULDING

COMPONENTS

BO0A6–01

N21439

: 2 Clips

Adhesive Tape

N02159

N21441

: 4 Clips

Adhesive Tape

N21787

: 2 Clips

Adhesive Tape

BODY

BODY OUTSIDE MOULDING

BO–49

1227

1997 LEXUS ES300   (RM511U)

REMOVAL

1.

REMOVE FRONT FENDER MOULDING

(a)

Remove the 2 screws.

(b)

Using a heat light, heat the moulding to 40 – 60 

°

C (104

– 140 

°

F).

NOTICE:
Do not heat the moulding excessively.
(c)

Cut the adhesive tape with a knife.

NOTICE:


If reusing the moulding, take care not damage the
moulding.


Do not damage the body.

(d)

Remove the moulding.

2.

REMOVE FRONT DOOR OUTSIDE MOULDING

(a)

Remove the 2 hole plugs and 2 nuts.

(b)

Using a heat light, heat the moulding to 40 – 60 

°

C (104

– 140 

°

F).

NOTICE:
Do not heat the moulding excessively.

(c)

Cut the adhesive tape with a knife.

NOTICE:


If reusing the moulding, take care not to damage the
moulding.


Do not damage the body.

(d)

Remove the moulding.

3.

REMOVE REAR DOOR OUTSIDE MOULDING

Remove the rear door outside moulding in the same way as the
front fender moulding.


Content   ..  214  215  216  217   ..