Frelander 2. Manual - part 258
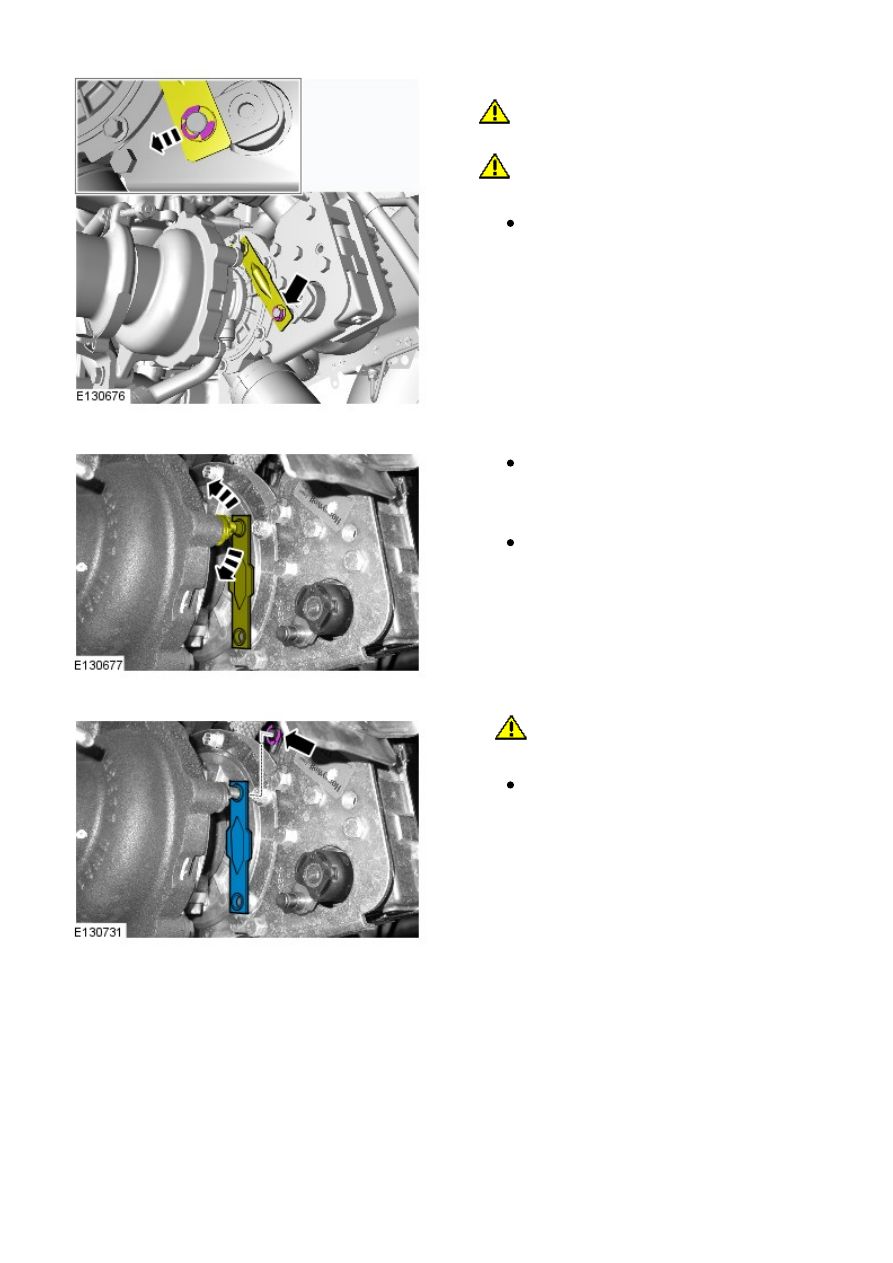
7. CAUTIONS:
Do not apply sufficient force to deform the
turbocharger variable vane actuator crank components.
Do not apply rotational force to the turbocharger
variable vane actuator crank during removal, as the
worm gear can be damaged.
It may be necessary to place a suitable tool
between the crank shoulder and the actuator
rod, and leaver from side to side.
7.
• NOTE: This may be difficult on the first few
cycles due to internal carbon build up.
Using finger pressure, cycle the turbocharger
variable vane actuator mechanism to make sure
movement is sufficient.
Cycle 10-20 times as necessary to clear
movement.
8.
9.
CAUTION: Do not use excessive force, or lever
against the crank arm, as this may bend the crank arm,
or damage the turbo mechanism.
Use penetrating lubricant spray as required.
9.