Frelander 2. Manual - part 47


  Index      Land Rover     Land Rover Frelander 2 - service repair manual 2006-2010 year


Search            


Content   ..  45  46  47  48   ..


Frelander 2. Manual - part 47


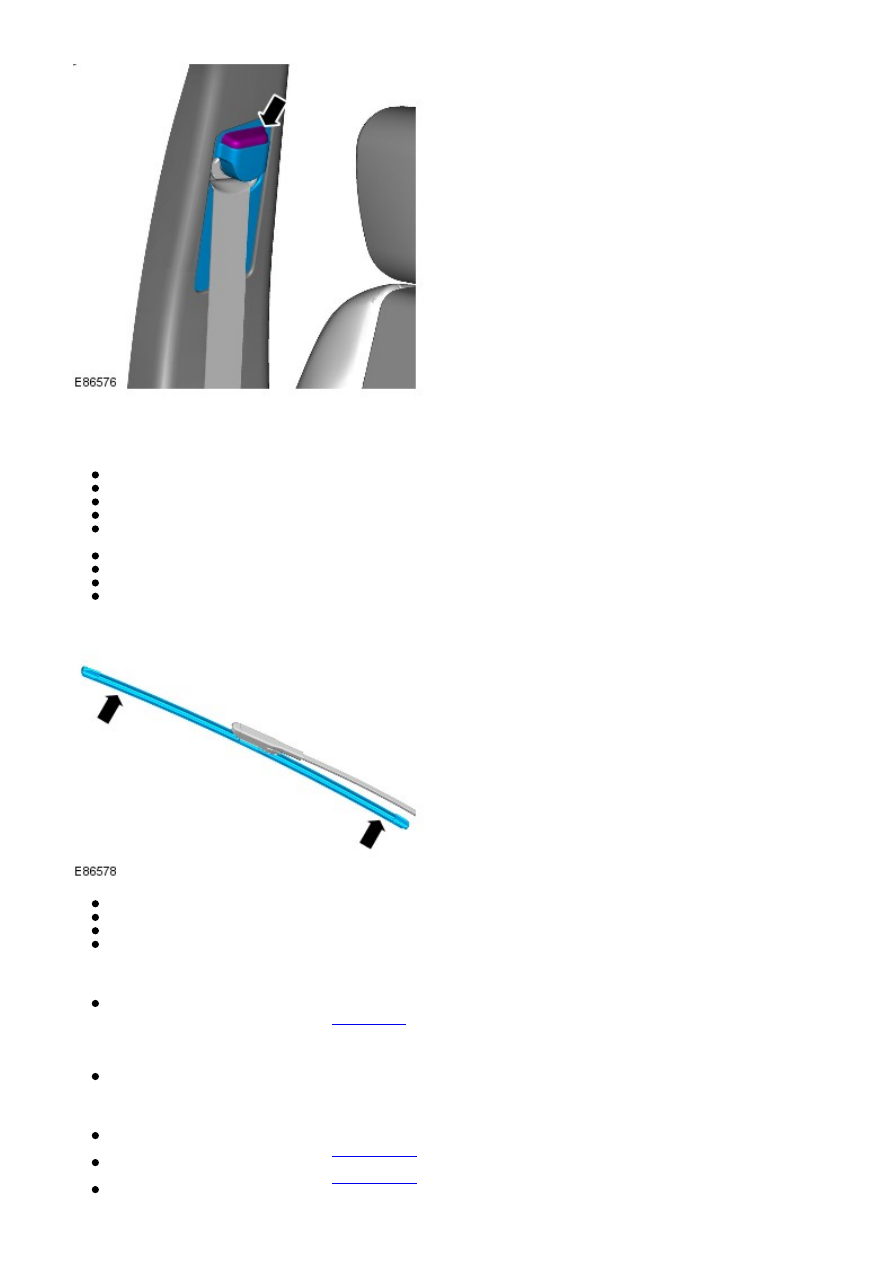
5. Check front safety belt height adjusters for correct operation.

Lamps, Horns and Warning Indicators

Check side, head, fog, reversing and tail lamps for correct operation.
Check operation of headlamp automatic levelling system - if installed.
Check turn signals and hazard warning lamps for correct operation.
Check brake (stop) lamps for correct operation.
Check all exterior lamp lenses for clarity and condition; pay particular attention to headlamp and fog lamp lenses
for stone chips or damage.
Check horn for loud, clear sound.
Switch on headlamps and check that side/headlamp reminder warning sounds when door is opened.
Check operation of interior courtesy lamps.
Check operation of all instrument pack warning and indicator lamps.

Washers and Wipers

Check all wiper blades for condition and signs of splits or damage.
Check security of wiper arms.
Operate front and rear screen washers, check that jets are clear and correctly aimed.
Operate front and rear wipers at all speeds and check for smooth, smear free operation.

Pollen Filter

Replace pollen filter.
For additional information, refer to: 

Pollen Filter

 (412-01 Climate Control, Removal and Installation).

Corrosion/Cosmetic Inspection

Carry out the annual corrosion/cosmetic inspection using the Annual Corrosion Inspection Sheet.

Wheels and Tires

Check that tires comply with manufacturer's specification.
For additional information, refer to: 

Specifications

 (204-04 Wheels and Tires, Specifications).

Check/adjust tire pressures including spare.
For additional information, refer to: 

Specifications

 (204-04 Wheels and Tires, Specifications).

Vehicle fitted with Uni-directional tires: Mark the wheel to stud relationship of each road wheel and note location

of each road wheel to its respective hub.
Loosen road wheel nuts. Raise vehicle to a wheel free condition.
For additional information, refer to: 

Lifting

 (100-02 Jacking and Lifting, Description and Operation).

Remove the road wheels.
Visually check tires for condition, lumps or bulges. Check tread depth across the width of the tire and around the
circumference; ensure that remaining tread depth does not contravene local legislative requirements.

• NOTE: Do not install wheels at this stage.

Braking System

CAUTION: For vehicles operating under arduous conditions see relevant section.

1. Inspect front brake pads for wear.
For additional information, refer to: 

Specifications

 (206-03 Front Disc Brake, Specifications).

2. Inspect rear brake pads for wear.
For additional information, refer to: 

Specifications

 (206-04 Rear Disc Brake, Specifications).

3. Check brake calipers for signs of fluid leaks.

Front brakes

Rear brakes

4. Check brake discs for condition.

5. Check all brake booster and brake system pipes and hoses for condition, chafing and leaks.

6. Clean road wheel hub spigots and apply grease, Land Rover Part Number RYL 105020 to the wheel mating surface of
each spigot.

7. Every 3 years: Replace brake fluid. For additional information, refer to: 

Brake System Bleeding

 (206-00 Brake System -

General Information, General Procedures).

8. Every 6 years: Replace all flexible brake hoses.

9. Vehicles fitted with Uni-directional tires:Install road wheels on their respective hubs ensuring that stud to wheel
relationship is maintained.

10. Vehicles fitted with NON Uni-directional tires: Install wheels on the opposite side of the vehicle but ensure that they
are on the same axle as they were originally installed.

11. Install road wheel nuts and tighten to 133 Nm (98 lb-ft).

Parking brake

With the vehicle stationary, apply the parking brake and check for correct operation.

For additional information, refer to: 

Parking Brake Cable Adjustment

 (206-05 Parking Brake and Actuation, General

Procedures).

Door Locks and Hinges

1. Check operation of all door locks, bonnet lock and fuel filler flap.

2. Lubricate all door check straps, bonnet catch and fuel filler flap catch.

Cooling System

CAUTION: Anti-freeze concentration must be maintained at 50%.

1. Check specific gravity of coolant using a hydrometer.

• NOTE: A suitable hydrometer is available from the Equipment Programme under Part Number 511 3302 001 00.

2. Top-up cooling system if necessary.
For additional information, refer to: 

Specifications

 (303-03B Engine Cooling - TD4 2.2L Diesel, Specifications).

Cooling system - Check/Top-up

WARNING: Since injury such as scalding could be caused by escaping steam or coolant, do not remove the filler

cap from the coolant expansion tank whilst the system is hot.

• CAUTIONS:

 Engine coolant will damage the paint finished surfaces. If coolant is spilled, immediately remove the coolant

and wash the area with water.

 Always top-up with a 50% mixture of anti-freeze and water.

Check the level of coolant in the expansion tank. W ith the engine cold, the coolant level must be to the UPPER
LEVEL
 indicator mark above the COLD FILL RANGE text on the side of the expansion tank. Ignore any coolant
which may be visible in the top section of the tank.
If topping-up is required, remove expansion tank filler cap and top-up coolant level to the UPPER LEVEL indicator
mark.
For additional information, refer to: 

Specifications

 (303-03B Engine Cooling - TD4 2.2L Diesel, Specifications).

Install expansion tank filler cap, tighten cap until ratchet is heard to 'click'.

Coolant - Replace

Every 10 years: Replace the coolant.
For additional information, refer to: 

Cooling System Draining, Filling and Bleeding

 (303-03B Engine Cooling - TD4 2.2L

Diesel, General Procedures).

Accessory Drive Belt

CAUTION: For vehicles operating under arduous conditions see relevant section.

Check the condition of the accessory drive belt.
Remove all traces of mud and dirt from the drive belt and pulleys.
Check the drive belt for signs of splitting and wear.
Every 150,000 miles (240,000 km): Replace the accessory drive belt. For additional information, refer to:

Accessory Drive Belt

 (303-05A Accessory Drive - I6 3.2L Petrol, Removal and Installation).

Camshaft Timing Belt, Tensioner and Pulley

CAUTION: For vehicles operating under arduous conditions see relevant section.

1. Every 10 years or 150,000 miles (240,000 km): Replace the camshaft timing belt, tensioner and pulley.
For additional information, refer to: 

Timing Belt

 (303-01B Engine - TD4 2.2L Diesel, Removal and Installation).

Fluid levels

Brake Fluid Reservoir

Remove the brake fluid reservoir cover.
Check the fluid level in the brake fluid reservoir, the level must be to the MAX mark on the reservoir; top-up if
necessary.
Clean the area around the reservoir filler cap, remove cap.
If necessary, top-up using the recommended fluid to the MAX mark on the reservoir.
For additional information, refer to: 

Specifications

 (206-00 Brake System - General Information, Specifications).

Install the reservoir filler cap.
Install the brake fluid reservoir cover.

Power Steering Fluid Reservoir

CAUTION: To prevent over filling, check/top-up the system with the engine switched off and the system cold.


Content   ..  45  46  47  48   ..