Discovery 2. Manual - part 728


  Index      Land Rover     Land Rover Discovery 2 - service manual 1999 year


Search            


Content   ..  726  727  728  729   ..


Discovery 2. Manual - part 728


WIPERS AND WASHERS

REPAIRS

84-27

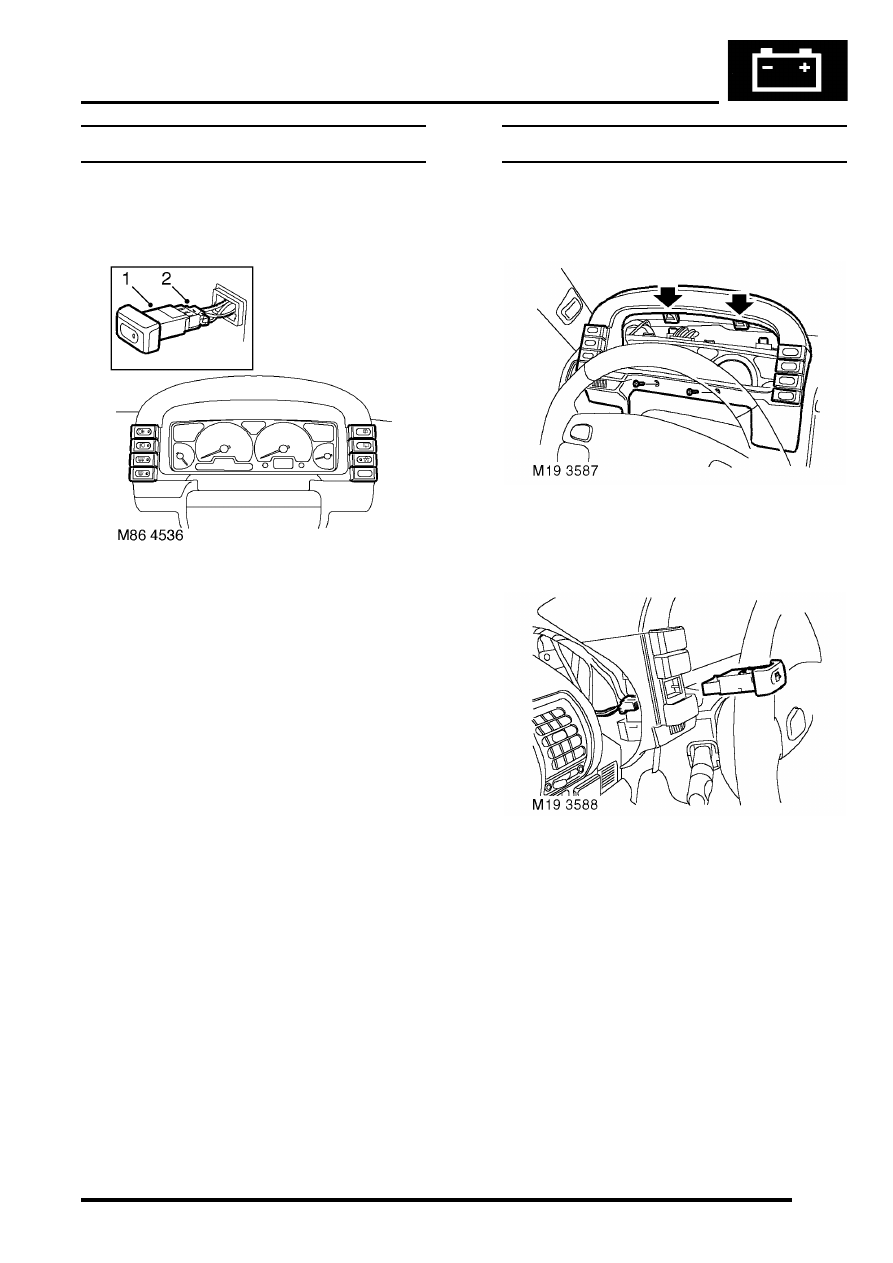
Switch - wiper - rear - up to 03MY

$% 84.35.33

Remove

1. Carefully remove  switch from instrument cowl. 
2. Disconnect multiplug and remove switch. 

Refit

1. Position new switch and connect multiplug. 
2. Carefully push switch into instrument cowl. 

Switch - wiper - rear - from 03MY

$% 843533

Remove

1. Remove 2 screws securing instrument cowl to 

fascia and release the cowl from the retaining 
clips.

2. Disconnect multiplug from the rear wiper 

switch.

3. Remove the rear wiper switch from the 

instrument cowl.

Refit

1. Fit and secure the rear wiper switch to the 

instrument cowl and connect the multiplug.

2. Fit the instrument cowl to the fascia and secure 

with screws.

WIPERS AND WASHERS

84-28

REPAIRS

CHARGING AND STARTING

REPAIRS

86-1-1

CHARGING AND STARTING

REPAIRS

Alternator - diesel  

$% 86.10.02 

Remove

1. Remove auxiliary drive belt.  


 + 

 CHARGING AND STARTING, 

REPAIRS, Belt - auxiliary drive.

2. Release cover and remove nut securing  lead 

to alternator. 

3. Disconnect alternator multiplug. 

4. Remove bolt (LH thread) and remove  auxiliary 

drive belt tensioner. 

5. Remove bolt securing support stay to 

alternator. 

6. Release clip and disconnect oil drain hose from 

vacuum pump. 

7. Disconnect vacuum pump oil supply pipe from 

cylinder head and discard 'O' ring. 

8. Remove bolt securing alternator and  release 

from mounting bracket. 

9. Disconnect vacuum hose from vacuum pump. 

10. Remove alternator. Take care not to damage 

radiator cooling fins. 

11. Remove 4 bolts, and remove vacuum pump  

from alternator. 

CAUTION: Always fit plugs to open 
connections to prevent contamination.

CHARGING AND STARTING

86-1-2

REPAIRS

Refit

1. Clean mating faces of alternator and  vacuum 

pump. 

2. Fit  vacuum pump to alternator and  tighten 

bolts to 8 Nm (6 lbf.ft). 

3. Position alternator to engine and connect 

multiplug. 

4. Connect vacuum hose and oil drain hose to 

vacuum pump and secure clips. 

5. With assistance align alternator  to mounting 

bracket and fit but do  not tighten bolt. 

6. Fit  bolt securing support stay to  alternator and 

tighten to 25 Nm (18 lbf.ft) . 

7. Tighten bolt securing  alternator to mounting  

bracket to 45 Nm (33 lbf.ft). 

8. Using new 'O' ring, connect oil supply pipe to 

cylinder head and tighten to 10 Nm (7 lbf.ft). 

9. Connect lead to alternator and  tighten nut to 6 

Nm (4.4 lbf.ft). 

10. Fit auxiliary drive belt  tensioner and tighten bolt 

to 50 Nm (37 lbf.ft). 

11. Fit auxiliary drive belt.  


 + 

 CHARGING AND STARTING, 

REPAIRS, Belt - auxiliary drive.

Alternator - V8

$% 86.10.02 

Remove

1. Remove auxiliary drive belt.  


 CHARGING AND STARTING, 

REPAIRS, Belt - auxiliary drive.

2. Remove 2 bolts securing alternator to  

mounting bracket. 

3. Release alternator from mounting bracket 

4. Remove nuts securing alternator cables,  and 

release cables. 


Content   ..  726  727  728  729   ..