Discovery 2. Manual - part 673
SUNROOF
REPAIRS 76-6-13
REPAIRS
Sunroof - front
$% 76.84.01
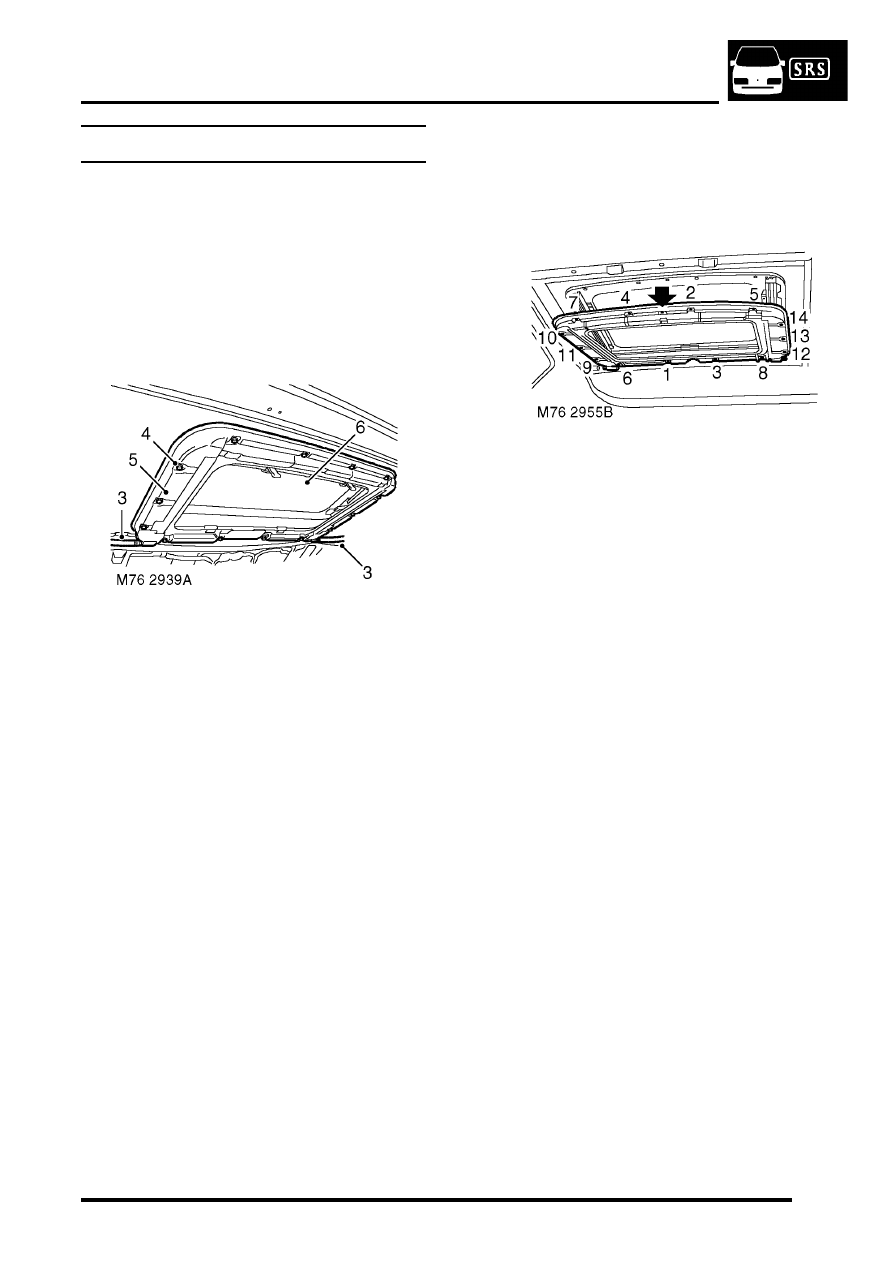
Remove
1. Remove headlining.
2. Remove front sunroof motor.
3. Disconnect drain tubes from sunroof tray.
4. Remove 14 screws securing sunroof tray to
sunroof frame.
5. Carefully remove sunroof tray.
6. With assistance, remove sunroof frame and
glass assembly.
Refit
1. With assistance, fit sunroof frame and glass
assembly.
2. Position sunroof tray to roof and locate on front
edge and on rear location pin, arrowed in
illustration.
3. Fit Torx screws securing sunroof tray to frame
and tighten to 2 Nm (1.5 lbf.ft) in the order
shown.
4. Connect drain tubes to sunroof.
5. Fit sunroof motor. Do not fit headlining at this
stage.
6. Check operation of sunroof.
7. Pour water over sunroof and check for water
leaks.
8. Fit headlining.