Discovery 2. Manual - part 205
REAR SUSPENSION
REPAIRS
64-39
Actuator - rear - ACE
$% 64.60.40
CAUTION: The ACE hydraulic system is
extremely sensitive to the ingress of dirt or
debris. The smallest amount could render the
system unserviceable. It is imperative that the
following precautions are taken.
l
ACE components are thoroughly cleaned
externally before work commences;
l
all opened pipe and module ports are
capped immediately;
l
all fluid is stored in and administered
through clean containers.
Models with SLS:
WARNING: Ensure the air suspension system is
made safe before commencing work. Otherwise
the chassis may lower onto the bump stops
during repair.
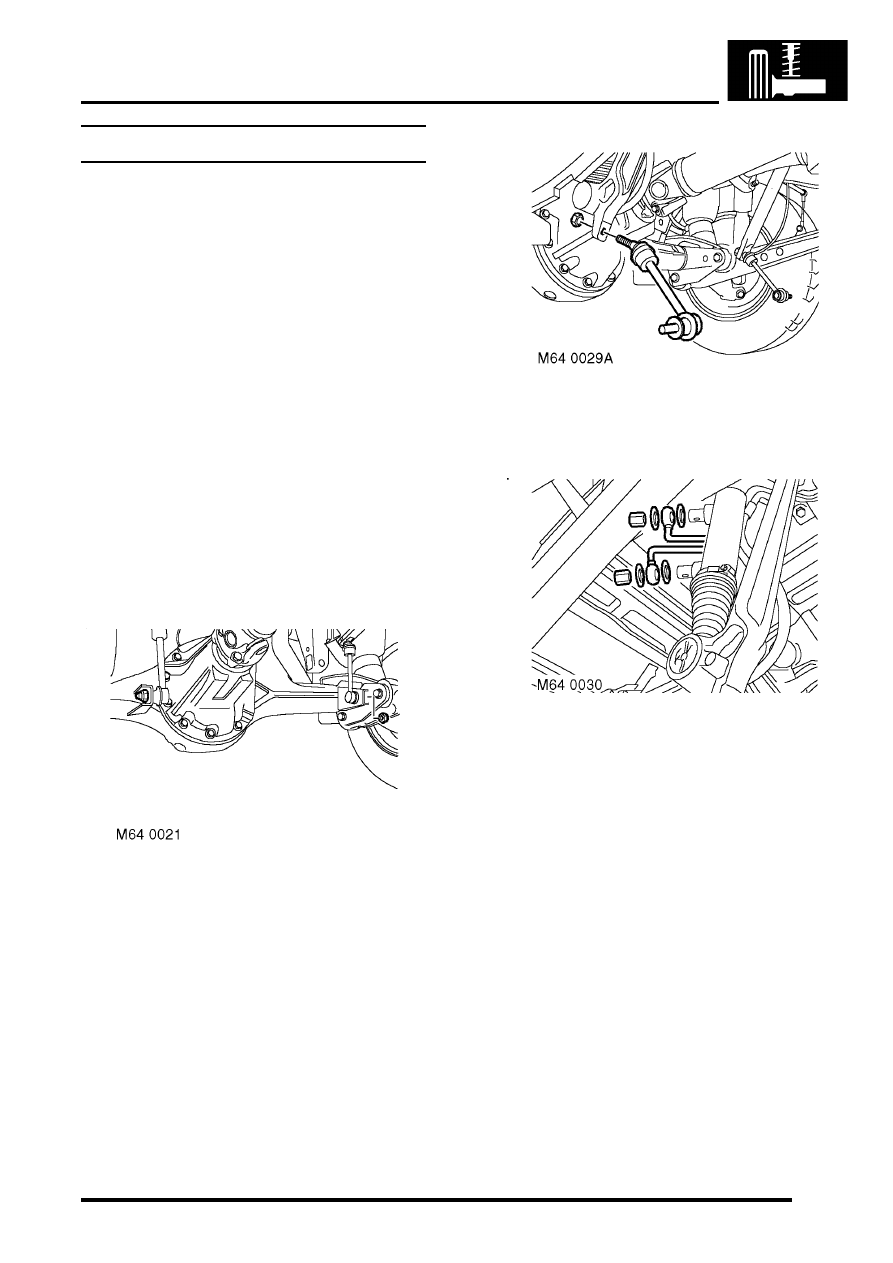
Remove
1. Raise vehicle on ramp.
2. Remove nuts securing anti-roll bar links to
axle. Release links from axle.
3. Pull torsion bar down for access to actuator.
4. Remove nut securing anti-roll bar link to long
arm and remove link.
5. Position container to collect fluid spillage.
6. Remove cap nuts securing fluid pipes to
actuator. Disconnect pipes and remove and
discard sealing washers.
CAUTION: Always fit plugs to open
connections to prevent contamination.