Discovery 2. Manual - part 50


  Index      Land Rover     Land Rover Discovery 2 - service manual 1999 year


Search            


Content   ..  48  49  50  51   ..


Discovery 2. Manual - part 50


ENGINE - V8

OVERHAUL 12-2-73

9. Check clearance between connecting rods  on 

each crankshaft journal. 

l

 Connecting rod clearance = 0.15 to  0.36 
mm (0.006 to 0.014 in).

10. Fit oil pick up strainer. 


 + 

 ENGINE - V8, OVERHAUL, Strainer 

- oil pick-up.

Crankshaft and main bearings

$% 12.21.33.01 

Disassembly

1. Remove crankshaft rear oil seal. 


 + 

 ENGINE - V8, OVERHAUL, Seal - 

crankshaft - rear - automatic models.

2. Remove timing gear cover gasket.


 + 

 ENGINE - V8, OVERHAUL, Gasket - 

timing gear cover. 

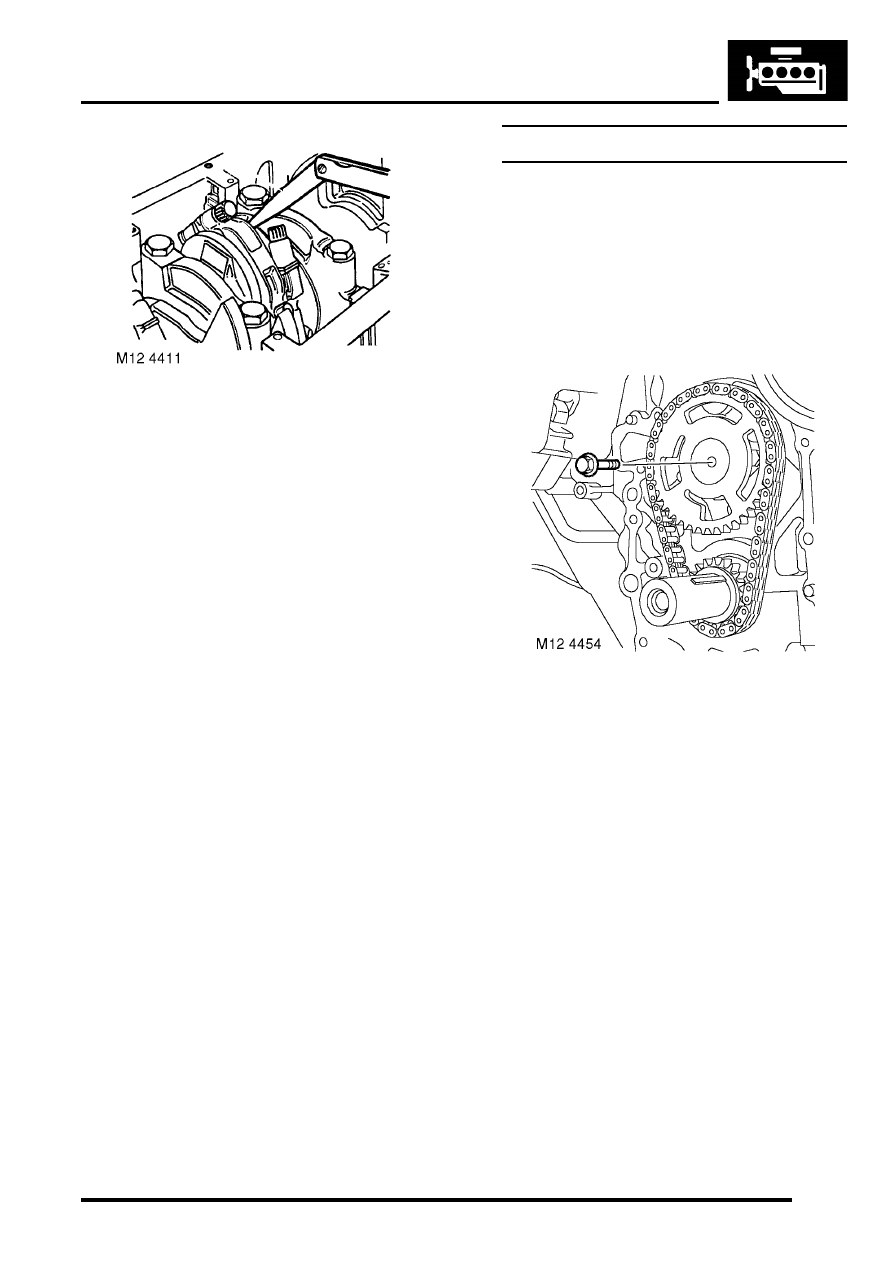
3. Remove bolt securing camshaft gear. 
4. Remove timing chain and gears. 
5. Remove connecting rod bearings. 


 + 

 ENGINE - V8, OVERHAUL, Bearings 

- connecting rods.

ENGINE - V8

12-2-74 OVERHAUL

6. Reference mark main bearing caps to aid  

assembly. 

7. Remove 10 side bolts securing main  bearing 

caps to block. 

8. Collect 'Dowty' washers from side bolts.  Rear 

side bolts have Allen heads. 

9. Starting at the centre main bearing cap,  

progressively loosen, then remove 2 bolts  
securing each main bearing cap. 

10. Release and remove main bearing caps. 

CAUTION: Keep bearing caps, bearings and 
bolts in their fitted order.

11. Remove and discard cruciform seals from rear 

main bearing cap.

12. Remove crankshaft. 
13. Remove main bearings  from cylinder block and 

main bearing caps. 

14. Remove key from keyway. 
15. Remove rear main sealing washers. 

Inspect

1. Clean crankshaft journals and  bearing 

locations in cylinder block. 

2. Inspect main bearings for wear and renew if 

necessary. Main bearings are available in two 
oversizes. If 2nd oversize bearing is being 
fitted, it may be necessary to grind thrust 
face of centre main bearing to achieve 
correct end-float.

l

Main bearing 1st oversize = 0.254 mm (0.01 
in).

l

Main bearing 2nd oversize = 0.508 mm 
(0.02 in).

3. Check main bearing journals for wear and 

scoring. Measure for ovality; taking 3 
measurements at 120

°

 intervals at each end 

and at centre of journals. 

l

Journal diameter - standard = 63.487 to 
63.500 mm (2.499 to 2.520 in).

l

1st undersize journal = 63.223 to 63.246 
mm (2.511 to 2.512 in).

l

2nd undersize journal = 62.979 to 62.992 
mm (2.509 to 2.510 in).

l

Journal width - standard = 26.975 to 27.026 
mm (1.061 to 1.064 in).

l

Maximum ovality = 0.040 mm (0.002 in)

ENGINE - V8

OVERHAUL 12-2-75

Reassembly

1. Clean main bearing  locations in  cylinder block 

and bearing caps; ensure bolt holes are clean 
and dry. 

2. Clean sealant from rear main bearing  cap and 

mating faces. 

3. Fit key to keyway. 
4. Check threads of main bearing cap bolts  for 

damage, renew bolts in pairs. 

5. Lubricate grooved main bearing shells  with 

clean engine oil and fit to their  locations in 
cylinder block. 

NOTE: Ensure that the flanged bearing is fitted 
to the centre position.

6. Lubricate crankshaft journals with clean  engine 

oil. 

7. Position crankshaft in cylinder block. 
8. Lubricate plain bearing shells with  clean 

engine oil and fit to main bearing  caps. 

9. Fit main bearing caps 1 to 4 only at this stage, 

ensuring that they  are the correct way round 
and in their  fitted order. 

10. Lightly lubricate threads of main  bearing cap 

bolts with clean engine oil. 

11. Fit main bearing cap bolts but do not  tighten at 

this stage.  Do not fit side bolts at this stage.

12. Lubricate new cruciform seals with engine oil 

and fit to rear main bearing cap.

CAUTION: Do not trim off excess from 
cruciform seals at this stage.

13. Apply a 3 mm (0.12 in) wide bead of sealant, 

Part No. STC 50550 to bearing cap rear mating  
faces on cylinder block. 

CAUTION: Ensure sealant does not enter 
bolt holes.

14. Carefully fit rear main bearing cap  assembly, fit 

but do not tighten bolts. 

CAUTION: Ensure engine oil does not enter 
the side bolt holes in the bearing cap. Do 
not trim off excess material from cruciform 
seals at this stage.

15. Lubricate 'Dowty' washers with engine  oil and 

fit to side bolts. 

16. Fit but do not tighten side bolts. Rear side 

bolts are Allen headed. 

17. Using the sequence shown, tighten  main 

bearing cap bolts as follows: 

l

Initial torque - all main bearing cap bolts and 
side bolts - 13.5 Nm (10 lbf.ft).

l

Final torque - main bearing cap side bolts 11 
to 15 - 45 Nm (34 lbf.ft).  

l

Final torque - main bearing cap bolts 1 to 8 
- 72 Nm (54 lbf.ft). 

l

Final torque - main bearing cap bolts 9 and 
10 - 92 Nm (68 lbf.ft). 

l

Final torque - main bearing cap side bolts 16 
to 20 - 45 Nm (34 lbf.ft). 

18. Trim off excess material from cruciform seals.

ENGINE - V8

12-2-76 OVERHAUL

19. Attach a  DTI to front of  cylinder block, move 

crankshaft rearwards,  position stylus of gauge 
on end of  crankshaft and zero gauge. 

20. Move crankshaft forwards, measure and  

record end-float obtained.  

l

 Crankshaft end-float = 0.08 to 0.26 mm 
(0.003 to 0.01 in). 

21. Fit connecting rod bearings. 


 + 

 ENGINE - V8, OVERHAUL, Bearings 

- connecting rods.

22. Clean timing chain and gears. 
23. Clean ends of crankshaft and camshaft. 
24. Lubricate timing chain assembly with  clean 

engine oil. 

25. Align timing marks and fit timing chain  

assembly. 

26. Fit camshaft gear bolt and tighten  to 50 Nm (37 

lbf.ft). 

27. Fit timing gear cover gasket. 


 + 

 ENGINE - V8, OVERHAUL, Gasket - 

timing gear cover.

28. Clean crankshaft pulley. 
29. Fit crankshaft pulley. 
30. Fit crankshaft pulley bolt and  tighten to 270 Nm 

(200 lbf.ft).  

31. Remove tool LRT-12-080  from  crankshaft 

pulley. 

32. Clean oil filter and mating face. 
33. Lubricate oil filter seal and fit filter  to oil pump. 
34. Ensure drive belt pulleys are clean and  

damage free. 

35. Fit auxiliary drive belt to pulleys. 
36. Fit crankshaft rear oil seal


 + 

 ENGINE - V8, OVERHAUL, Seal - 

crankshaft - rear - automatic models.


Content   ..  48  49  50  51   ..