Discovery 2. Manual - part 41
ENGINE - V8
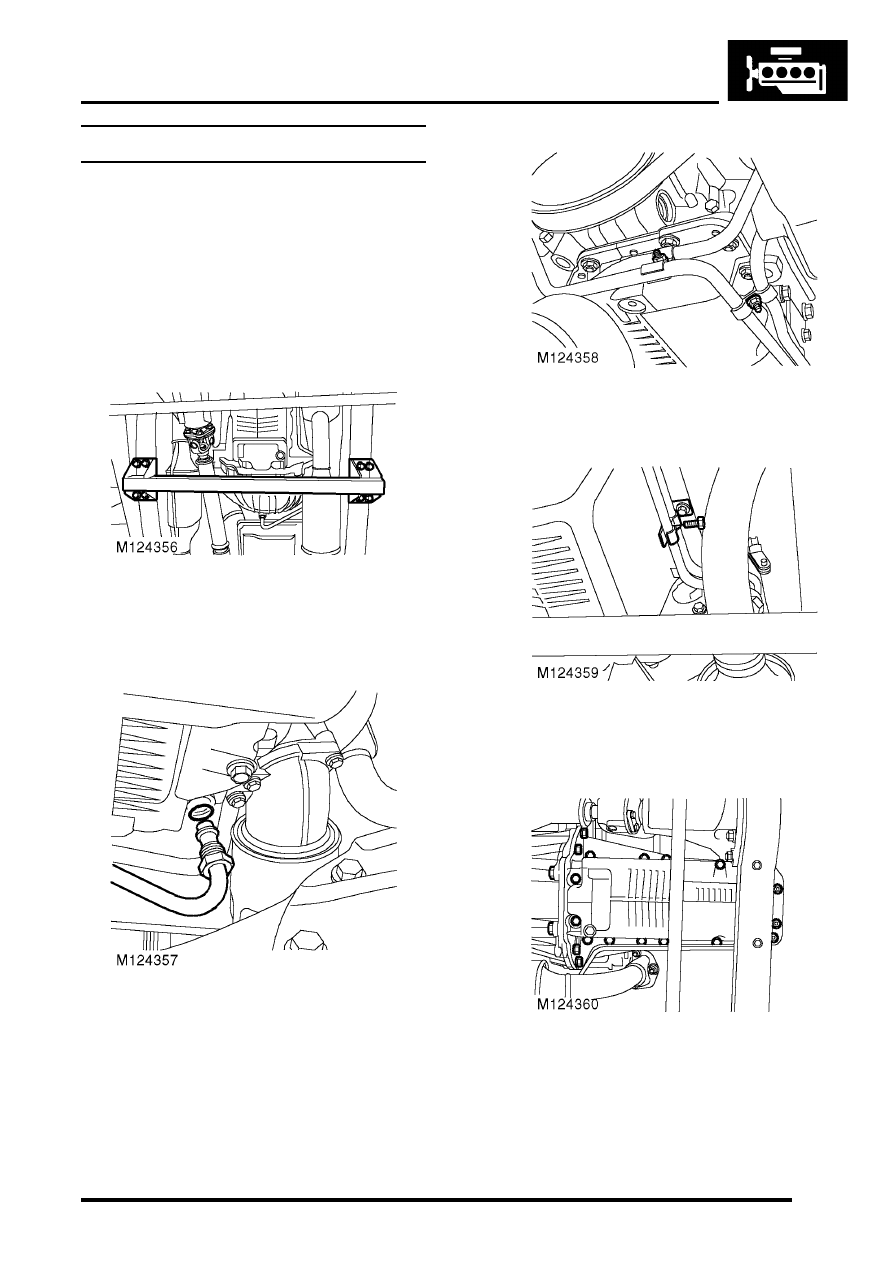
REPAIRS 12-2-37
Gasket - sump
$% 12.60.38
Remove
1. Release fixings and remove battery cover.
2. Disconnect battery earth lead.
3. Remove dipstick.
4. Raise the vehicle on a ramp.
5. Drain engine oil.
6. Remove 8 bolts securing cross member and
remove cross member.
7. Raise front of vehicle under body to increase
clearance between engine and front axle.
8. Disconnect and release gearbox oil cooler pipe
and discard 'O' ring.
9. Remove 2 clips securing oil cooler pipes at
front of sump.
10. Remove clip securing oil cooler pipes to side of
sump.
11. Remove clip bracket.
12. Remove 2 forward facing bolts securing sump
to bell housing.
13. Remove 4 rear facing bolts securing sump to
bell housing.
14. Remove 2 bolts in sump recess.
15. Remove 3 nuts securing front of sump.