Land Rover Discovery. Manual - part 22
12
ENGINE
6
REPAIR
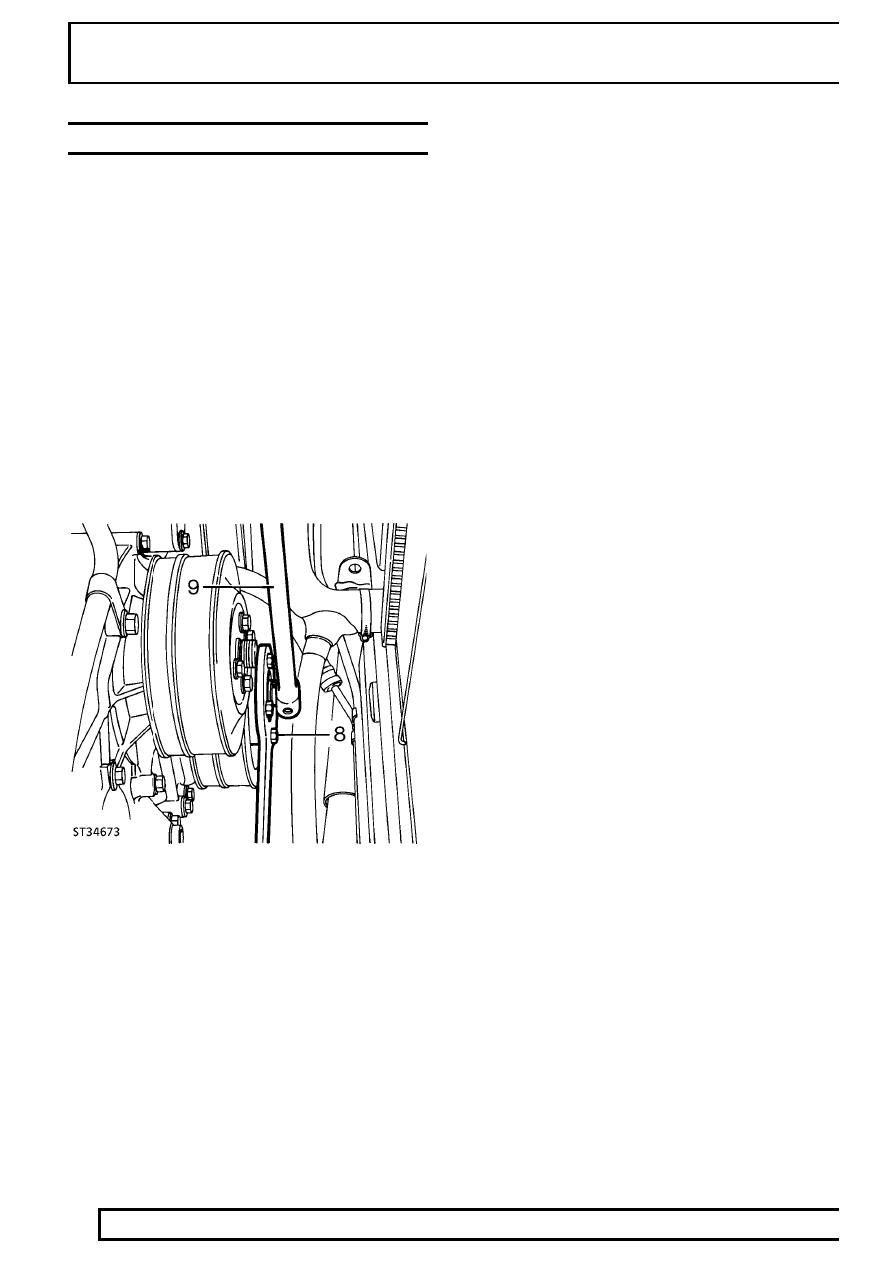
CRANKSHAFT PULLEY
Service repair no - 12.21.01
Remove
1. Disconnect battery negative lead.
2. Drain coolant.
3. Remove top hose from radiator.
4. Remove intercooler to induction manifold hose.
5. Remove viscous fan and coupling.
See
COOLING SYSTEM, Repair, Viscous
Coupling, Fan Blades, Pulley and Fan Cowl
6. Remove fan cowl.
7. Remove drive belt.
See Drive Belt Renew
8. Fit crankshaft pulley retainer LRT-12-080 and
secure with four bolts.
9. Remove crankshaft pulley retaining bolt using
socket and suitable long bar.
10. Remove pulley retainer.
11. Remove pulley, if necessary using extractor
LRT-12-049 with thrust pad from LRT-12-031.
Refit
12. Refit in reverse order, lightly greasing pulley
spigot. Tighten to
80 Nm + 90
°
.