Jaguar XJ (X350). Manual - part 578


  Index      Jaguar     Jaguar XJ (X350) - service repair manual 2003-2009 year


Search            


Content   ..  576  577  578  579   ..


Jaguar XJ (X350). Manual - part 578


26 


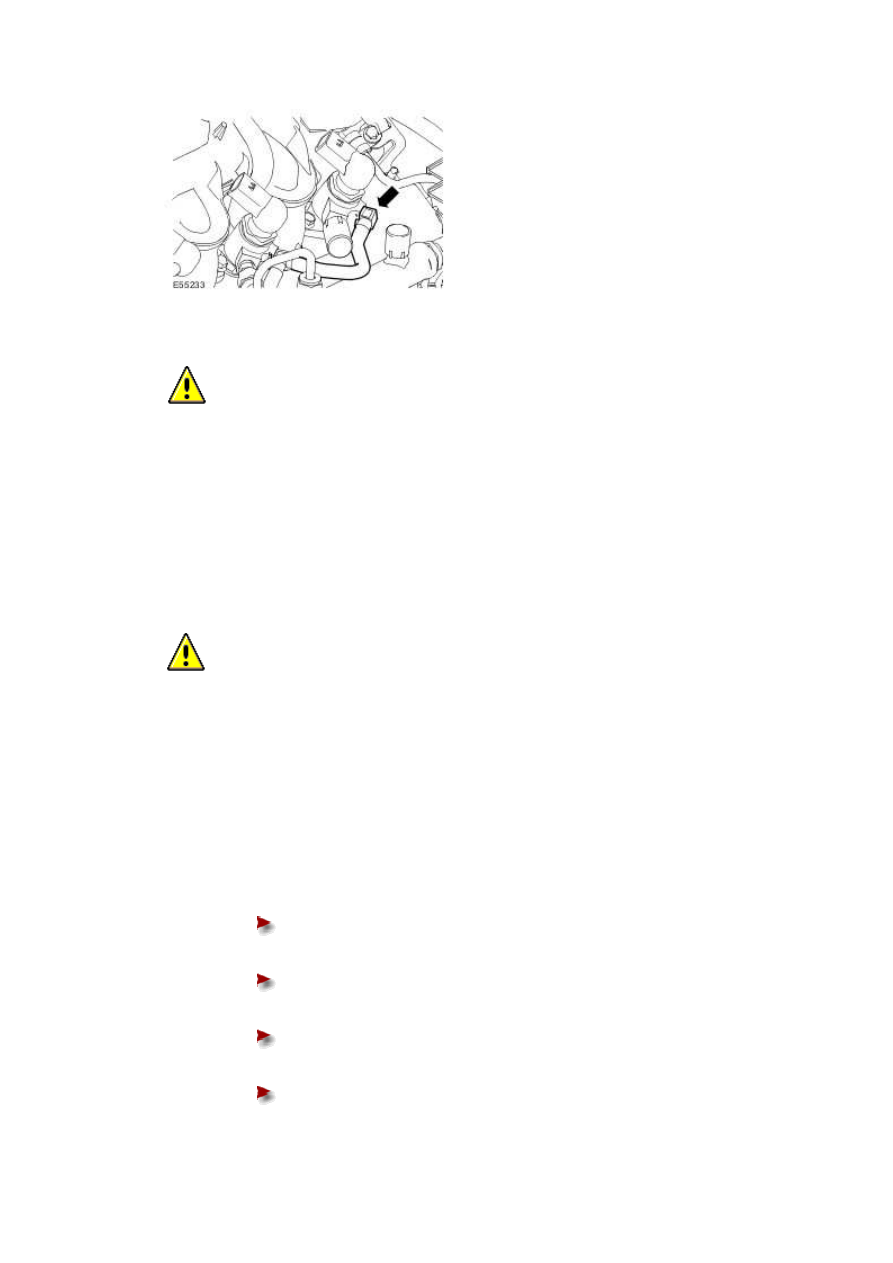
  CAUTION: Do not allow the unions to hit the olive ends of the high-pressure fuel 

supply lines as this may damage the ends of the lines and allow foreign matter enter the 

fuel injection system. 


Position the high-pressure fuel supply lines as near to the final installation position as 

possible and then remove and discard the blanking plugs from the high-pressure fuel supply 

lines. 


27 


  CAUTION: Maintain pressure on the high-pressure fuel supply lines to keep the 

olives in contact with the fuel injectors and the fuel rail cones while installing the unions. 


NOTE:  


Install the high-pressure fuel supply lines to the fuel rail end first followed by the fuel 

injector end. 


Install new high-pressure fuel supply lines.  


Tighten the high-pressure fuel supply line in the sequence shown:


Tighten the high-pressure fuel supply line union 1 to fuel injector to 15 

Nm.


Tighten the high-pressure fuel supply line union 2 to fuel rail to 15 Nm.


Tighten the high-pressure fuel supply line union 1 to fuel injector to 30 

Nm.


Tighten the high-pressure fuel supply line union 2 to fuel rail to 30 Nm.


28 . Attach the fuel injection wiring harness.  


29 . Connect the fuel injector electrical connectors. 


30 . Install the engine harness casing.  


Tighten to 4 Nm.


www.


31 . Install the engine harness cover.  


32 . Install the injector sound proofing.  


33 


Install the EGR valve outlet tubes.  

For additional information, refer to Exhaust Gas Recirculation (EGR) Valve Outlet Tube 

(17.45.11)  


34 . Install the cowl vent screen.  

For additional information, refer to Cowl Vent Screen (76.10.01)  


Install a new gasket. 


Install the left-hand timing belt cover.  


Tighten to 10 Nm.


36 . Attach the wiring harness.  


37 . Tighten the power steering pump bolt.  


Tighten to 22 Nm.


35 . NOTE:  

www.


Content   ..  576  577  578  579   ..