Content .. 1495 1496 1497 1498 ..
Jaguar XJ (X350). Manual - part 1497
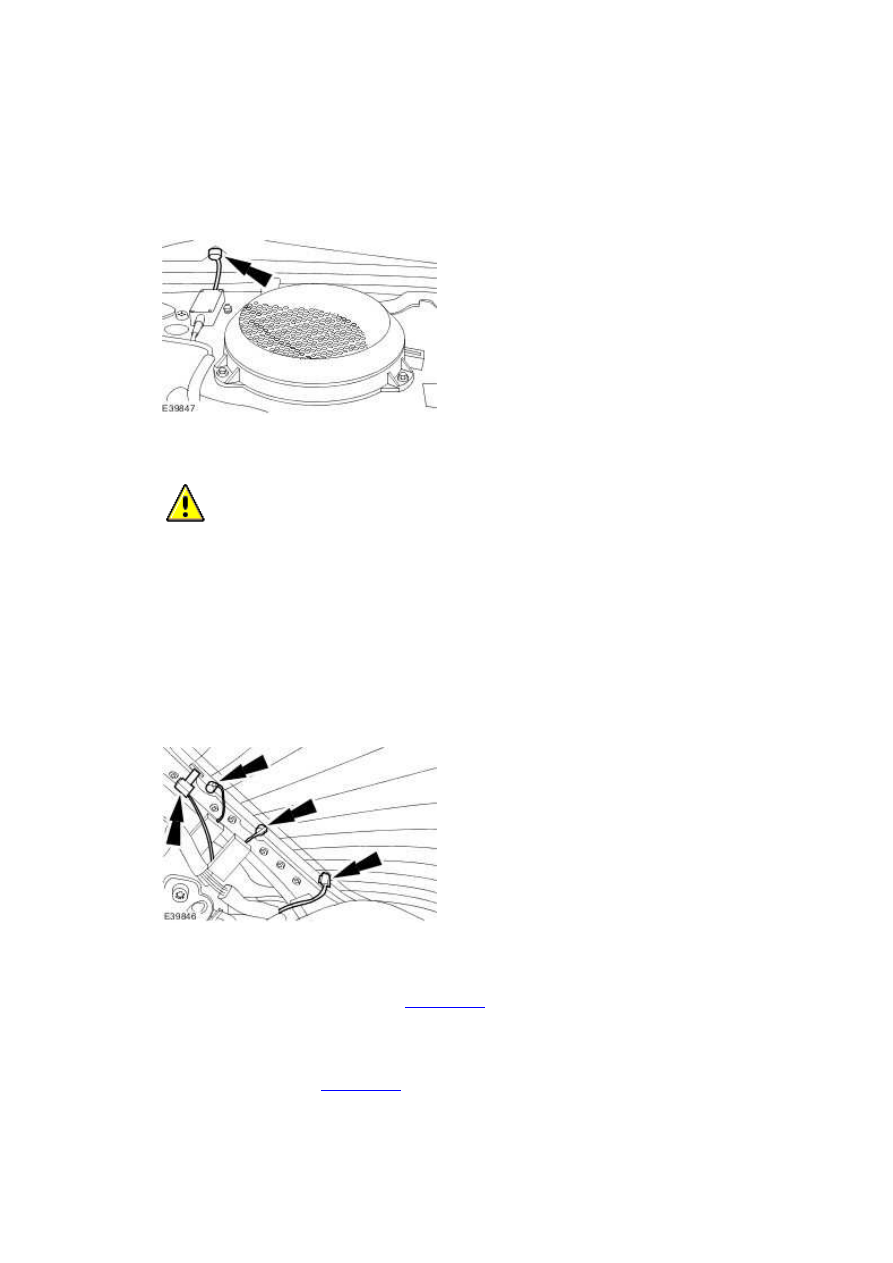
NOTE:
Right-hand shown, left-hand similar.
Connect the electrical connector.
14
.
CAUTION: Do not connect the electrical connectors for at least 1 hour after
installation of the windshield glass. Failure to follow these instructions may result in
damage to the rear window glass adhesive.
NOTE:
Right-hand shown, left-hand similar.
Connect the electrical connectors.
15 . Install the high mounted stoplamp. <<417-01>>
16 . Install the parcel shelf. <<501-05>>