Isuzu Amigo / Axiom / Trooper / Rodeo / VehiCross. Manual - part 52
3C–4
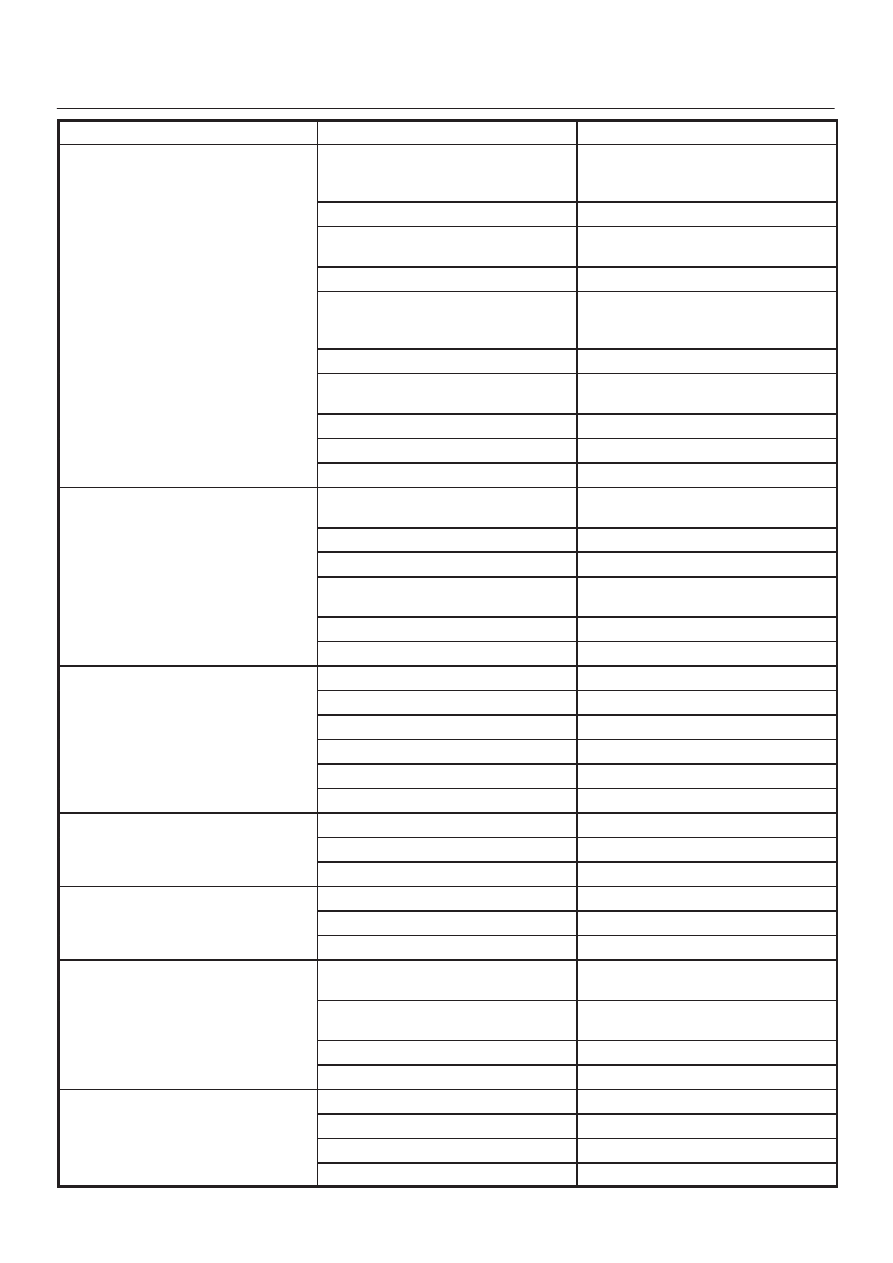
FRONT SUSPENSION
Condition
Correction
Possible cause
Abnormal Noise
Worn, sticky or loose upper or lower
ball joint, steering linkage ball joints
or drive axle joints.
Replace.
Faulty shock absorbers.
Replace.
Worn upper or lower control arm
bushing.
Replace.
Loose stabilizer bar.
Retighten bolts or replace bushings.
Loose wheel nuts.
Tighten nuts. Check for elongated
wheel nut holes. Replace wheel if
required.
Loose suspension bolts or nuts.
Retighten suspension bolts or nuts.
Broken or otherwise damaged wheel
bearings.
Replace wheel bearing.
Broken suspension springs.
Replace spring.
Loose steering unit.
Retighten mounting bolt.
Faulty steering unit.
Replace steering unit.
Wandering or Poor Steering Stability
Mismatched or unevenly worn tires.
Replace tire or inflate tires to proper
pressure.
Loose steering linkage ball joints.
Replace ball joints.
Faulty shock absorbers.
Replace shock absorber.
Loose stabilizer bar.
Tighten or replace stabilizer bar or
bushings.
Broken or sagging springs.
Replace spring (pairs).
Improper wheel alignment.
Adjust wheel alignment.
Erratic Steering When Braking
Worn wheel bearings.
Replace wheel bearings.
Broken or sagging springs.
Replace spring (pairs).
Leaking caliper.
Repair or replace caliper.
Warped discs.
Replace brake disc.
Badly worn brake pads.
Replace brake pads.
Tires are inflated unequally.
Inflate tires to proper pressure.
Low or Uneven Trim Height
Broken or sagging springs.
Replace springs (In pairs).
Vehicle overloaded.
Reduce load.
Incorrect springs.
Adjust or replace torsion bar.
Suspension Bottoms
Vehicle overloaded.
Reduce load.
Faulty shock absorber.
Replace shock absorber.
Incorrect, broken or sagging springs.
Replace springs.
Body Leans
Loose stabilizer bar.
Tighten stabilizer bar bolts or replace
bushings.
Faulty shock absorber, struts or
mounting.
Replace shock absorber.
Broken or sagging springs.
Replace springs (In pairs).
Vehicle overloaded.
Reduce load.
Cupped Tires
Worn wheel bearings.
Replace wheel bearing.
Excessive tire or wheel run out.
Replace tire or wheel.
Worn ball joints.
Replace ball joints.
Tire out of balance.
Adjust tire balance.