Content .. 1069 1070 1071 1072 ..
Isuzu Trooper (1998-2002 year). Manual - part 1071
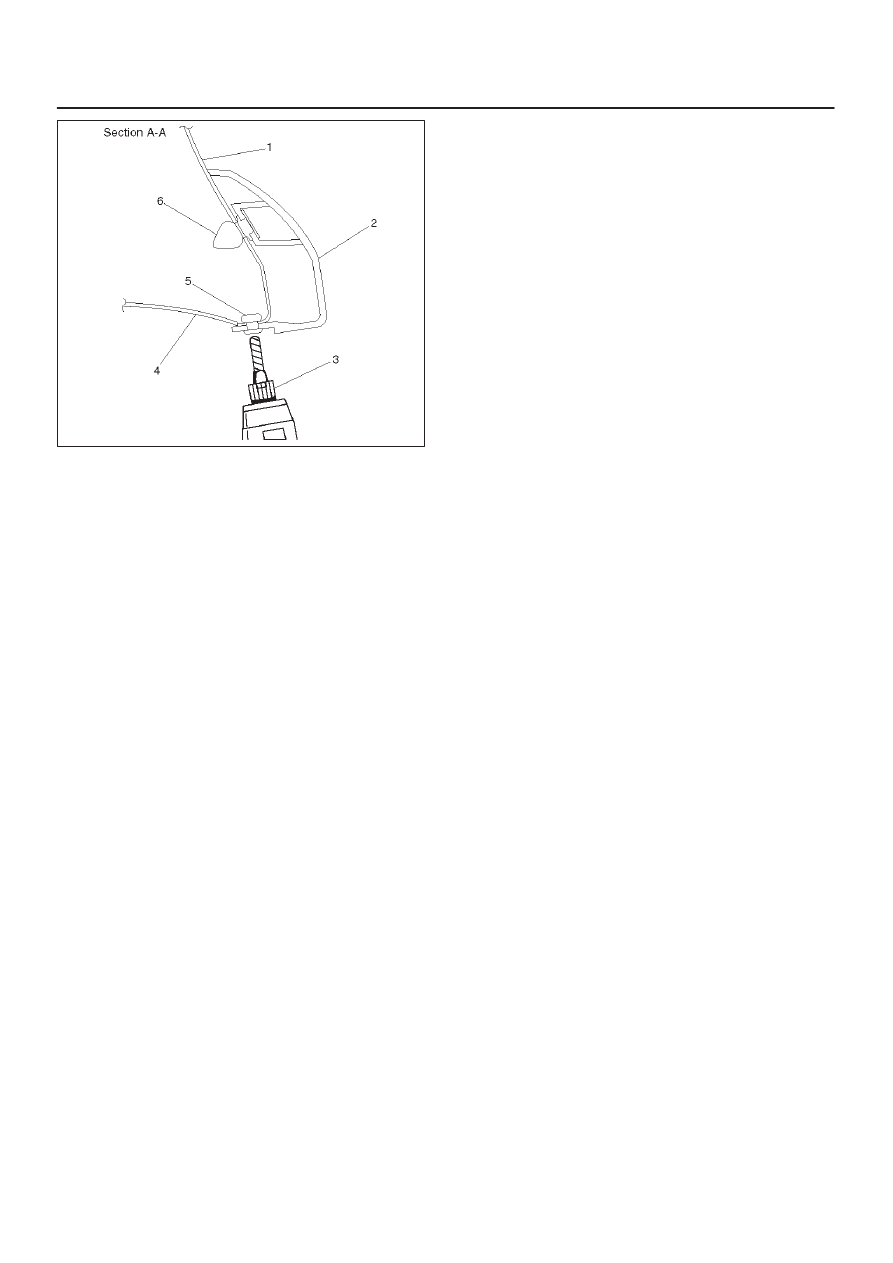
EXTERIOR/INTERIOR TRIM
8J–29
620RS005
2. Remove the rear quarter wheel opening extension
assembly (Only LWB).
D
Let a 5mm drill go through six blind rivets to
disengage riveted portions.
Disengage four clips, remove two screws, and
remove the rear quarter wheel opening extension
assembly.
3. Remove the rear wheel opening extension assembly
(Only SWB).
D
Let a 5mm drill go through four blind rivets to
disengage riveted portions. Remove two screws,
disengage eight clips, and remove the rear wheel
opening extension assembly.
D
Remove two fixing nuts (upper) and four fixing bolts
(lower).
4. Remove the rear door wheel opening extension
assembly (Only LWB).
D
Let a 5mm drill go through a blind rivet to disengage
riveted portions.
Disengage three clips, peel off the bonded portions
with two double surface adhesive tape and the rear
door wheel opening extension assembly.
5. Remove the rear rocker protector assembly (Only
LWB).
D
Loosen and pull three clips, remove a rear screw,
and remove the rear rocker protector assembly.
6. Remove the front rocker protector assembly.
D
Loosen and pull four clips, and remove the front
rocker protector assembly.
Installation
To install, follow the removal steps in the reverse order,
noting the following points.
1. Use a new 2–sided adhesive tape whenever installing
each wheel opening extension assembly and rocker
protector assembly. Using a white gasoline, clean the
places in advance where a 2–sided adhesive tape is
affixed. Also, install the clips, screws and blind rivets
in the order specified as shown in the figure.