Content .. 1405 1406 1407 1408 ..
Isuzu KB P190. Manual - part 1407
ACCESSORIES 9-23
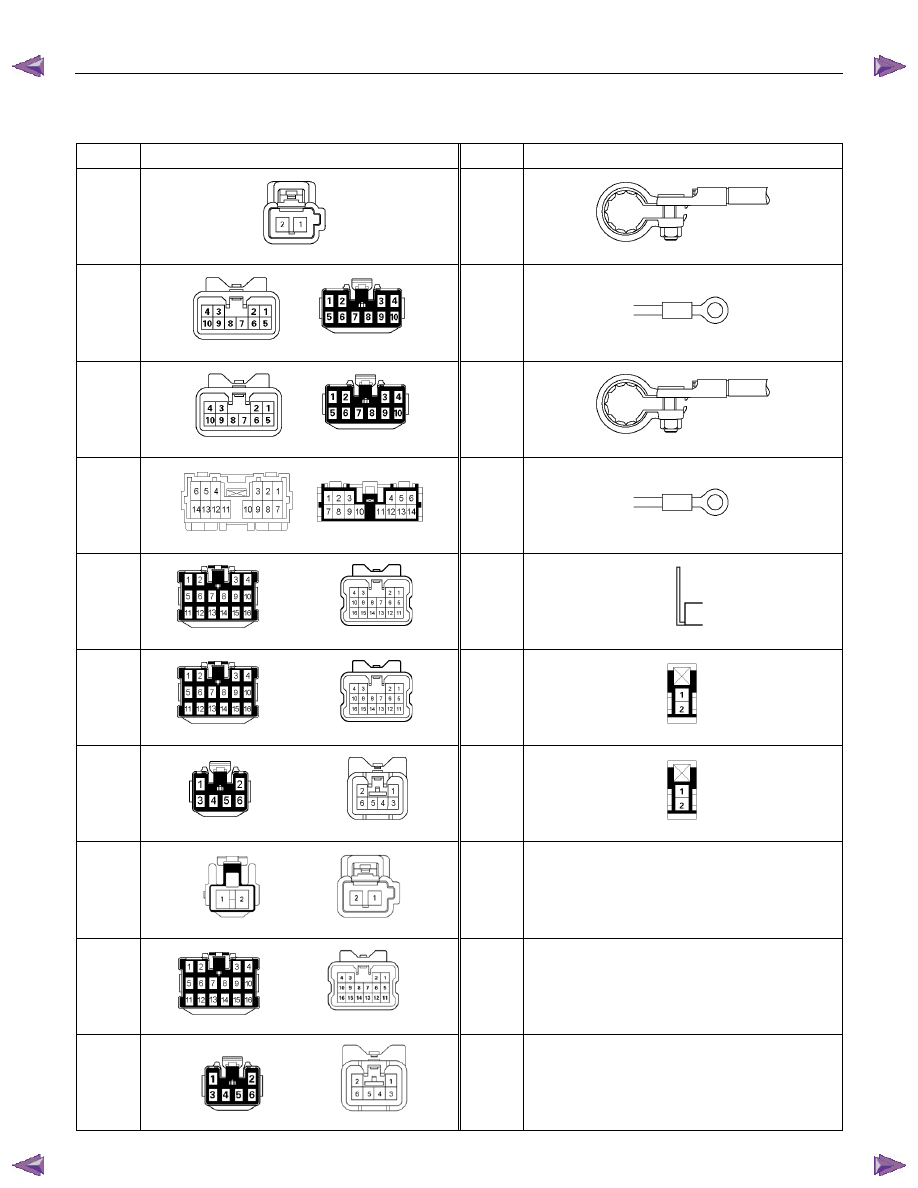
No.
Connector face
No.
Connector face
D-22
White
Tweeter -LH
P-1
Silver
Battery (+)
H-14
White
Rear body
∼ Rear door -LH
P-2
Silver
Relay
& Fuse box
H-16
White
Rear body
∼ Rear door -RH
P-5
Silver
Battery (-)
H-18
White
Engine room
∼ INST
P-6
Silver
Body earth
H-36
White
INST ~ Front door-RH
P-10
Silver
Engine ground
H-37
White
INST ~ Front door-LH
R-7
Black
Rear speaker -LH
H-39
White
INST ~ Front door-LH
R-8
Black
Rear speaker -RH
H-42
White
INST ~ Front door-driver
H-43
INST ~ Body
H-43
White
INST ~ Body