Infiniti QX80 (2018 year). Manual - part 10
2-60
Instruments and controls
. Do not allow people to ride in any
area of your vehicle that is not
equipped with seats and seat belts.
. The child restraint top tether strap
may be damaged by contact with
items in the cargo area. Secure any
items in the cargo area. Your child
could be seriously injured or killed in a
collision if the top tether strap is
damaged.
. Be sure everyone in your vehicle is in
a seat and using a seat belt properly.
CAUTION
Do not apply a total load of more than
22 lb (10 kg)
or 7 lb (3 kg)
to the
hook.
JVI0309X
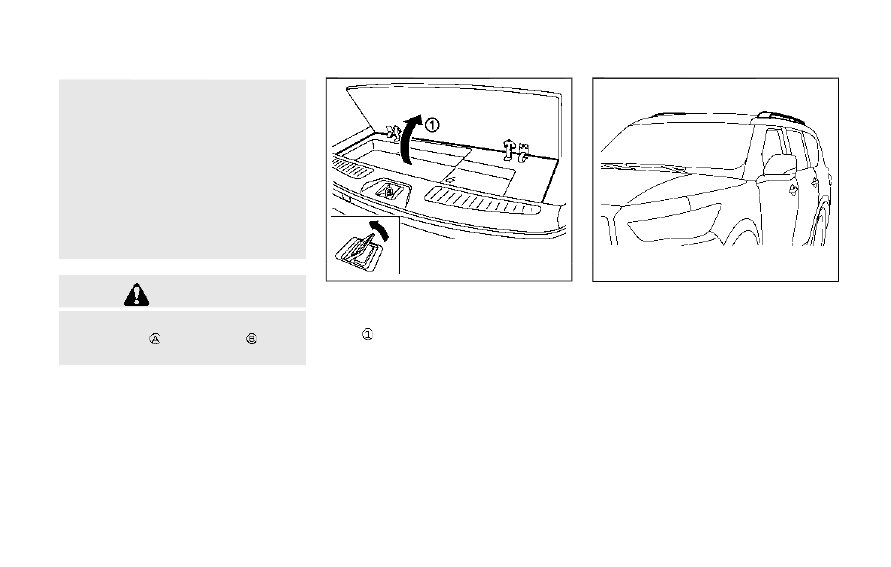
CARGO FLOOR BOX
Push the handle to open the cargo floor
board
.
JVI1741X
ROOF RACK
Do not apply any load directly to the roof
side rails. Cross bars must be installed before
applying load/cargo/luggage to the roof of
the vehicle. Genuine INFINITI accessory
cross bars are available through an INFINITI
retailer. It is recommended that you visit an
INFINITI retailer for additional information.
The service load capacity for the roof side
rails is 221 lb (100 kg), however do not
exceed the accessory cross bars load capa-
city.
Be careful that your vehicle does not exceed
the Gross Vehicle Weight Rating (GVWR) or
its Gross Axle Weight Rating (GAWR front