Hyundai Atos: Body Repair Manual - part 21
89
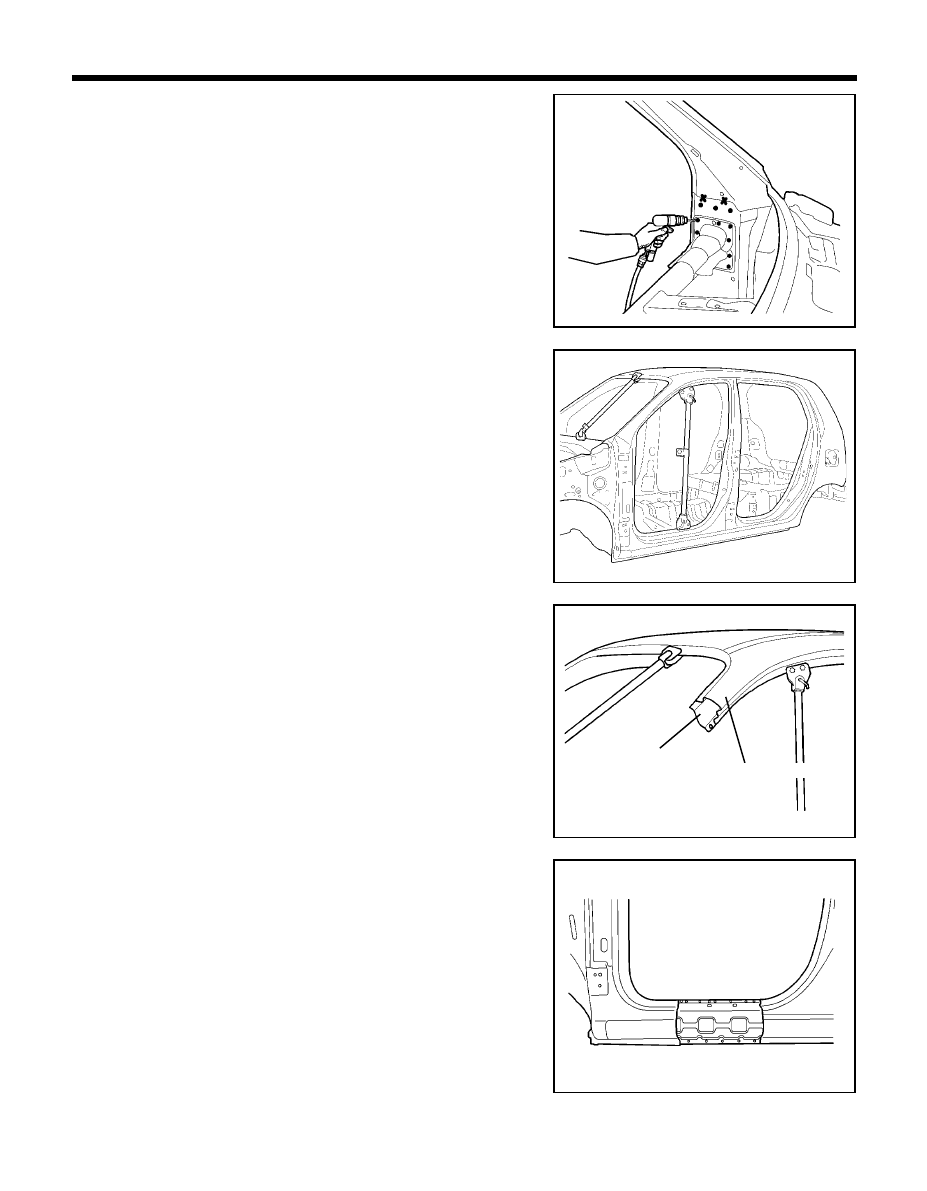
BODY PANEL REPAIR PROCEDURE - Front side outer panel
5.
Drill out all welds attaching the front side outer panel to dash and
cowl top outer, cowl inner lower panels.
6.
Remove spotwelds and lap welds attaching cowl crossmember
bar mounting upper bracket to remove front pillar.
7.
Before cutting front side outer panel, be sure to support roof
panel.
8.
Cut the front side outer panel through each cutline, taking care
not to damage the other panel as illustrated.
9.
Before cutting the side sill outer panel, make a rough cut the side
sill outer panel only.
NOTE
When cutting the front side sill outer panel, be careful not
to cut side sill outer reinforcement.
PRO-0540
PRO-0550
PRO-0560
PRO-0530
Front side outer
panel
Front inner upper
pillar