Hummer H3. Manual - part 241
 

  Index      Hummer     Hummer H3 - service repair manual 2006-2009 year


Search            


Content   ..  239  240  241  242   ..


Hummer H3. Manual - part 241


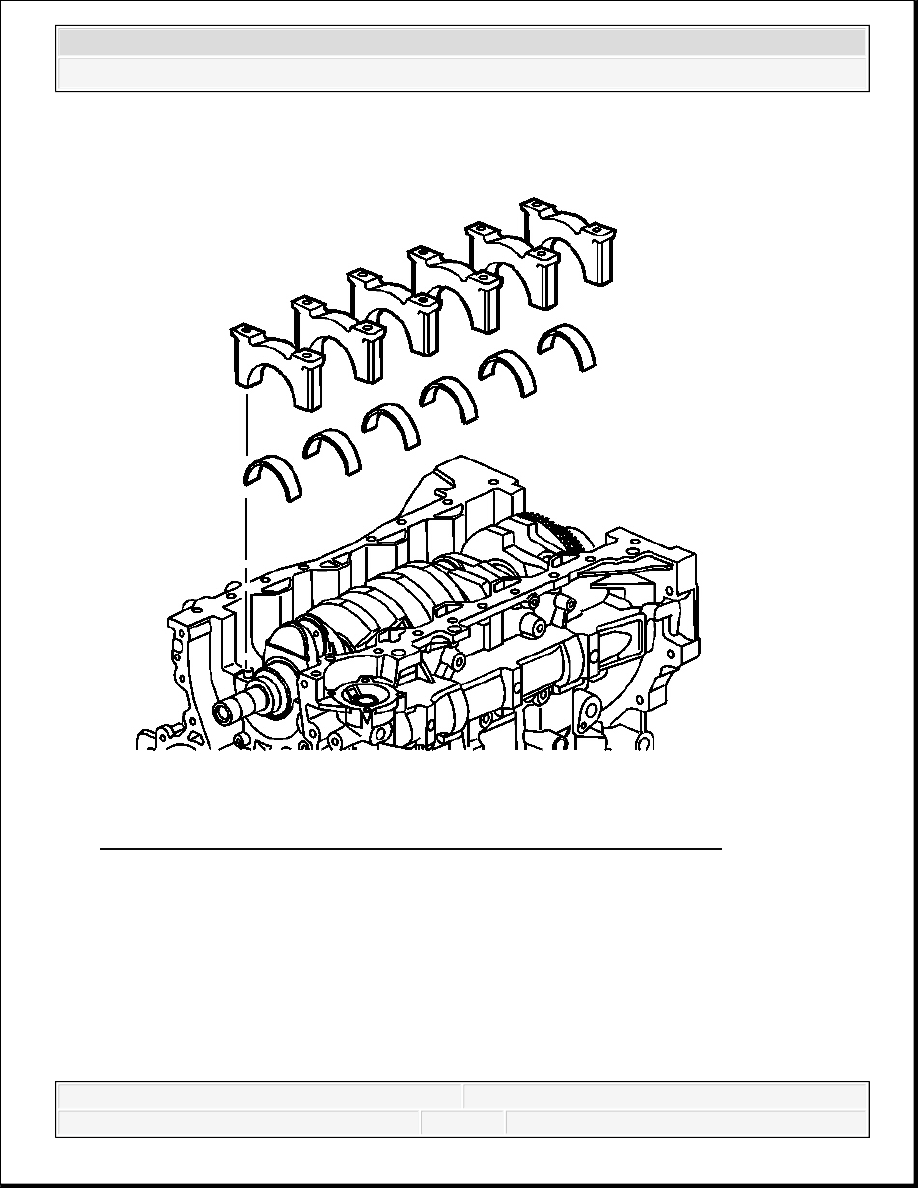
Fig. 581: View Of Crankshaft Main Bearing Caps & Lower Bearings 
Courtesy of GENERAL MOTORS CORP. 

4. Install the lower crankshaft main bearings into the main bearing caps.  

5. Lubricate the lower crankshaft main bearing surface with clean engine oil.  

6. Install the crankshaft main bearing caps. 

IMPORTANT: Refer to the pin stamp on the crankshaft main bearing caps 

for sequence and direction of installation.


2006 Hummer H3 

2006 ENGINE Engine Mechanical - 3.5L (L52) - H3


Fig. 582: View Of Crankshaft Main Bearing Cap Stiffener 
Courtesy of GENERAL MOTORS CORP. 

7. Install the crankshaft main bearing cap stiffener. 

IMPORTANT: The crankshaft main bearing cap stiffener is directional. The 

end marked front goes to the front.


2006 Hummer H3 

2006 ENGINE Engine Mechanical - 3.5L (L52) - H3


Fig. 583: View Of Crankshaft Main Bearing Cap Bolt 
Courtesy of GENERAL MOTORS CORP. 

8. Install new crankshaft main bearing bolts. Start the crankshaft main bearing cap bolts by 

hand. Ensure the bottom of the crankshaft main bearing cap is parallel to the block surface. 


2006 Hummer H3 

2006 ENGINE Engine Mechanical - 3.5L (L52) - H3


Fig. 584: Installing Crankshaft Main Bearing Cap Bolts 
Courtesy of GENERAL MOTORS CORP. 

9. Tighten the crankshaft main bearing cap bolts in equal increments. 

Tighten:  

1. Tighten the crankshaft main bearing cap bolts to 25 N.m (18 lb ft) in sequence.  

2. Use J 45059 to tighten the crankshaft main bearing cap bolts an additional 180 

degrees. See Special Tools.  

NOTE:

Refer to Fastener Notice in Cautions and Notices.


2006 Hummer H3 

2006 ENGINE Engine Mechanical - 3.5L (L52) - H3


Content   ..  239  240  241  242   ..