Hummer H1 (2006+). Manual - part 273
9-70 Axles, Suspension and Frame
__________________________________________
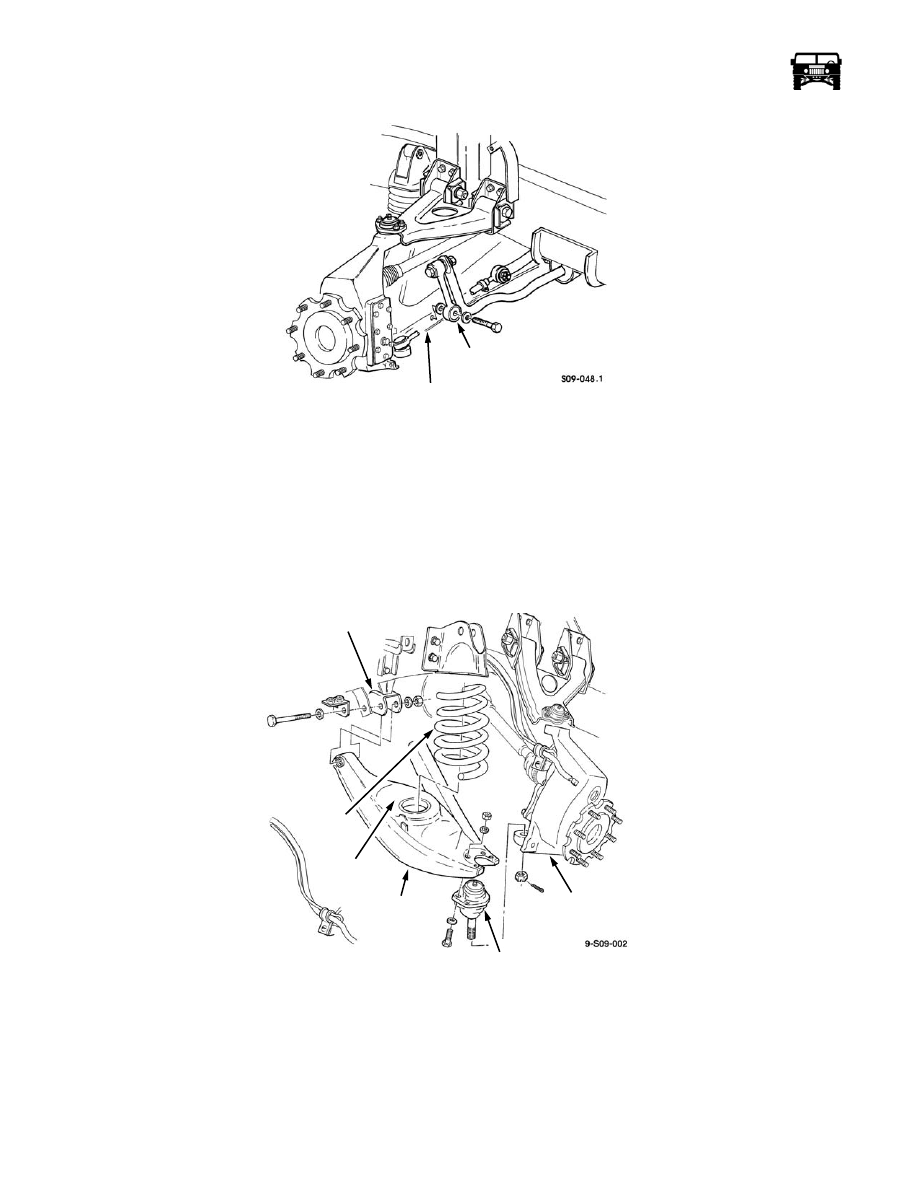
Figure 9-112: Bar Link Replacement
Installation
WARNING: The lower control arm must be supported during the removal and the installation. Failure to support
the lower control arm may cause personal injury or damage to the equipment.
NOTE: On the lower control arms, the bolt heads are toward the front of the vehicle.
1.
Install the lower control arm on the brackets with the two bolts, washers and the locknuts. Do not tighten the locknuts (Figure
9-113).
Figure 9-113: Lower Control Arm Replacement
2.
Install the coil spring on the lower control arm ensuring the end of the coil spring fits in the spring pocket of the lower control
arm.
3.
Install the lower ball joint on the lower control arm, ensuring the ball joint is placed below the lower control arm.
4.
Secure the lower ball joint to the lower control arm with the four bolts, locknuts and the eight washers. Tighten the locknuts to
65 lb-ft. (80 N•m).
BAR LINK
LOWER CONTROL ARM
BRACKET
COIL
SPRING
LOWER
LOWER BALL JOINT
GEARED HUB
SPRING
CONTROL
ARM