Honda Accord Coupe (2017 year). Instruction - part 26
uu
Bluetooth® HandsFreeLink®
u
HFL Menus
400
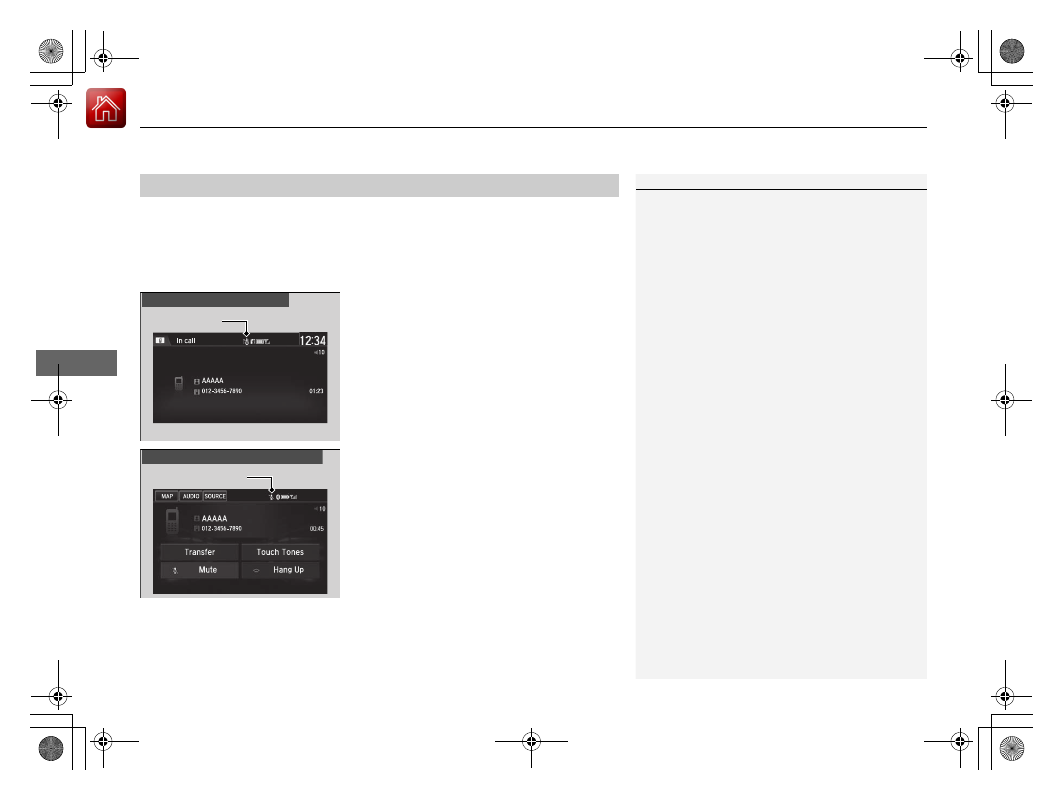
Features
The following options are available during a call.
Mute: Mute your voice.
Transfer: Transfer a call from the system to your phone.
Touch Tones: Send numbers during a call. This is useful when you call a menu-
driven phone system.
The available options are shown on the lower
half of the audio/information touch screen.
Select the option.
u
The mute icon appears when Mute is
selected. Select Mute again to turn it off.
■
Options During a Call
1
Touch Tones: Available on some phones.
You can select the icons on the audio/information
touch screen.
Audio/information screen
Mute Icon
Mute Icon
Audio/information touch screen