Ford Taurus X (2009 year). Manual - part 38
 

  Index      Ford     Ford Taurus X - service manual 2009 year in english


Search            


Content   ..  36  37  38  39   ..


Ford Taurus X (2009 year). Manual - part 38


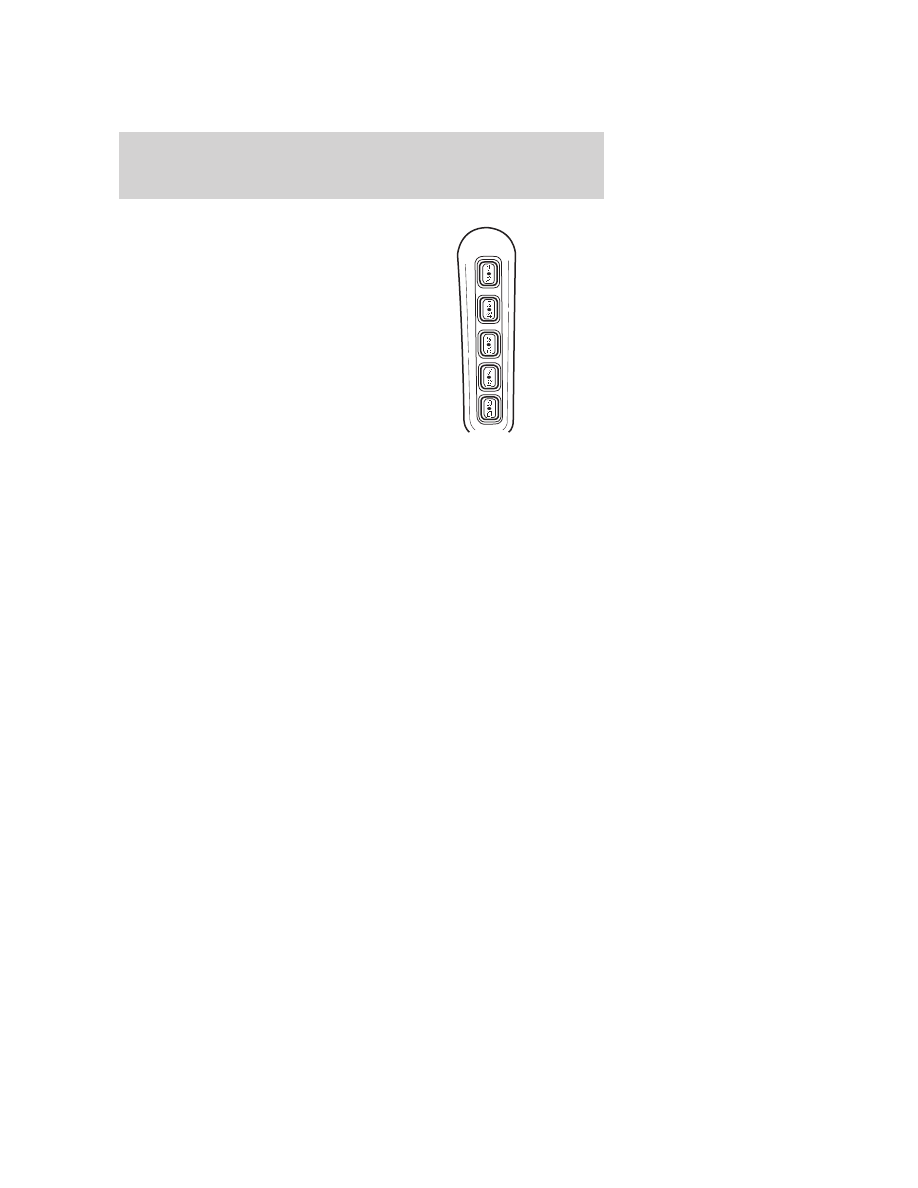
• Press the 7 • 8 and 9 • 0

controls on the keyless entry pad
at the same time to lock the
doors (driver’s door must be
closed).

There is a 20 second countdown
when any of the above actions occur
before the vehicle becomes armed.

Each door, the hood, and the
liftgate is armed individually, and if
any are open, they must be closed
before the open entry point (door,
hood, or liftgate) can enter the
20 second countdown.

The turn signal lamps will flash once
when all doors, the hood and the liftgate are closed indicating the vehicle
is locked and entering the 20 second countdown.

Disarming the system

You can disarm the system by any of the following actions:
• Unlock the doors by using the remote entry transmitter portion of

your Integrated Keyhead Transmitter.

• Unlock the doors by using your keyless entry pad.
• Unlock the driver’s door with a key. Turn the key full rearward

(toward the rear of the vehicle) to ensure the alarm disarms.

• Turn ignition to the on position with a valid SecuriLock™ key or

Integrated Keyhead Transmitter (IKT).

• Press the panic control on the remote entry transmitter portion of

your IKT. This will only shut off the horn and turn lamps when the
alarm is sounding. The alarm system will still be armed.

Pressing the power door unlock control within the 20 second prearmed
mode will return the vehicle to a disarmed state.

Triggering the anti-theft system

The armed system will be triggered if:
• Any door, the hood or the liftgate is opened without using the door

key, keypad or the remote entry transmitter portion of your IKT.

• The ignition is turned to the on position with an invalid SecuriLock™

key or IKT.

Locks and Security

154

SEATING

WARNING: Reclining the seatback can cause an occupant to
slide under the seat’s safety belt, resulting in severe personal

injuries in the event of a collision.

WARNING: Do not pile cargo higher than the seatbacks to
reduce the risk of injury in a collision or sudden stop.

WARNING: Before returning the seatback to its original
position, make sure that cargo or any objects are not trapped

behind the seatback. After returning the seatback to its original
position, pull on the seatback to ensure that it has fully latched. An
unlatched seat may become dangerous in the event of a sudden stop or
collision.

Adjustable head restraints

WARNING: To minimize the risk of neck injury in the event of a
crash, the driver and passenger occupants should not sit in

and/or operate the vehicle, until the head restraint is placed in its
proper position. The driver should never adjust the head restraint
while the vehicle is in motion.

Head restraints help to limit head motion in the event of a rear collision.
Adjust your head restraint so that it is located directly or as close as
possible behind your head.

The head restraints can be moved
up by pulling up on the head
restraint.

Seating and Safety Restraints

155

Push release button to lower head
restraint.

Adjusting the front manual seat (if equipped)

WARNING: Never adjust the driver’s seat or seatback when the
vehicle is moving.

WARNING: Always drive and ride with your seatback upright
and the lap belt snug and low across the hips.

Lift handle to move seat forward or
backward.

Pull lever up to adjust seatback.

Seating and Safety Restraints

156

WARNING: Before returning the seatback to its original
position, make sure that cargo or any objects are not trapped

behind the seatback. After returning the seatback to its original
position, pull on the seatback to ensure that it has fully latched. An
unlatched seat may become dangerous in the event of a sudden stop or
collision.

Using the manual lumbar support (if equipped)

The lumbar support control is
located on the outboard side of the
seatback.

Move the control up or down to
adjust lumbar support.

Folding down the front passenger seatback

The front passenger seatback can be
folded to a horizontal position to
make room for a long load. To fold
the seatback:

1. Move the seat as far back as
possible.

2. Push the head restraint release
button and move the head restraint
fully down.

3. Pull the strap located on the back
of the seat to fold the front passenger seatback.
4. Without releasing the pull strap, push the seatback forward.
5. Move the seat as far forward as possible.

WARNING: Cover sharp edges on the load and properly secure
the load to prevent injury to occupants from shifting load during

sudden stops.

Seating and Safety Restraints

157


Content   ..  36  37  38  39   ..