Ford Excursion (2000 year). Manual - part 15
 

  Index      Ford     Ford Excursion - service manual 2000 year in english


Search            


Content   ..  13  14  15  16   ..


Ford Excursion (2000 year). Manual - part 15


Mode control

Each press of the MODE control will
display a different feature as follows:

Average fuel economy. The
display will indicate the vehicle’s
average fuel economy in liters/100
km (or miles/gallon) since the
average fuel economy was last reset.

If you calculate your average fuel
economy by dividing liters of fuel
used by 100 kilometers traveled
(miles traveled by gallons used), your figure may be different than
displayed for the following reasons:
• your vehicle was not perfectly level during fill-up
• differences in the automatic shut-off points on the fuel pumps at

service stations

• variations in top-off procedure from one fill-up to another
• rounding of the displayed values to the nearest liter (gallon)
To reset the average fuel economy:

1. Press the MODE control repeatedly until average fuel economy is
displayed (this is the only resettable display).

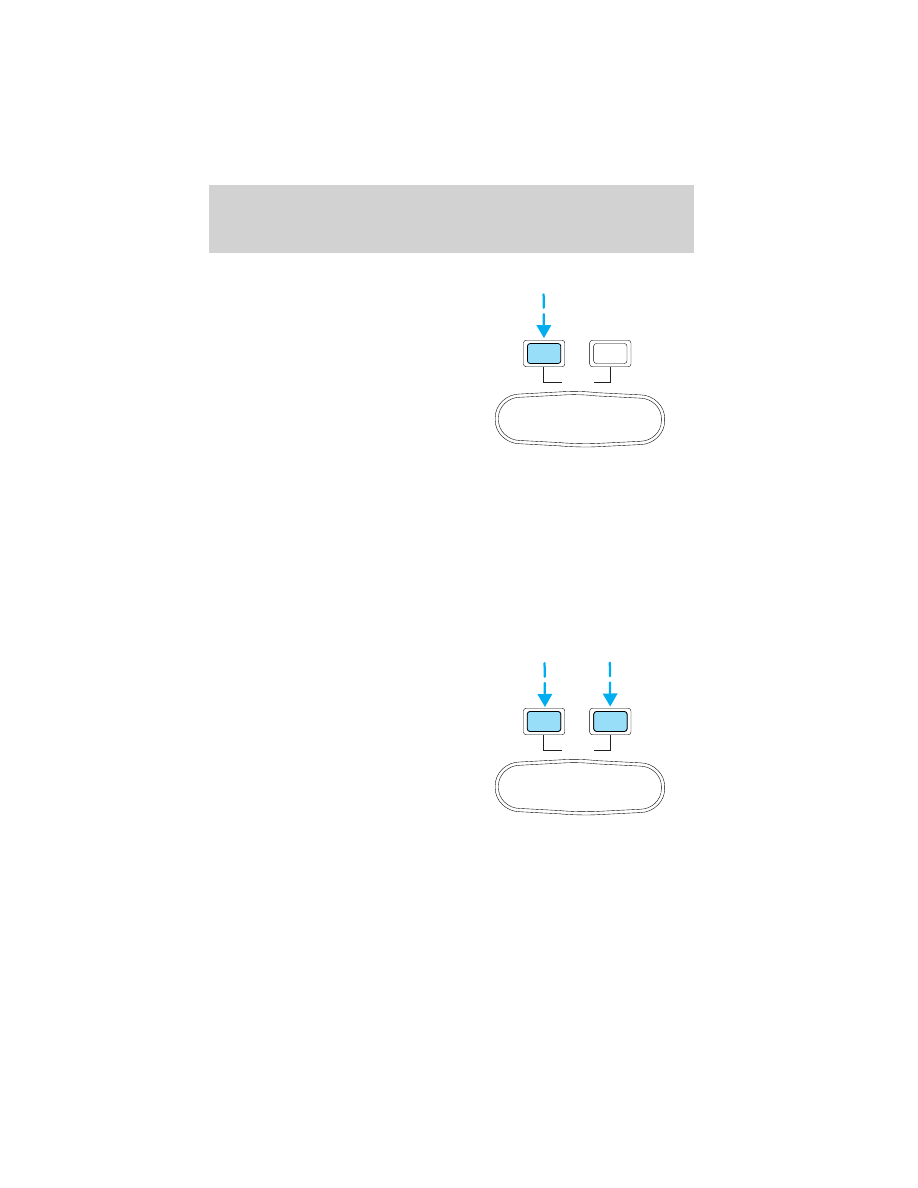
2. Press the E/M and MODE
controls simultaneously. The display
will illuminate the “AVG” indicator.
While the indicator is lit, release
both controls to reset the average
fuel economy.

Fuel range. This displays the approximate number of kilometers (miles)
left to drive before the fuel tank is empty. The indicated distance to
empty may be inaccurate:
• with sustained, drastic changes in fuel economy (such as trailer

towing), but will eventually recover.

RESET

MODE

E/M

RESET

MODE

E/M

Controls and features

59

• if the vehicle is started while parked on an incline.
• if less than 30 liters (8 gallons) of fuel is added to the fuel tank.
The fuel range function will flash for five seconds at the following
distances based on fuel remaining and fuel economy calculations:
• 80 km (50 miles)
• 40 km (25 miles)
• 16 km (10 miles)

Outside air temperature

The temperature can be displayed in
Centigrade or Fahrenheit by
pressing the E/M control.

If the outside temperature falls
below 3°C (38°F), the display will
alternate from “ICE” to the outside
temperature at a two second rate
for one minute.

Off. In this mode the display is off.

Compass

The compass display is contained in the overhead console. The vehicle
heading is displayed as one of N, NE, E, SE, S, SW, W and NW.

The compass heading is displayed in average fuel economy modes, fuel
range modes and temperature modes.

The compass reading may be affected when you drive near large
buildings, bridges, power lines and powerful broadcast antenna. Magnetic
or metallic objects placed in or on the vehicle may also affect compass
accuracy. Adjustments may need to be made to the zone and calibration
of the compass.

RESET

MODE

E/M

Controls and features

60

Compass zone adjustment

1. Determine which magnetic zone
you are in for your geographic
location by referring to the zone
map.

2. Locate the trip computer on the
overhead console.

3. Turn ignition to the ON position.

4. Press and hold both trip
computer controls. After
approximately four seconds, the trip
computer will enter zone setting
mode. Zone setting mode is
indicated when the display lights the
“ZONE” indicator.

5. Release both controls.
Subsequent pressing of either
control will increment the zone.
Press the control repeatedly until
the correct zone setting for your geographic location is displayed on the
trip computer.

6. To exit the zone setting mode and save the displayed zone in memory,
release both controls for greater than five seconds.

1

2

3

4

5

6

7

8

9

10

11

12

13

14

15

RESET

MODE

E/M

Controls and features

61

Compass calibration adjustment

Perform this adjustment in an open area free from steel structures and
high voltage lines.

For optimum calibration, turn off all electrical accessories (heater/air
conditioning, wipers, etc.) and make sure all vehicle doors are shut.

1. Locate the trip computer located in the overhead console.

2. Start the vehicle.

3. Press and hold both trip
computer controls. After
approximately eight seconds, the
trip computer will enter CAL mode.
CAL mode is indicated when the
display lights the “CAL” indicator.

4. Release both controls. The display
will return to normal, except that
the CAL indicator will remain lit
until the compass is sucessfully
calibrated.

5. Slowly drive the vehicle in a circle (less than 5 km/h [3 mph]) until
the CAL indicator turns off. It may take up to five circles to complete
calibration.

6. The compass is now calibrated.

INTERIOR LAMPS

Dome/Map lamps (if equipped)

The map lamps and controls are
located on the dome lamp. Press the
controls on either side of each map
lamp to activate the lamps.

RESET

MODE

E/M

Controls and features

62


Content   ..  13  14  15  16   ..