Dodge 3500 Diesel (2008 year). Manual - part 6
MIRRORS
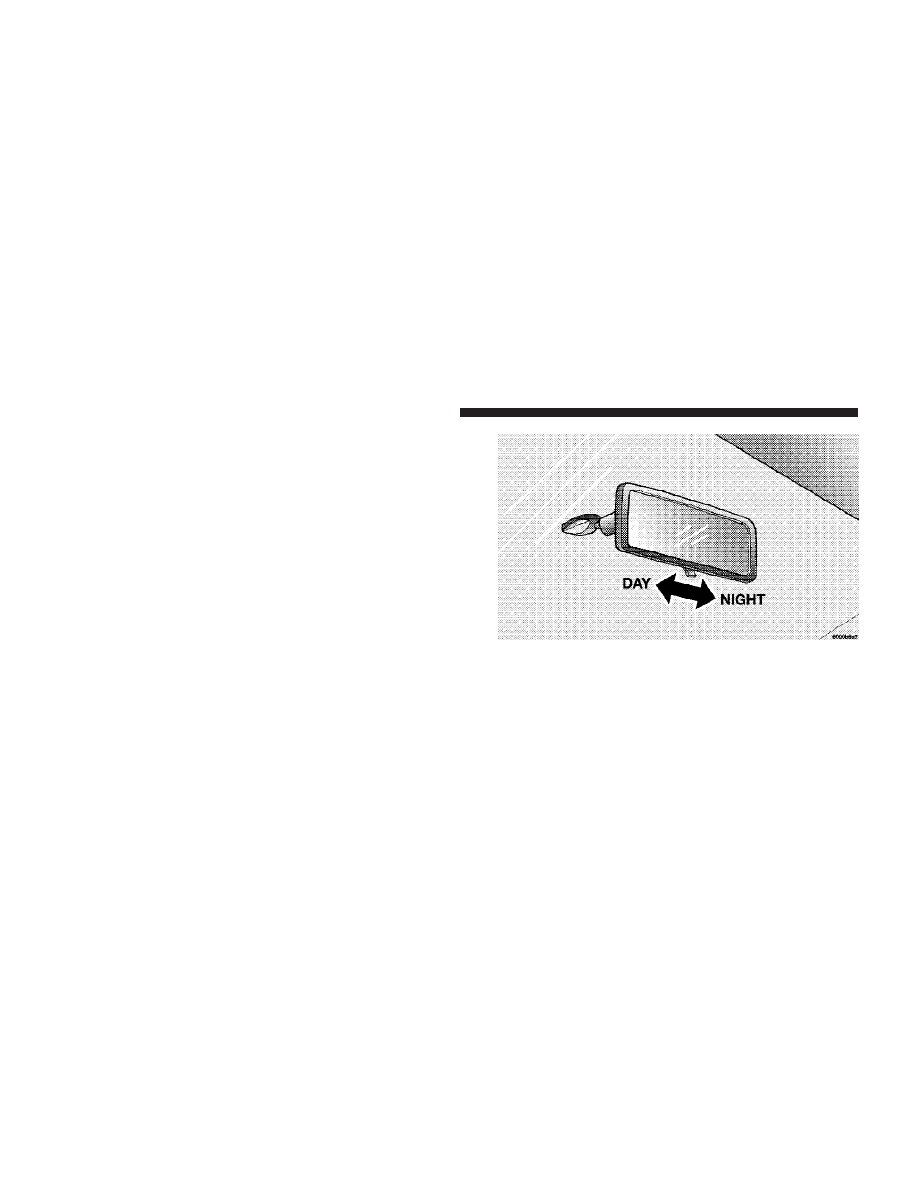
Inside Mirror
The mirror should be adjusted to center on the view
through the rear window.
Annoying headlight glare can be reduced by moving the
small control under the mirror to the night position
(toward rear of vehicle). The mirror should be adjusted
while set in the day position (toward windshield).
Adjusting Rearview Mirror
84
UNDERSTANDING THE FEATURES OF YOUR VEHICLE