Dodge 2500-3500 (Diesel) (2006 year). Manual - part 7
Reclining Seats
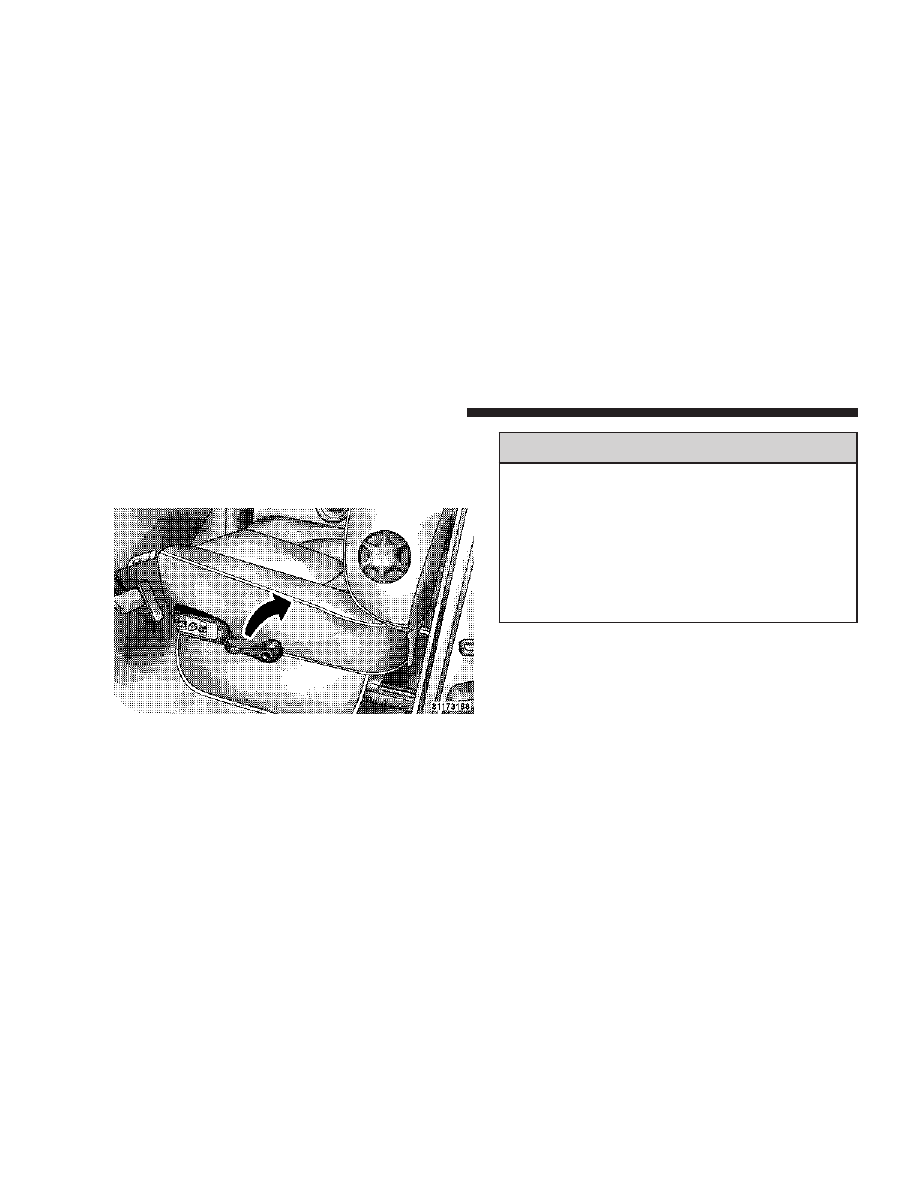
The recliner handle is on the outside of the seat cushion.
Pull up on the handle, as shown, to release the seat back
and adjust for comfort.
WARNING!
You can be seriously, even fatally, injured riding in a
seat with the seatback reclined. Do not ride with the
seatback reclined so that the shoulder belt is no
longer resting against your chest. If you ride in this
position, the shoulder harness will no longer be
restraining you. In a collision you could slide under
the seat belt and receive serious or fatal injuries.
Recline in a seat only when the vehicle is parked.
Adjustable Head Restraints
Head restraints can reduce the risk of neck injury in the
event of impact from the rear. Pull up or push down on
the restraints so that the upper edge is as high as
practical, at least to the level of the ears.
Seat Recliner Handle
108
UNDERSTANDING THE FEATURES OF YOUR VEHICLE