Dodge Neon / Neon SRT-4. Manual - part 67
(10) Radiator can now be lifted free from engine
compartment. Care should be taken not to dam-
age radiator cooling fins or water tubes during
removal.
CLEANING
Clean radiator fins are necessary for good heat
transfer. The radiator and air conditioning fins
should be cleaned when an accumulation of debris
has occurred. With the engine cold, apply cold water
and compressed air to the back (engine side) of the
radiator to flush the radiator and/or A/C condenser of
debris.
INSPECTION
Inspect the radiator tanks for cracks, broken or
missing fittings also inspect the joint where the
tanks seam up to the radiator core for signs of leak-
age and/or deteriorating seals.
Inspect radiator core for corroded, bent or missing
cooling fins. Inspect the core for bent or damaged
cooling tubes.
INSTALLATION
(1) Install radiator into position behind the radia-
tor support (yoke).
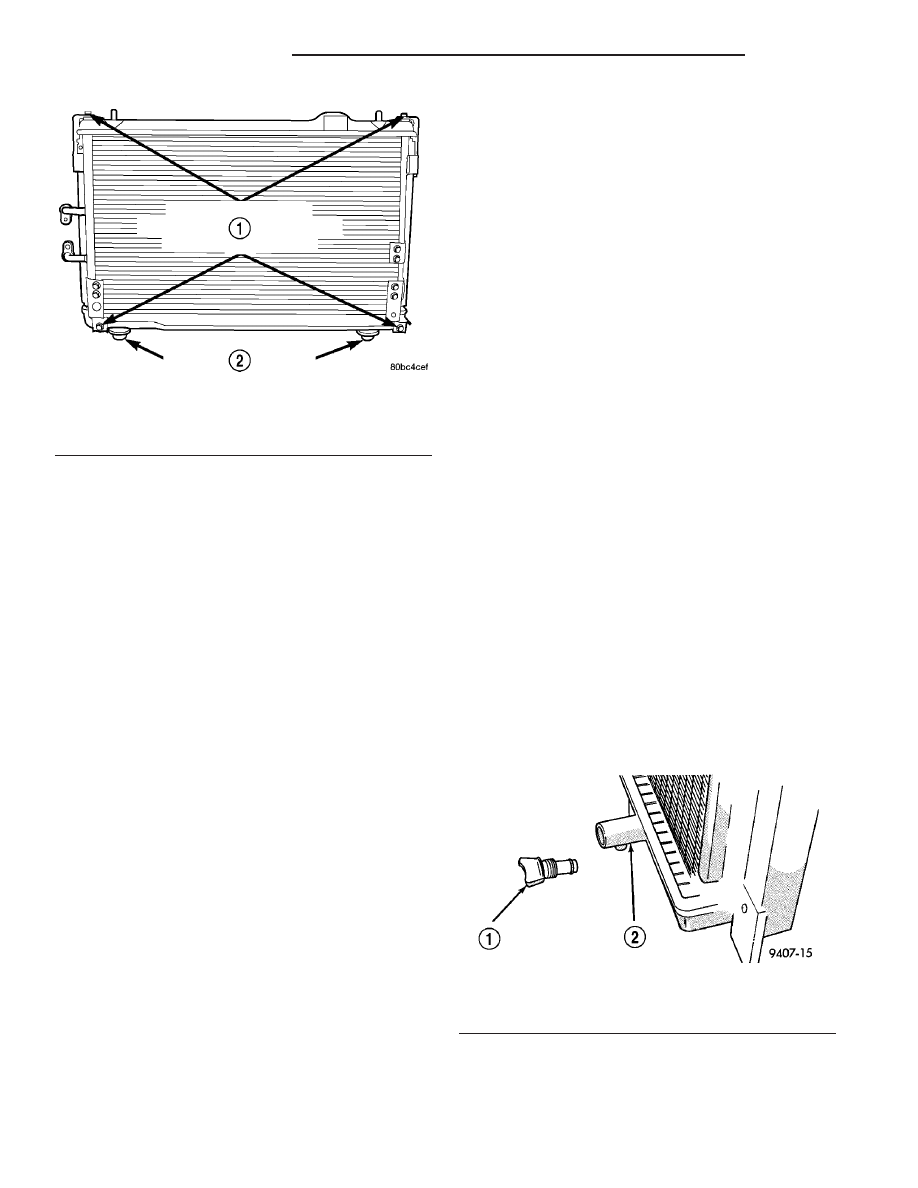
(2) Attach A/C condenser to radiator (if equipped)
(Fig. 15), with four mounting screws. Tighten screws
to 7.2 N·m (65 in. lbs.). Then seat the radiator
assembly lower rubber isolators into the mounting
holes provided in the lower crossmember.
(3) Install and tighten radiator isolator mounting
bracket screws to 10 N·m (90 in. lbs.) (Fig. 14). The
radiator should have clearance to move up, approxi-
mately 5–8 mm (0.20–0.31 in.) after assembled.
(4) Install the radiator lower hose. Align the hose
and position the clamp to prevent interference with
engine components.
NOTE: When the transaxle cooler lines are removed
from the rolled-groove type fittings at the cooler
and transaxle, damage to the inner wall of hose will
occur. To prevent potential leakage, the cooler
hoses and clamps must be replaced.
(5) Replace
automatic
transmission
hoses
and
clamps (if equipped) (Fig. 13).
(6) Install radiator fan assembly (Refer to 7 -
COOLING/ENGINE/RADIATOR FAN - INSTALLA-
TION).
(7) Connect the radiator fan motor electrical con-
nector.
(8) Install the radiator upper hose. Align the hose
and position the clamp to prevent interference with
the engine or the hood.
(9) Connect negative cable to battery.
(10) Fill cooling system with coolant (Refer to 7 -
COOLING/ENGINE - STANDARD PROCEDURE).
(11) Operate engine until it reaches normal operat-
ing temperature. Check cooling system and auto-
matic transmission for correct fluid levels.
RADIATOR DRAINCOCK
REMOVAL
(1) Drain the cooling system (Refer to 7 - COOL-
ING/ENGINE - STANDARD PROCEDURE).
(2) Turn the draincock stem counterclockwise to
unscrew the stem. When the stem is unscrewed to
the end of the threads, pull the stem (Fig. 16) from
the radiator tank.
INSTALLATION
(1) Push the draincock assembly body into the
tank opening.
Fig. 15 A/C Condenser to Radiator Mounting Screws
1 - AIR CONDITIONING CONDENSER TO RADIATOR MOUNTING
SCREWS
2 - LOWER ISOLATOR MOUNTS
Fig. 16 Draincock
1 - DRAIN COCK BODY
2 - DRAIN COCK HOUSING
7 - 26
ENGINE - 2.0L SOHC
PL/SRT-4
RADIATOR (Continued)