Dodge Durango (DN). Manual - part 261
INSPECTION
Hold cap at eye level, right side up. The vent valve
(Fig. 29) at bottom of cap should open. If rubber gas-
ket has swollen and prevents vent valve from open-
ing, replace cap.
Hold cap at eye level, upside down. If any light can
be seen between vent valve and rubber gasket,
replace cap. Do not use a replacement cap that
has a spring to hold vent shut. A replacement cap
must be the type designed for a coolant reserve/over-
flow system with a completely sealed diaphragm
spring and a rubber gasket. This gasket is used to
seal to radiator filler neck top surface. Use of proper
cap will allow coolant return to radiator.
RADIATOR
CLEANING
Clean radiator fins With the engine cold, apply cold
water and compressed air to the back (engine side) of
the radiator to flush the radiator and/or A/C con-
denser of debris.
INSPECTION
The radiator cooling fins should be checked for
damage or deterioration. Inspect cooling fins to make
sure they are not bent or crushed, these areas result
in reduced heat exchange causing the cooling system
to operate at higher temperatures. Inspect the plastic
end tanks for cracks, damage or leaks.
Inspect the radiator neck for damage or distortion.
WATER PUMP
CLEANING
Clean the gasket mating surface. Use caution not
to damage the gasket sealing surface.
INSPECTION
Inspect the water pump assembly for cracks in the
housing, Water leaks from shaft seal, Loose or rough
turning bearing or Impeller rubbing either the pump
body or timing chain case/cover.
FAN BLADE
CLEANING
Clean the fan blades using a mild soap and water.
Do not use an abrasive to clean the blades.
INSPECTION
WARNING: DO
NOT
ATTEMPT
TO
BEND
OR
STRAIGHTEN FAN BLADES IF FAN IS NOT WITHIN
SPECIFICATIONS.
CAUTION: If
fan
blade
assembly
is
replaced
because of mechanical damage, water pump and
viscous fan drive should also be inspected. These
components could have been damaged due to
excessive vibration.
(1) Remove fan blade assembly from viscous fan
drive unit (four bolts).
(2) Lay fan on a flat surface with leading edge fac-
ing down. With tip of blade touching flat surface,
replace fan if clearance between opposite blade and
surface is greater than 2.0 mm (.090 inch). Rocking
motion of opposite blades should not exceed 2.0 mm
(.090 inch). Test all blades in this manner.
(3) Inspect fan assembly for cracks, bends, loose
rivets or broken welds. Replace fan if any damage is
found.
SPECIFICATIONS
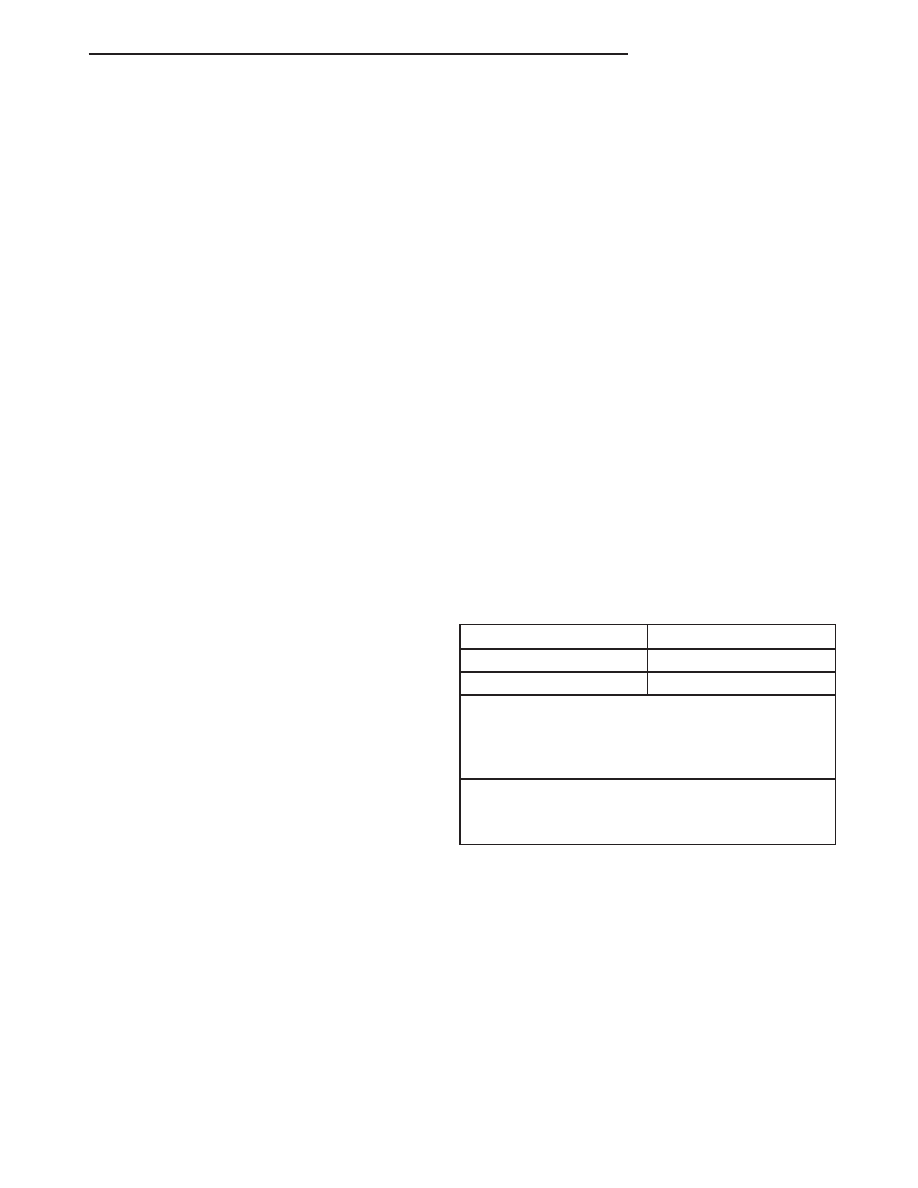
COOLING SYSTEM CAPACITIES
ENGINE
CAPACITY
5.2L/5.9L
*13.5L (14.3 Qts.)
4.7L
*12.3L ( 13.0 Qts.)
* Nominal refill capacities are shown. A variation
may be observed from
vehicle due to manufacturing tolerances and refill
procedures.
* Capacities shown include vehicles with air
conditioning and/or heavy
duty cooling systems.
DN
COOLING SYSTEM
7 - 43
CLEANING AND INSPECTION (Continued)