Dodge Dakota (R1). Manual - part 783
• Allow the accelerator to dry for five minutes.
• Do not touch the bracket contact surface after
the accelerator has been applied.
(5) Apply adhesive accelerator to the bracket con-
tact surface on the windshield glass. Allow the accel-
erator to dry for one minute. Do not touch the glass
contact
surface
after
the
accelerator
has
been
applied.
(6) Install the bracket according to the following
instructions:
• Apply one drop of adhesive at the center of the
bracket contact-surface on the windshield glass.
• Apply an even coat of adhesive to the contact
surface on the bracket.
• Align the bracket with the marked position on
the windshield glass.
• Press and hold the bracket in place for at least
one minute.
NOTE: Verify that the mirror support bracket is cor-
rectly aligned, because the adhesive will cure rap-
idly.
(7) Allow the adhesive to cure for 8-10 minutes.
Remove any excess adhesive with an alcohol-damp-
ened cloth.
(8) Allow the adhesive to cure for an additional
8-10 minutes before installing the mirror.
AIR EXHAUSTER - CAB
REMOVAL
(1) Remove cab back panel carpet/trim.
(2) Position a long flat blade between cab and
cargo box and depress air exhauster upper retaining
tabs and disengage from cab back panel.
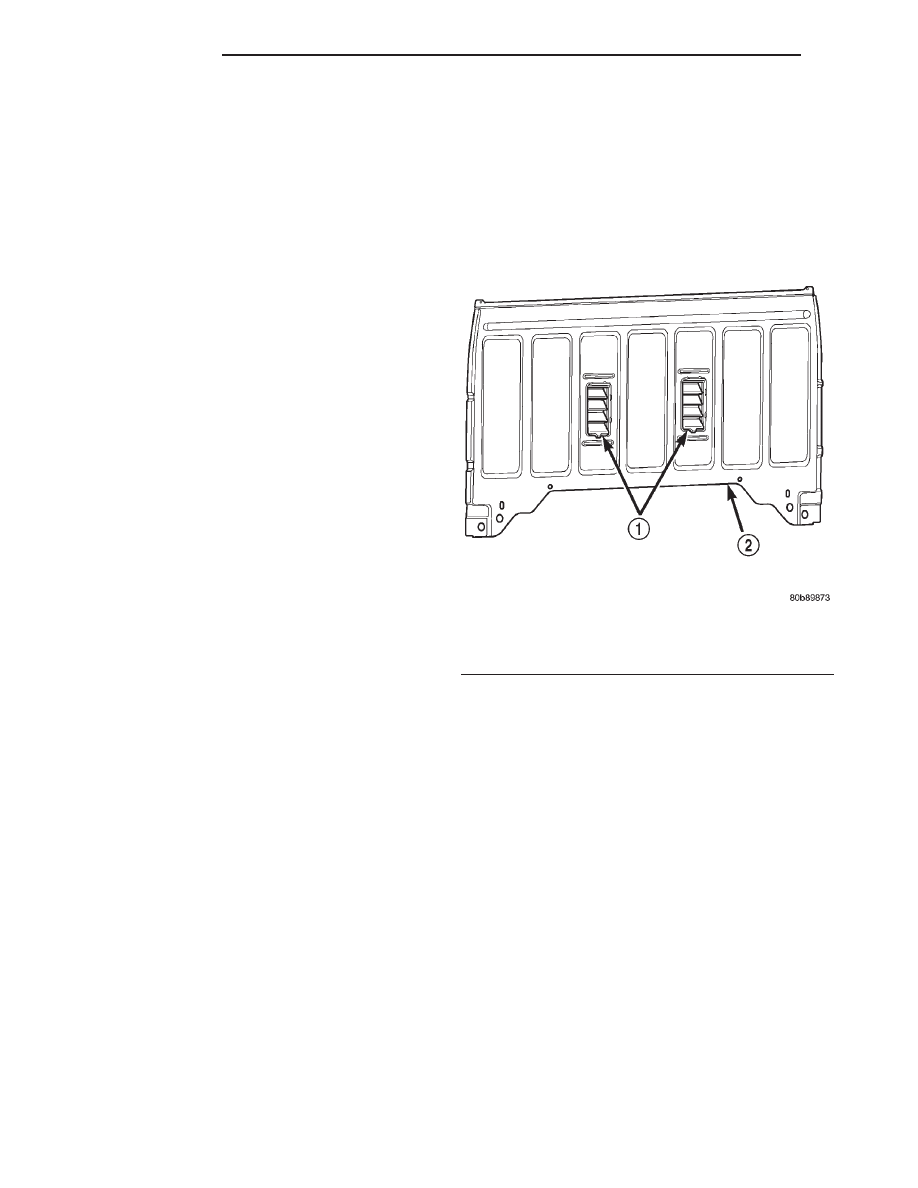
(3) From inside the vehicle separate air exhauster
from cab back panel (Fig. 24).
INSTALLATION
(1) From inside the vehicle position air exhauster
in cab back panel.
(2) Press air exhauster inward to engage retaining
tabs.
Fig. 24 In Cab Air Exhausters
1 - AIR EXHAUSTERS
2 - CAB BACK PANEL
23 - 120
INTERIOR
AN
REAR VIEW MIRROR SUPPORT BRACKET (Continued)