Dodge Dakota (R1). Manual - part 516
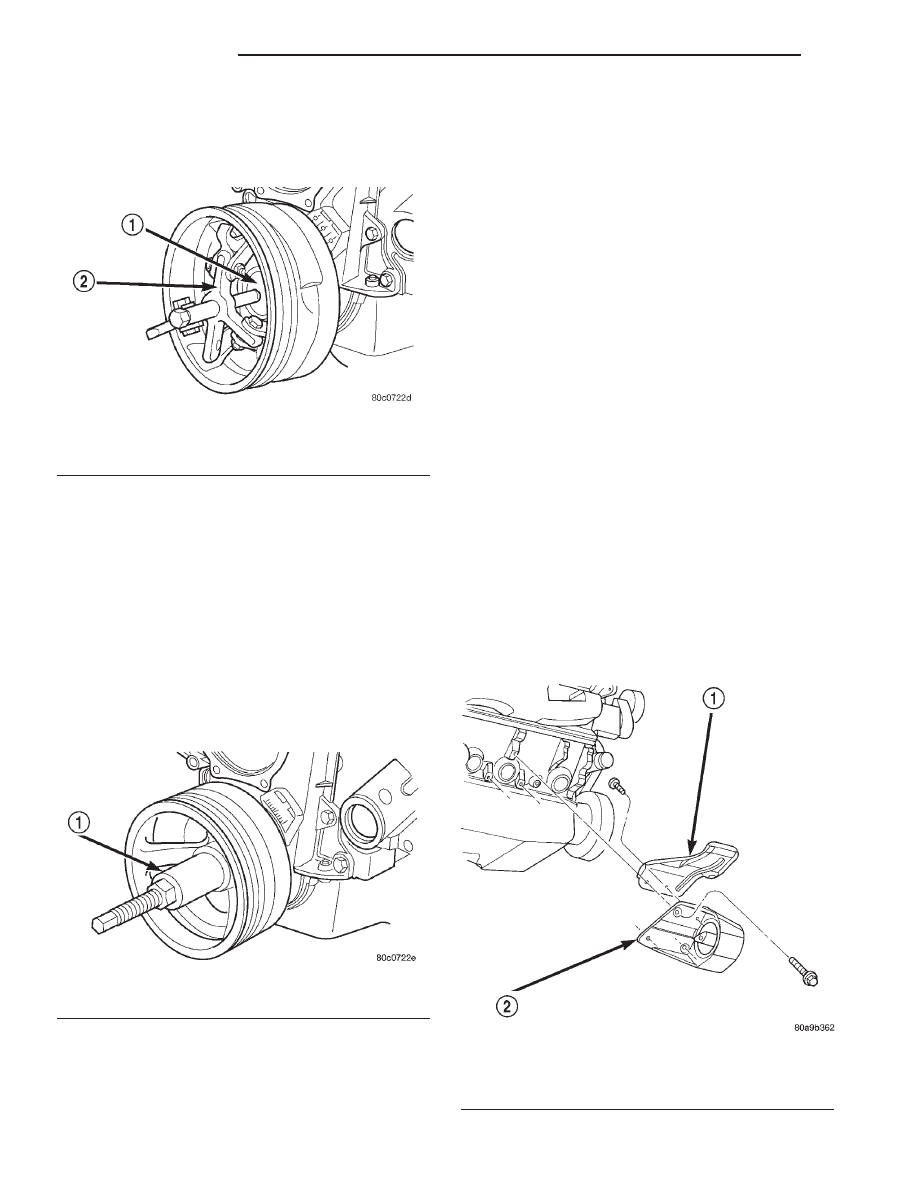
(5) Position Special Tool 8513 Insert into the
crankshaft nose.
(6) Install Special Tool 1026 Three Jaw Puller onto
the vibration damper (Fig. 44).
(7) Pull vibration damper off of the crankshaft.
INSTALLATION
CAUTION: Thoroughly remove any contaminants
from the crankshaft nose and the vibration damper
bore. Failure to do so can cause sever damage to
the crankshaft.
(1) Position the vibration damper onto the crank-
shaft.
(2) Place installing tool, part of Puller Tool Set
C-3688 in position and press the vibration damper
onto the crankshaft (Fig. 45).
(3) Install the crankshaft bolt and washer. Tighten
the bolt to 244 N·m (180 ft. lbs.) torque.
(4) Install the accessory drive belt (Refer to 7 -
COOLING/ACCESSORY
DRIVE/DRIVE
BELTS
-
INSTALLATION).
(5) Position the fan shroud and install the bolts.
Tighten the retainer bolts to 11 N·m (95 in. lbs.) torque.
(6) Install the cooling fan (Refer to 7 - COOLING/
ENGINE/FAN
DRIVE
VISCOUS
CLUTCH
-
INSTALLATION).
(7) Connect the battery negative cable.
FRONT MOUNT
REMOVAL
2WD
(1) Disconnect the negative cable from the battery.
(2) Raise hood and position fan to assure clearance
for radiator top tank and hose.
CAUTION: DO NOT lift the engine by the intake
manifold.
(3) Install engine lifting fixture.
(4) Raise vehicle on hoist.
(5) Remove the insulator through bolt (Fig. 46)
(Fig. 47).
(6) Raise engine with lifting fixture SLIGHTLY.
Remove insulator retaining bolts and remove the
insulator assembly.
(7) Remove insulator heat shield and transfer to
new insulator.
Fig. 44 Vibration Damper Removal
1 - SPECIAL TOOL 8513 INSERT
2 - SPECIAL TOOL 1026
Fig. 45 Vibration Damper Installation
1 - SPECIAL TOOL C-3688
Fig. 46 Engine Right Front Insulator Mount—2WD
Vehicles
1 - HEAT SHIELD
2 - INSULATOR
9 - 252
ENGINE 5.9L
AN
VIBRATION DAMPER (Continued)