Daewoo Tacuma: Body Repair Manual - part 10
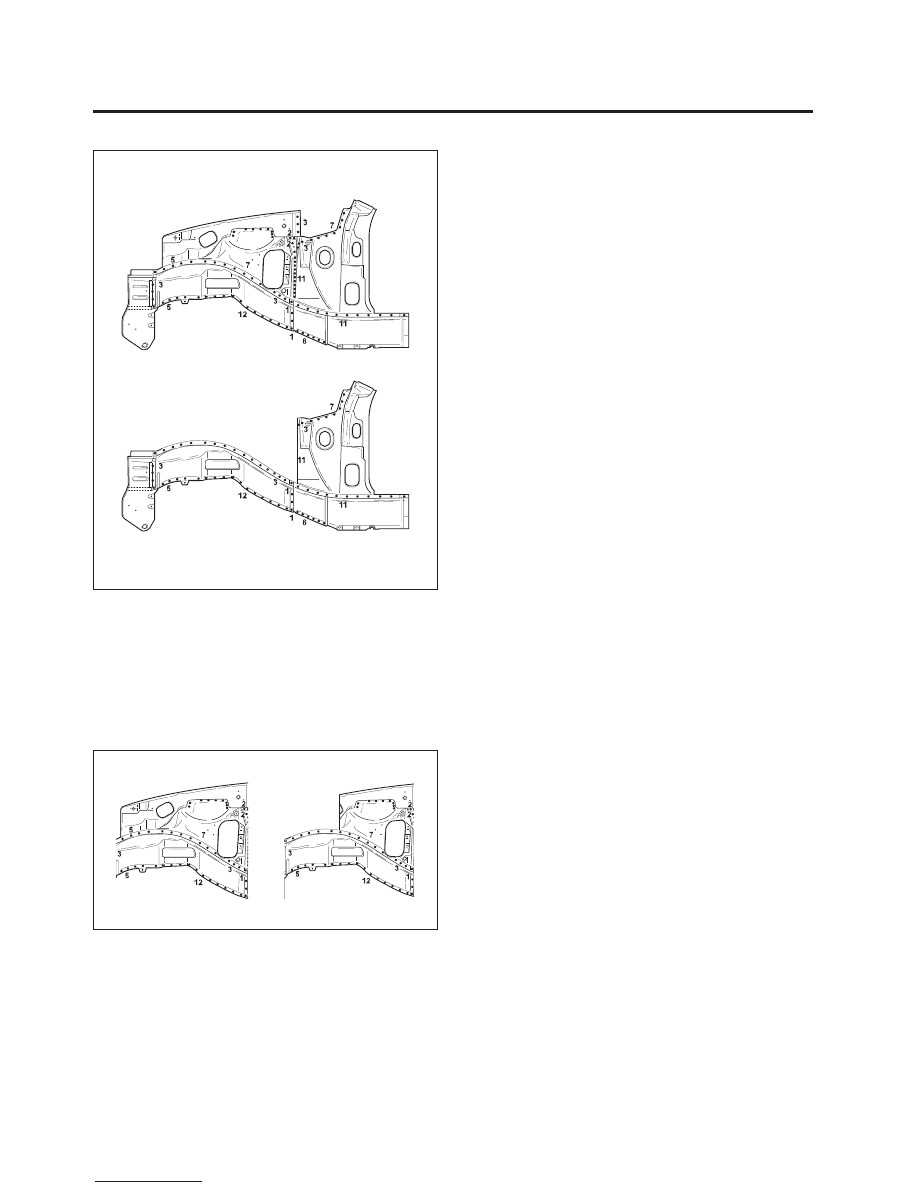
4–8 FRONT
•
Use a hammer and dolly to mold damaged areas
of the front longitudinal, rear wheelhouse and
other panels.
•
Even out the welding flanges with a hammer and
dolly.
7. Set the new front wheelhouse panel.
•
Grind both sides of the welding section of the
front, rear wheelhouse and front longitudinal with
a disc sander to remove the paint and expose
the steel plate.
CAUTION: To prevent eye injury, wear goggles or
safety glasses whenever sanding, cutting, or grind-
ing.
•
Clamp to the front longitudinal with vise grips and
squill vises.
•
Clamp the front panel with vise grips.
NOTE: Use of jigs is recommended.
•
Weld the clamped sections for temporary instal-
lation.
CAUTION: To prevent eye injury and burns when
welding, wear an approved welding helmet, gloves
and safety shoes.
8. Measure the front compartment diagonally.
•
Measure the front compartment diagonally with a
tracking gauge or convex rule to check it for twist-
ing or bending.
•
Temporarily assemble the fender and hood, then
check the clearances and level differences.
9. Perform the main welding.
•
Weld as much as possible with the jig still
mounted.
•
Perform a trial welding first, and check the weld-
ing condition.
•
Perform the welding.
Fig. 12
NOTE:
•
If damage has occurred only front side, cut the
damaged section of the front wheelhouse, trim
the new panel to fit the remaining section, then
butt weld both parts at the inner ends.
6. Mold damaged related parts.
•
Fill any holes drilled by welding.
Fig. 13