Content .. 1052 1053 1054 1055 ..
DAF CF65, CF75, CF85 Series . Manual - part 1054
©
200424
3-13
Removal and installation
TANDEM REAR AXLE 1355T
ΧΦ65/75/85 series
8
7
Installing the differential
1.
Clean the mating surfaces of the banjo
housing and the differential housing. Do not
damage the mating faces in the process.
2.
Clean the nut and bolt flanges of the through
bolts.
3.
Apply a thin, even film of the specified
sealant on the mating surface of the banjo
housing, see "Technical data". Make sure
that the sealant is applied correctly around
the bolt holes.
4.
Apply the specified sealant to the nut and
bolt flanges of the through bolts, see
"Technical data".
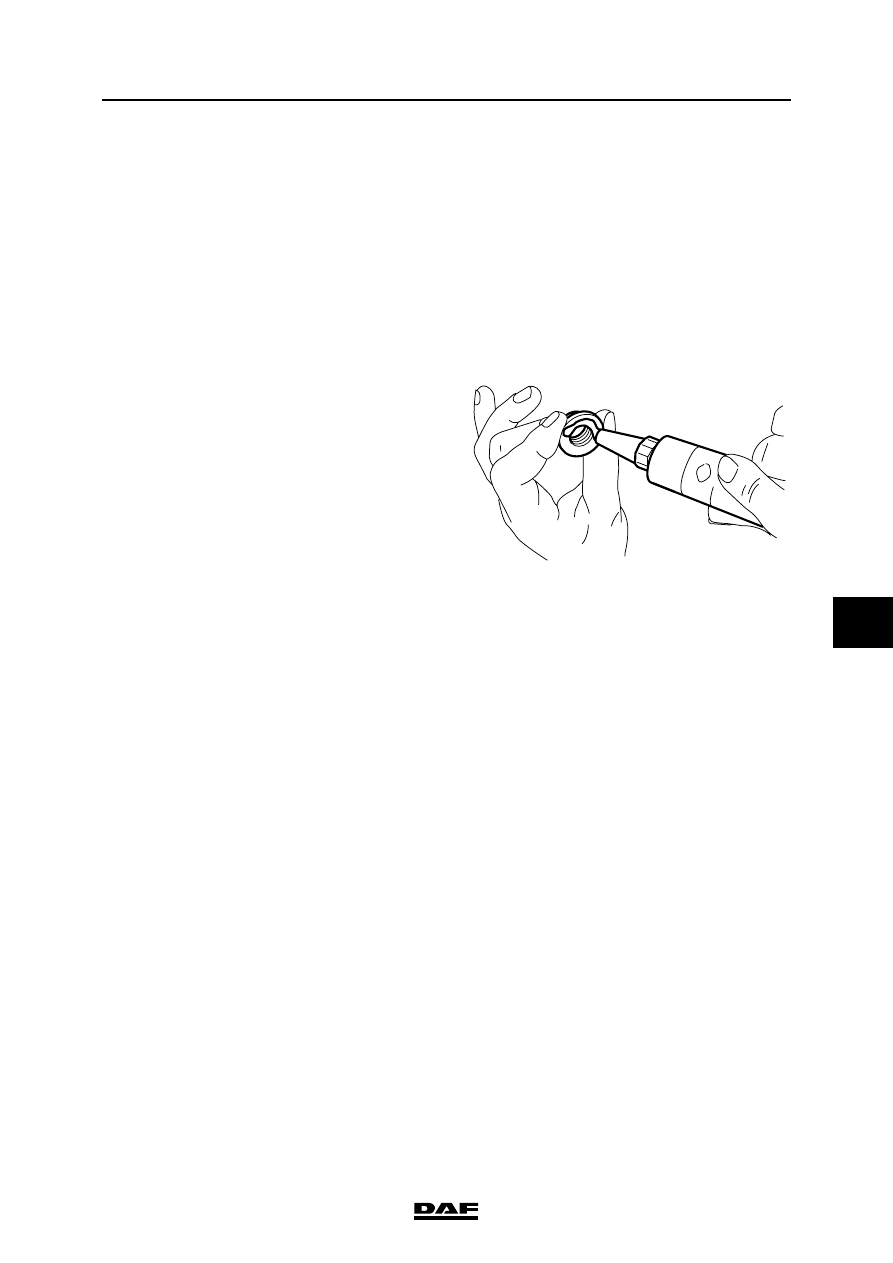
5.
Apply locking compound to the threads. See
"Technical data".
6.
Fit the differential into the banjo housing.
7.
Tighten the bolts and nuts to the specified
tightening torque, see "Technical data".
8.
Fit the air connection to the differential lock.
9.
Fit the axle shafts.
10. Fit the prop shaft to the drive flange.
11. Fill the differential and the hubs with oil.
A800051