DAF LF45, LF55 Series. Manual - part 275
©
200508
4-3
Demounting and mounting
PROP SHAFTS
ΛΦ45/55 series
3
10
1.
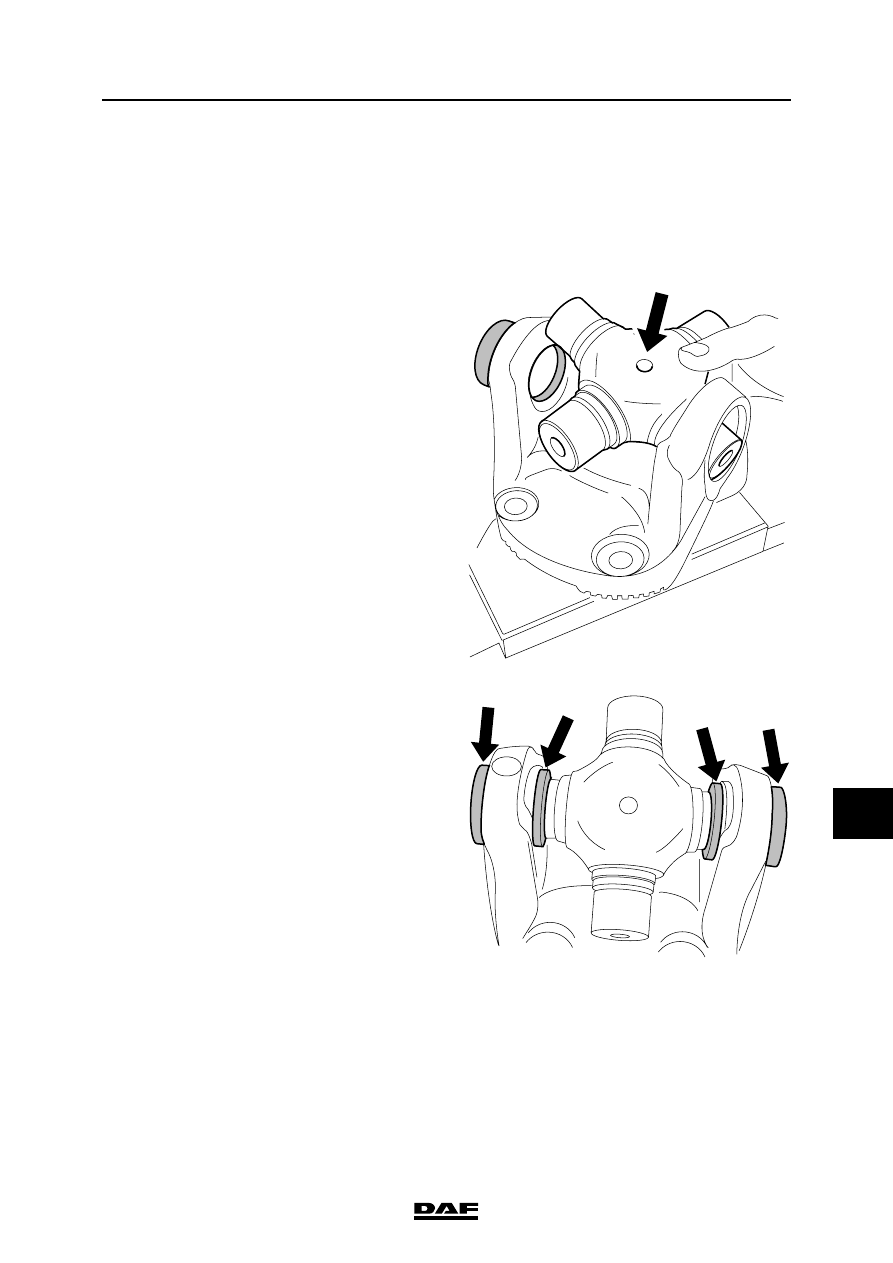
Fit the sealing rings in their proper positions
on the bearings and lubricate them lightly so
that the needles remain in place.
2.
Press one bearing partly into the drive
flange.
3.
Tip the spider into the drive flange.
Note:
Maintenance-free spiders do not have a
mounting direction. In the case of spiders
fitted with lubricating nipples, hole A for the
lubricating nipple must point towards the
shaft.
4.
Slide the spider a little into the fitted bearing
and place everything on a bush underneath
a press. The opposite bearing can now be
pressed into the fork, the spider serving as a
guide. During the pressing action, the spider
must be able to move freely.
A
W306014-2
W306017-2