Citroen C5 Dag (2010 year). Instruction - part 1
4
F
A
M
I
L
I
A
R
I
S
A
T
I
O
N
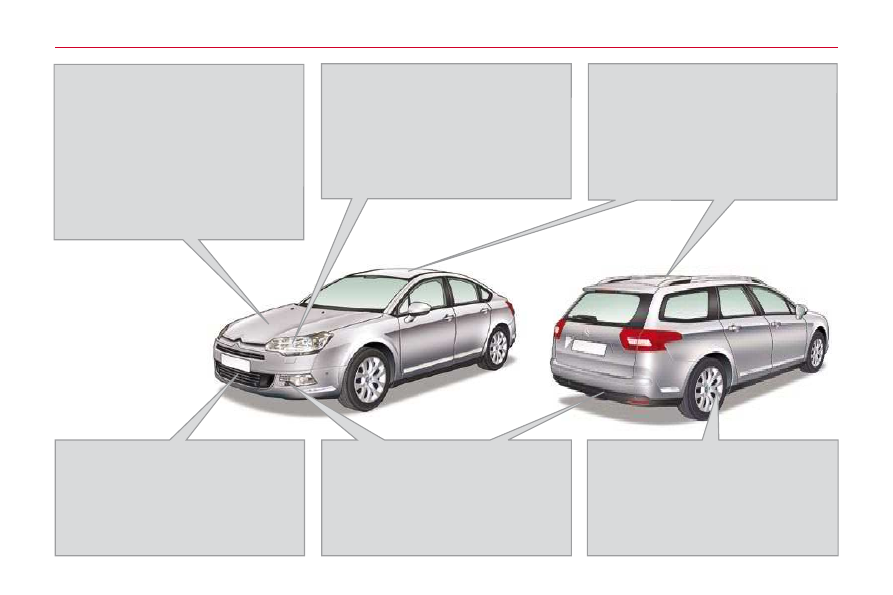
E X T E R I O R
Stop & Start
This system puts the engine tempo-
rarily into standby during stops in the
traffi c (red lights, traffi c jams, etc...).
The engine restarts as soon as you
want to move off.
Stop & Start reduces fuel consump-
tion, exhaust emissions and noise
when stationary.
Lane departure warning system
This driving assistance system
warns you when you cross a lane
marking unintentionally.
Parking sensors
(visual + audible)
This system warns you if an obsta-
cle is detected in front of or behind
the vehicle.
Tyre under-infl ation detection
This system checks the pressure
of the tyres automatically while
driving.
Xenon dual-function directional
headlamps
This system automatically provides
you with extra visibility on bends.
This lighting is linked with the an-
gular lighting which maximises the
area lit at intersections and when
parking.
140
90
153
156
114
Panoramic sunroof (Tourer)
This provides you with perfect bright-
ness in the passenger compartment.
Glass sunroof (Saloon)
This also provides you with im-
proved ventilation in the passenger
compartment.
82-83